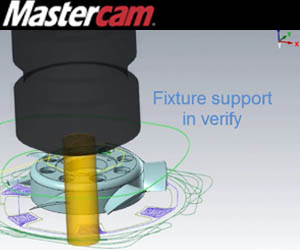

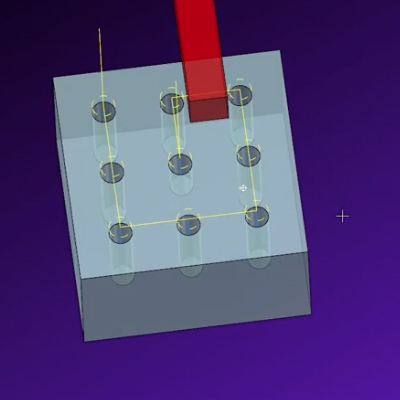
Collision detection in Verify has been expanded to include fixtures along with stock and part geometry. Let’s say you have a file open with part geometry and toolpaths displayed. The models of the fixture for this job can be on another level like shown below.

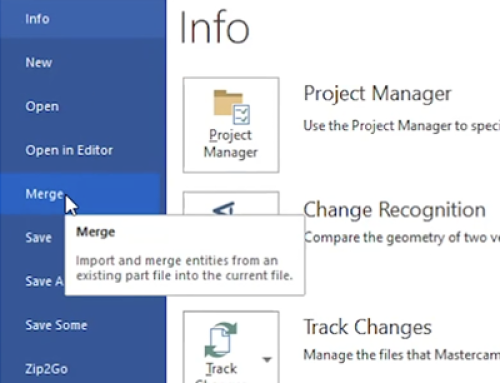
The fixtures should not be visible with the part geometry at this point because you don’t want them seen by the simulator as part of the “workpiece” collision checking set. First, click this button to access the Backplot/Verify options.

Then go to the rear tab and check the box to enable Fixture Support.


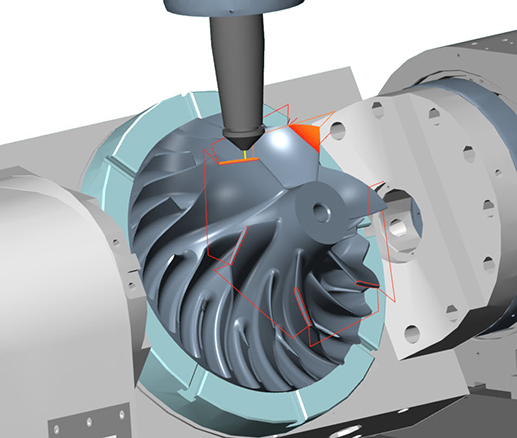
Note that there are options for selecting either specific models, specific levels, or one external file. Check the boxes for the levels you want to use and click OK. Next, select some toolpaths and launch the Simulator. You can enable collision checking is by clicking the following File/Options/General/Collision checking.

In this dialogue, you can see that workpiece and fixture checking are enabled by default.

Now, if you click the Play button and monitor the collision report tab, each event detected is flagged and tagged in such a way that you can click a tag and see the tool positioned exactly where the problem occurred.


As you can see, this new functionality can help prevent costly mistakes from happening and reduce the risk of damage to your equipment and tools.
Please be sure to sign up for our 2 Minute Tuesday video series to receive tips and tricks like this one in video form every week. More info at the button below.

Leave A Comment