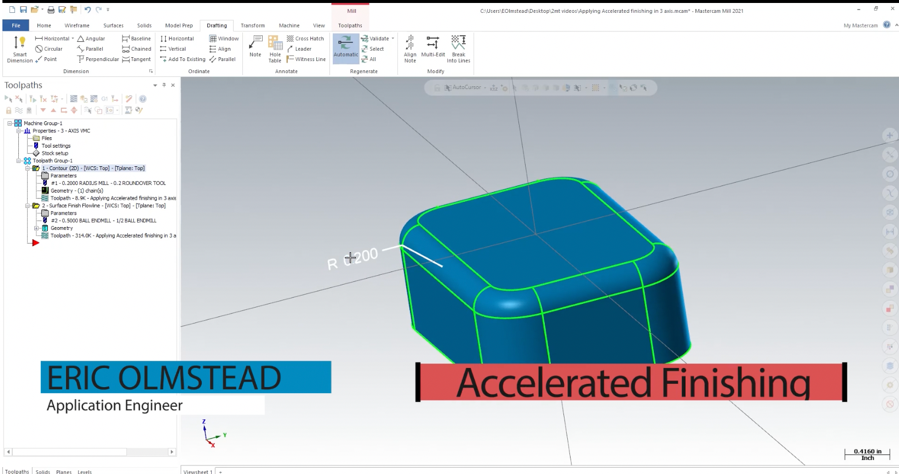
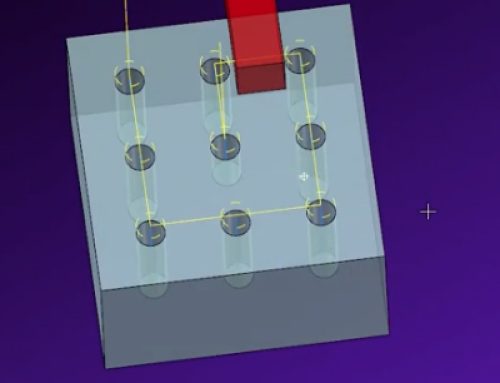
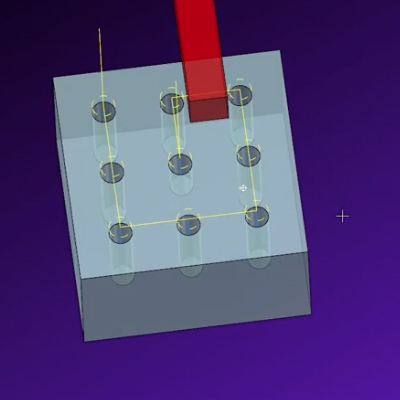
This blog post will explain how to apply accelerated finishing concepts in Mastercam 3-axis machining. Let’s explore a new method for machining the radius on the top edge of the sample part below.

Traditionally there are two options to machine a radius like this, contouring with an exact size radius form tool or 3D machining with a ball end mill. Both options have their pros and cons. Having a large collection of radius tools can be expensive and 3D machining can be time-consuming. For this new method, we will combine the two ideas with some accelerated finishing concepts and clever geometry creation.
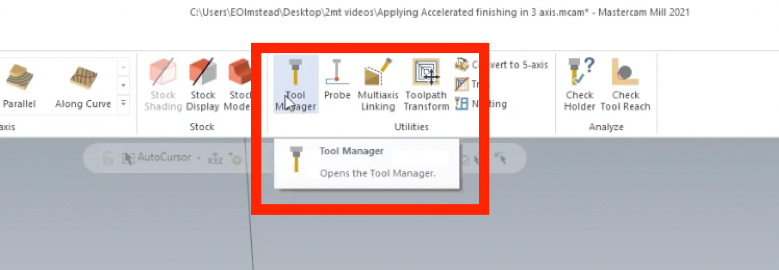
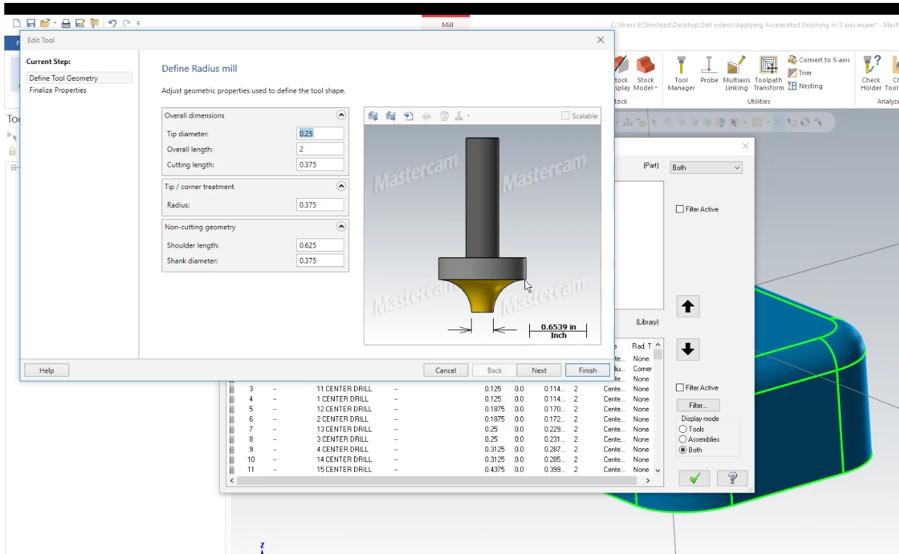
Start by selecting a radius tool with an internal radius larger than part geometry. In this example, we used a .375 radius tool.
The large radius will allow you to utilize larger step-downs while maintaining a good surface finish. Next, you need to create your toolpath geometry and to do this you need to create a simple radius surface around your part.
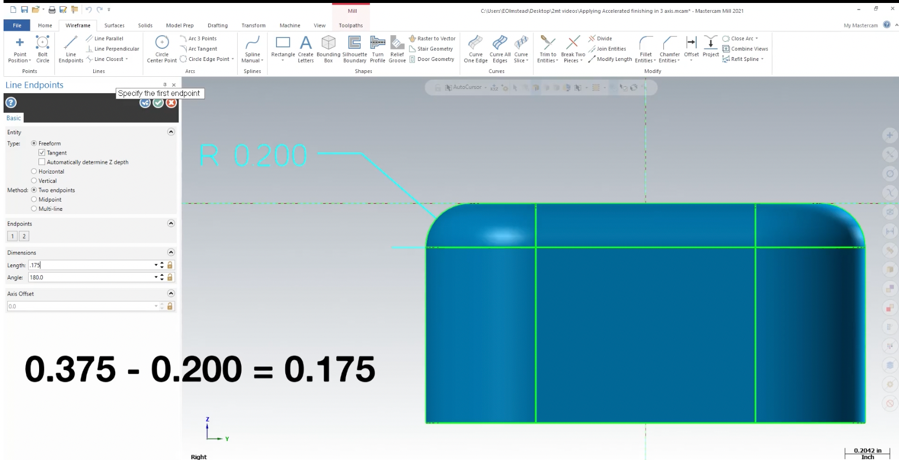
The size of the surface radius is determined by subtracting the part radius from the tool radius, so .375 minus .2 gives us a .175 radius. Once you draw the radius tangent to the part in the right side view, you can create a swept surface.
With our swept surface created we can now create our curves for our toolpath. The curve flowline tool is perfect for this application. It creates curves in the direction of the surface UV’s and gives us options for spacing which will effectively be our toolpath step down. For today’s let’s create 10 curves making sure they run parallel to the top of the part.
Now that we have our tool and geometry all we have left to do is create our toolpath. So we launch our contour toolpath, chain all our curves in order from top to bottom, and set our parameters, making sure to set our depth as incremental 0. We now created an effective 3D toolpath with simple 2D geometry with far less passes than needed with a ball endmill.
As you can see with a little outside the box thinking we can apply this method to find a middle ground of saving cost on tooling and reducing cycle time at the machine. Please be sure to sign up for our 2 Minute Tuesday video series to receive tips and tricks like this one in video form every week. More info at the button below.

Leave A Comment