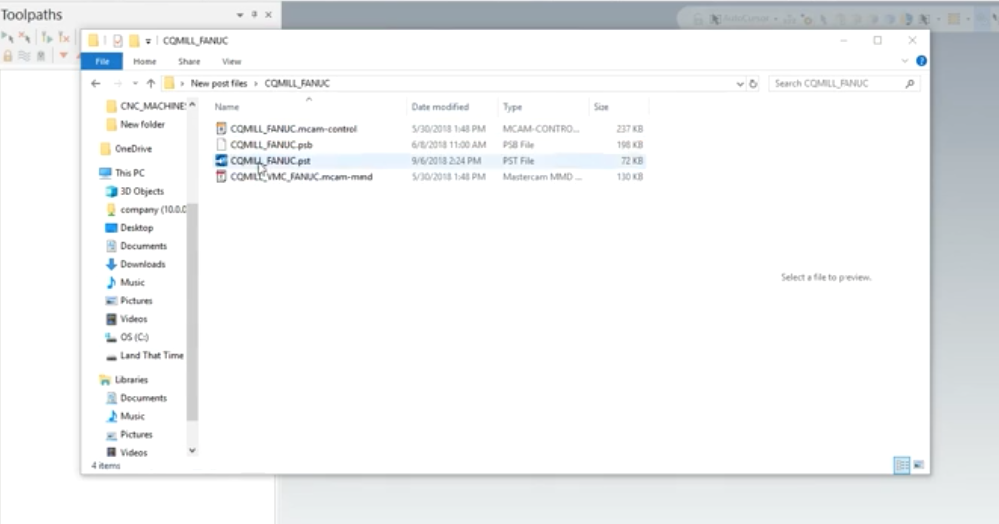
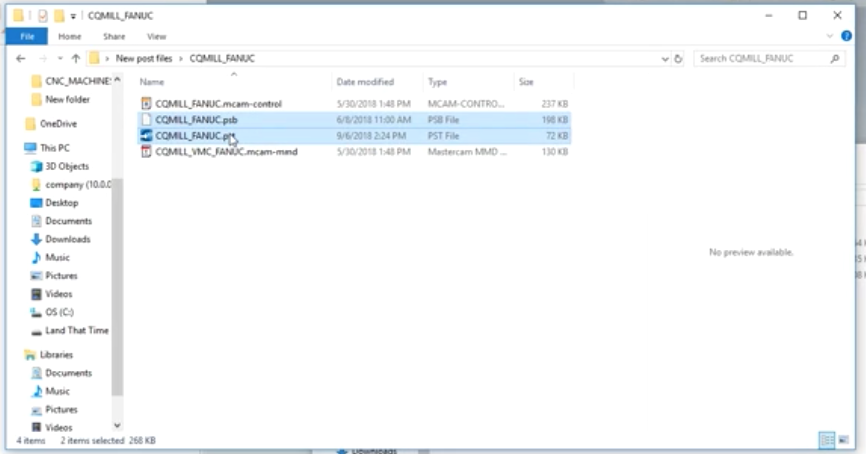
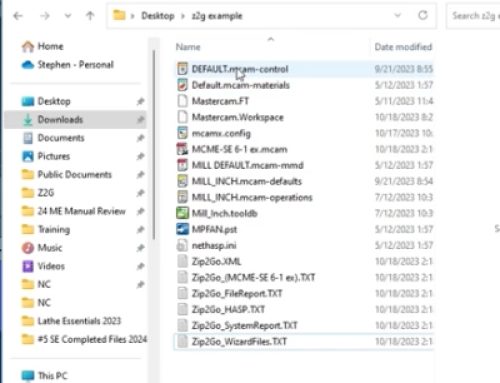
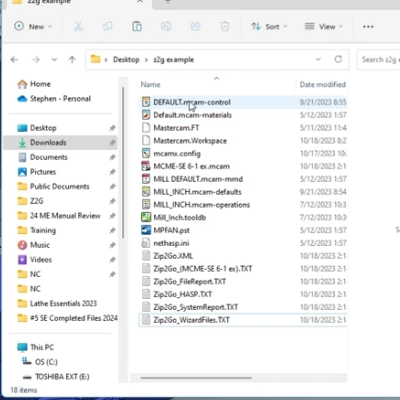
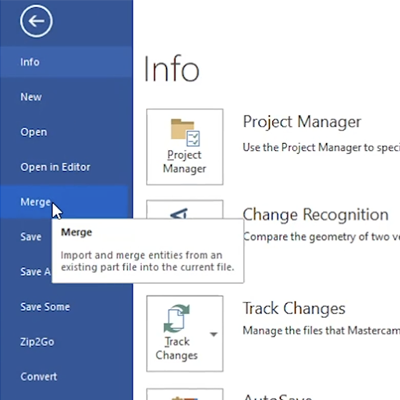
This article will cover how to install your new custom post processors in Mastercam. When you receive your new post processors from Cimquest they will be sent to you with a zip file and you will need to download that zip file to a convenient location on your hard drive. After you have this file downloaded, double-click on it to extract the files in order to see the components of your new machine and post-processor set. From here you will have a Control Def, a Machine Def, and a couple of post processor files that will all need to be placed onto your system correctly.
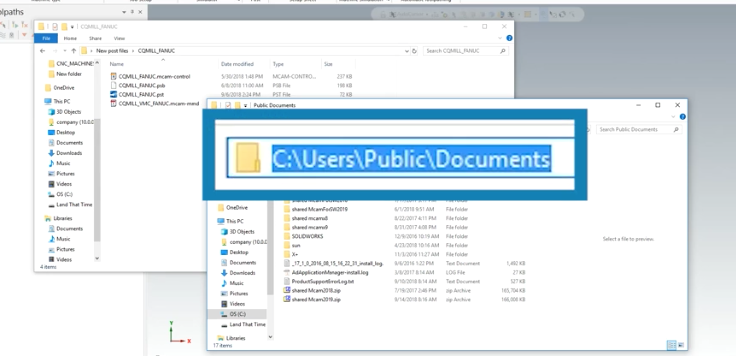
Next, you will need to go to the Public Documents section of your computer. The location for your Public Documents drive is C:\Users\Public\Documents.
From here you will be able to access the shared Mcam2019 folder. Now you need to make sure to place your files in the correct location. Your Machine Definition and Control Definition will both be selected copied and pasted into the CNC_MACHINES location.
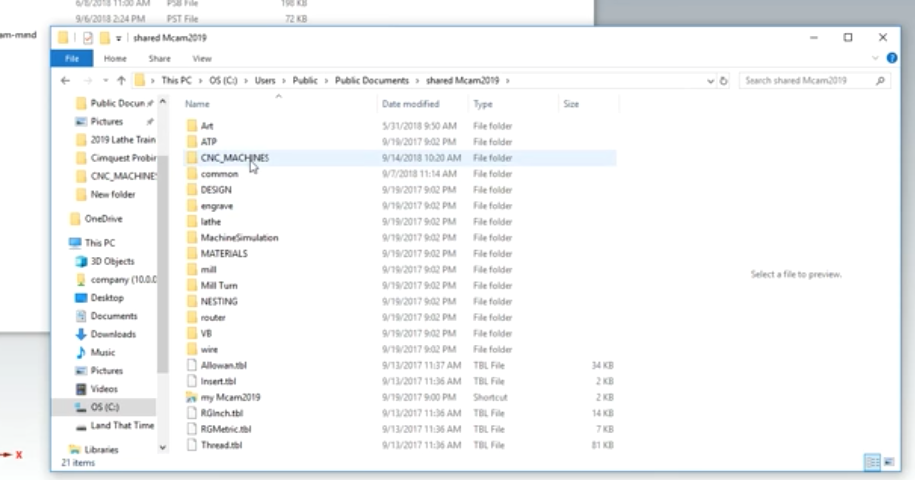
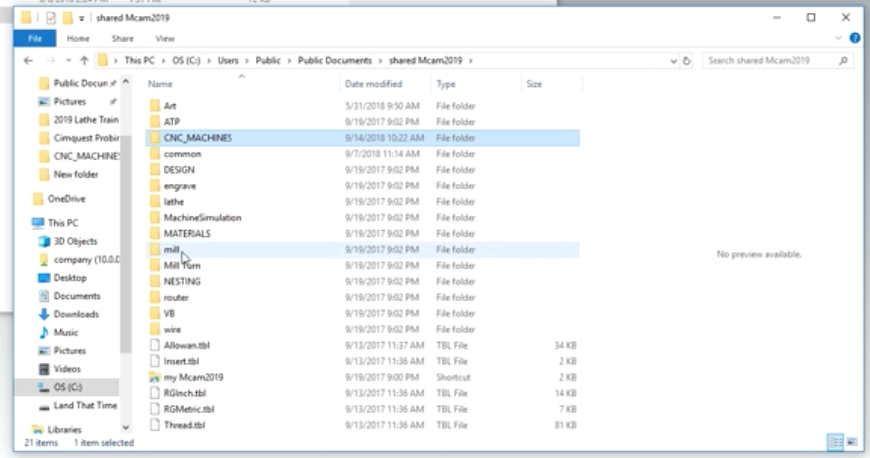
Now that these files have been placed you can go back and place the post files into the location that they need to go. The post files are located in individual locations for each individual machine. In this example, we are using a mill so we can click on Mill and then from there, select the Posts folder inside this subfolder.
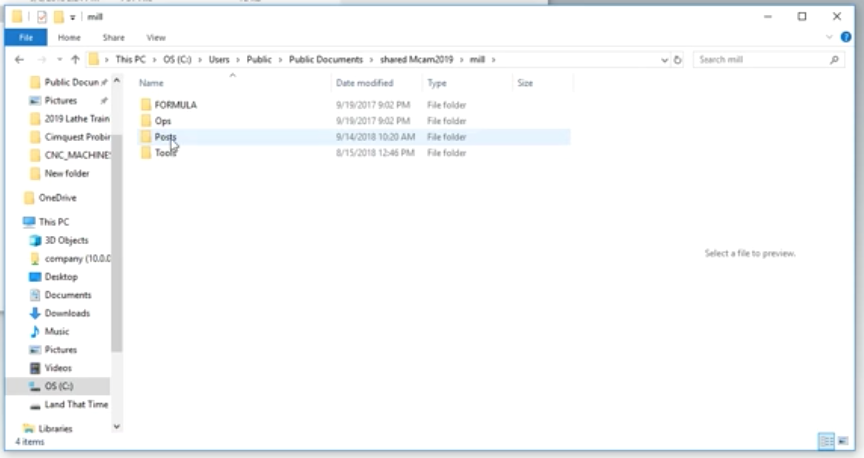
At this point, you need to make sure to place all of the post files that come with the particular machine (in this case, a PST and a PSB). Copy and paste these into the Posts folder.
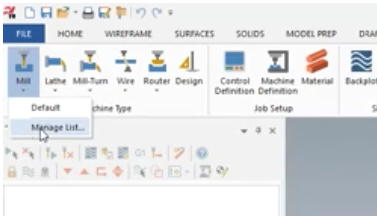
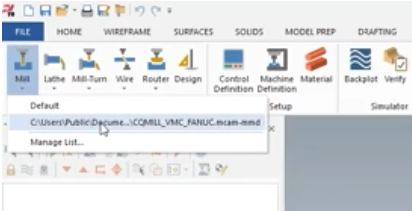
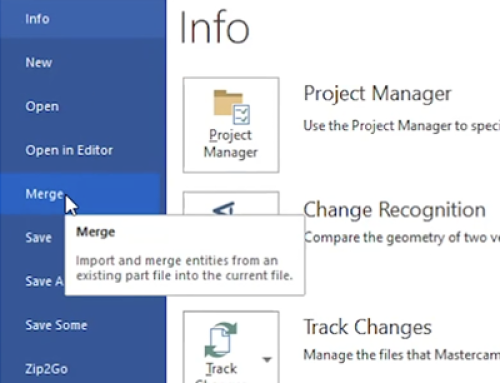
After these files have been placed, you can head back to Mastercam and get set up to actually use this machine for your programming. From the Machine tab inside of Mastercam, select the Mill section and select Manage List.
Now you should be able to see your new machine in the list on the left side and you can add it to the open space on the right.
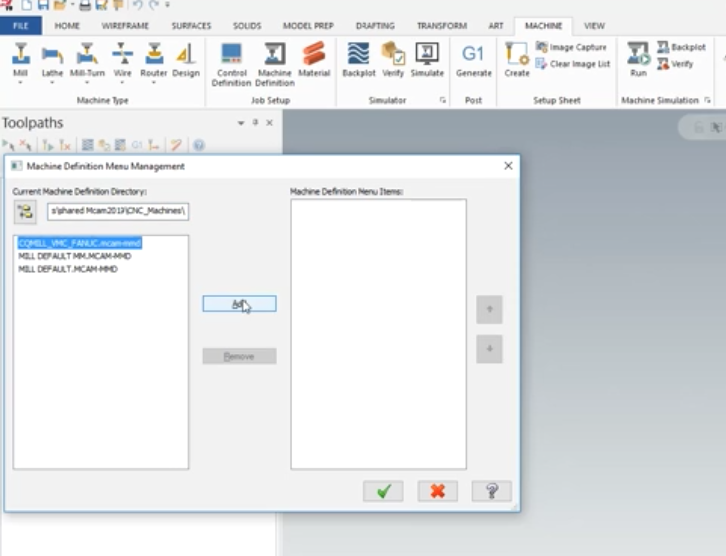
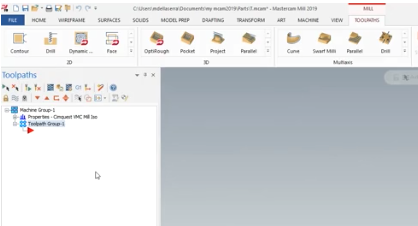
Once this machine has been added to the right side the next time you go back up to your Mill pull-down you should see your machine on that active list.
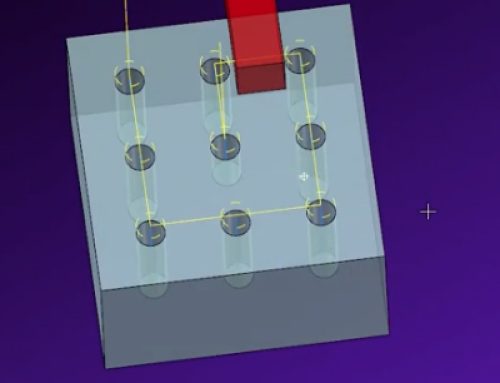
After selecting it from that list, the machine is fully loaded you are ready to begin programming and using this machine to create any programs you may need.
Please be sure to sign up for our 2 Minute Tuesday video series to receive tips and tricks like this one in video form every week. More info at the button below.

We need to build the post processor for mastercam, as we have huge customer requirements for the post work,
Can some one reach us to 00919503600208
Hello, Sorry for the delay, I am sending this to our post department. They will respond to you.
Do you have readilly available post processor for Dobot CR5
I will send your request to our post department.