Non-Contact inspection – Webinars on Demand
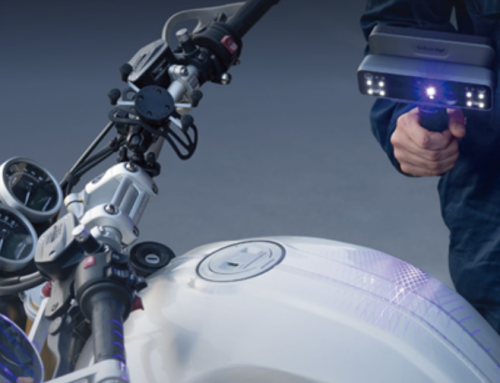
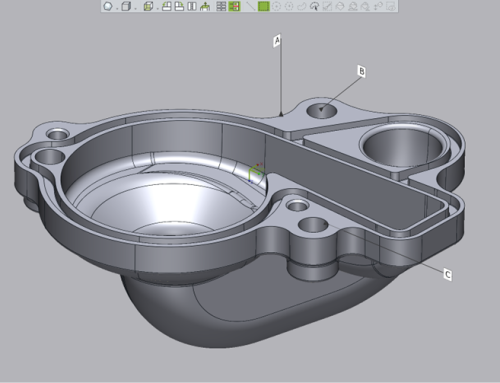
Comparing the scan of a manufactured part with its nominal CAD model.
• Review scanner specs for accuracy and resolution parameters.
• Import the nominal CAD model and scan into Control X.
a. Duplicate the CAD datums on the scan and perform a datum alignment.
b. Once aligned, produce color maps, whisker plots, 2D and 3D dimensions, GD&T and a final inspection report.
• Discuss batch processing many scans, unmanned.
• Discuss how Product Manufacturing Information (PMI) may be used to automate the complete process by integrating with your CAD system.


Leave A Comment