This blog post will show you how to color 3D-printed parts using very simple dye. You can dye most SLS and SLA printed parts with off-the-shelf dyes to create a wide spectrum of colors and finishes.
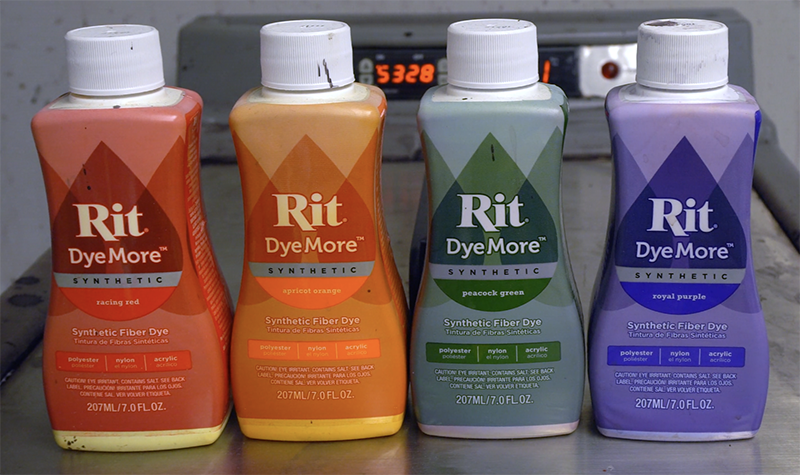
When it comes to engineering-grade 3D printers, you are often limited in choosing a color for the final product. Since most engineering materials focus on mechanical properties over aesthetics, you are often left with a white or gray part. By using an all-purpose dye, such as a Rit brand dye, you can dye your parts with just about whatever color you can think of. All you need is a container for the dye and some hot water.
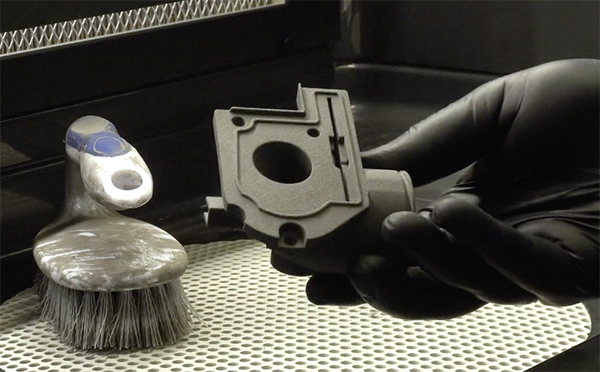
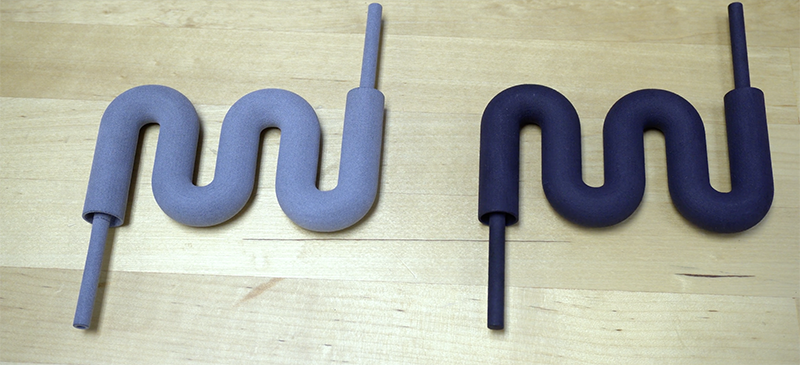
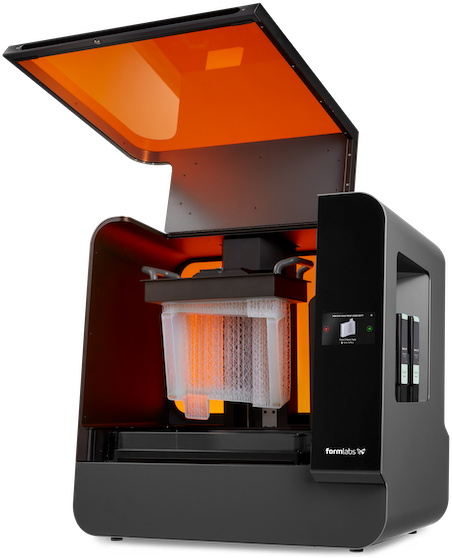
Start by gathering all of your materials and get the part you would like to dye. In our example, we used a durable resin part from a Formlabs 3D printer.
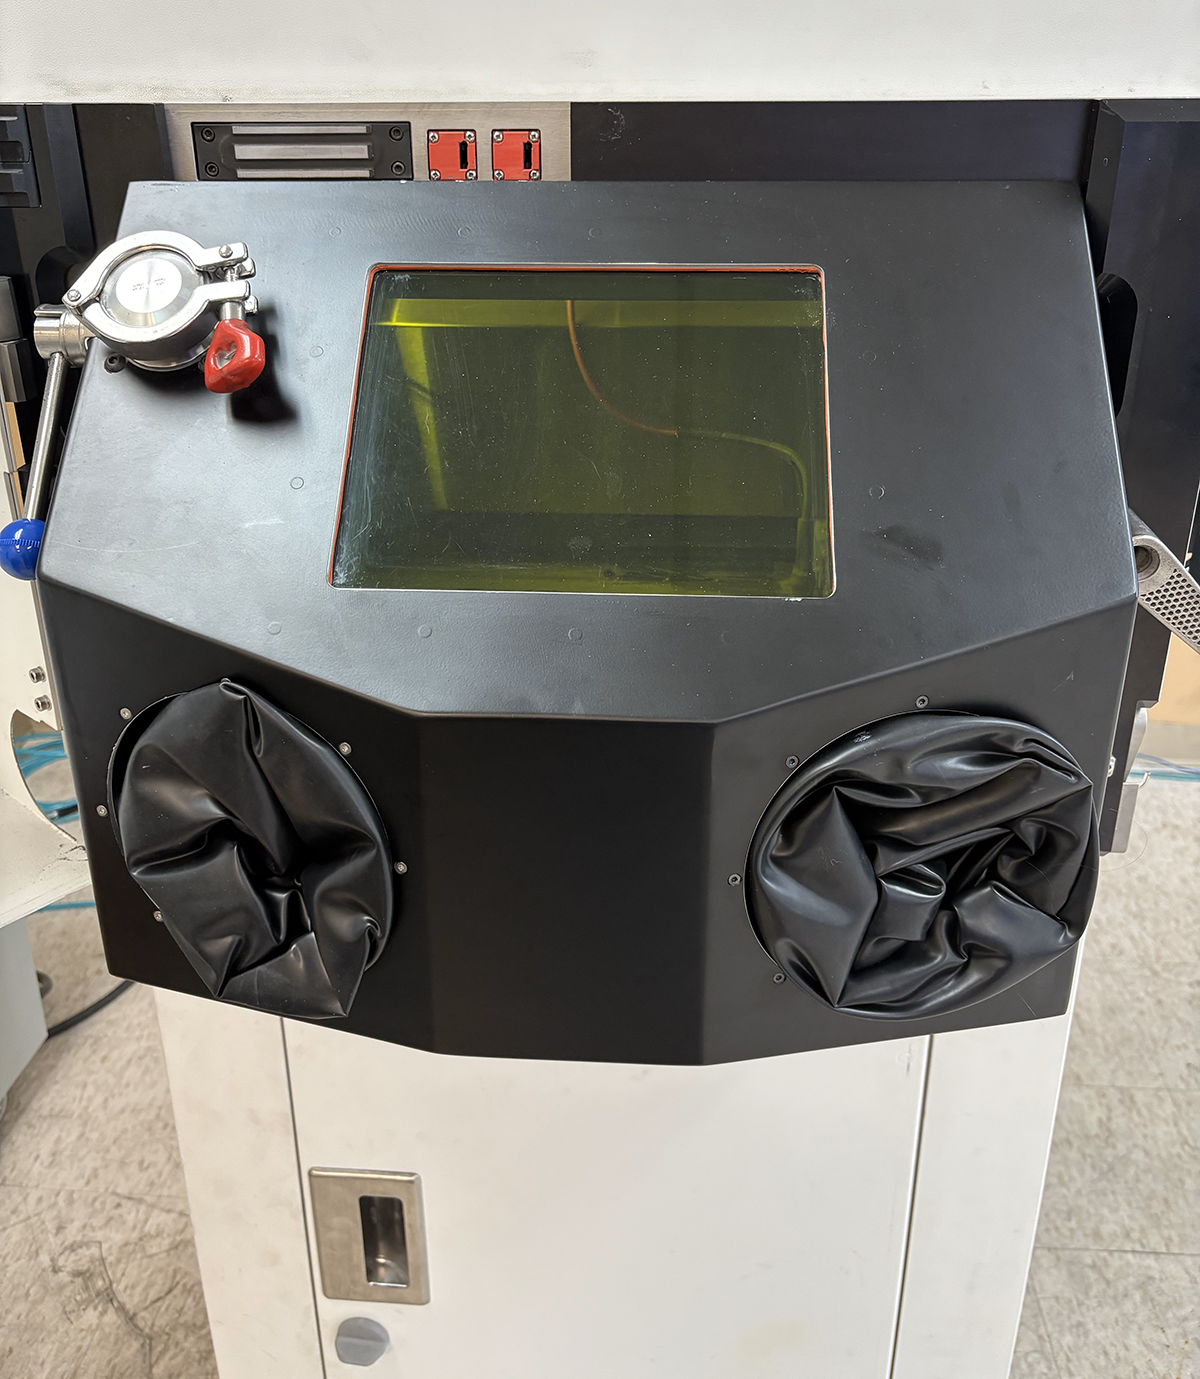
Next, you will need to find a container that can hold the dye. You may use a small pot or a plastic container. After acquiring your container, you will need to heat up some water. A sous vide tool can work great in a pinch, but we used a support removal tank for large batches of dyed parts.
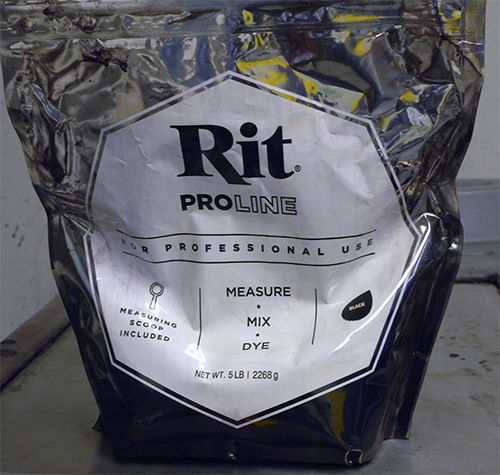
Now it’s time to decide what color you would like to use. In our case, we used a liquid Rit dye, although the powdered dye works just as well. When dyeing the parts, follow the instructions on the dye packaging to make sure you use the correct concentration of dye to water.
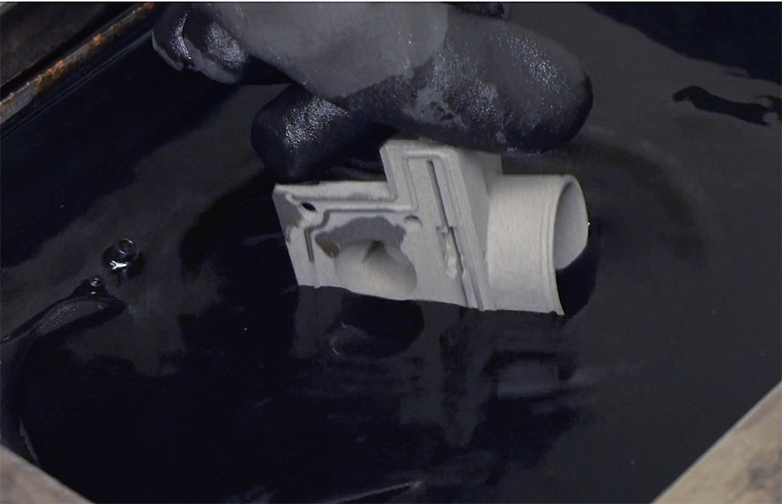
Using heat-resistant gloves, place the part into the dye, and let it sit for an hour at 70°C or 158°F. Once the process is complete, examine your part, and determine any changes that may need to be made for the next iteration. When using black dyes, your parts may come out with a blue tinge. If this happens, add some more dye into the solution and repeat the process.
Dying SLS and SLA parts is quite a simple process. This provides a higher level of creativity and design to the 3D-printing process. Please be sure to sign up for our 2 Minute Tuesday video series to receive tips and tricks like this one in video form every week. More info at the button below.


Leave A Comment