In continuing our series on GD&T callouts, today’s Metrology Minute focuses on Flatness.
Flatness is a very simple callout that focuses on just how flat a particular surface is without making reference to any specific datum. Very often, a Flatness callout can determine whether a job shop is able to face mill a surface to its finished dimension or if grinding and perhaps outside services are required to achieve the necessary Flatness.
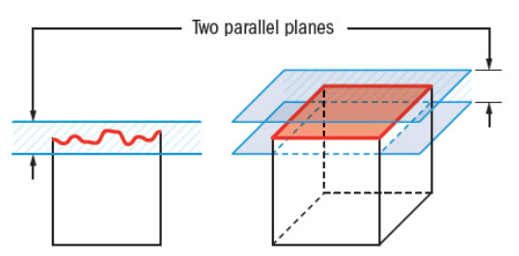
If a specific feature on a part needs to be uniformly flat within a given tolerance, without affecting or including any other dimensions or callouts on a drawing, Flatness is commonly used. A Min and Max tolerance are provided, which essentially callout two parallel planes as compared to the nominal (exact) flat surface. The resulting surface after machining must be flat and lie within these planes to therefore be within tolerance.

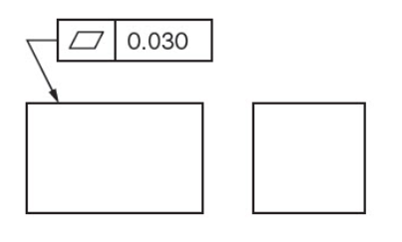
The callout below references two parallel planes within .030 meaning none of the resultant, manufactured surfaces can have any points that measure outside of that provided tolerance.

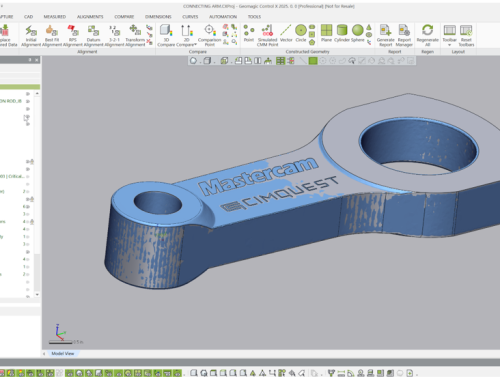
Using the manual, traditional measuring methods, Flatness is measured using a height gage or CMM, dragging a probe over the surface however with today’s software technology for inspection, very often color maps may be used to also check for Flatness. In fact, a color map is likely more telling than a height gage or probe-based CMM since it addresses many more points along the surface of interest.
Please contact Joel Pollet for any additional information.


Leave A Comment