2D Inspection Drawing in Control X
While most dimensions and GD&T calculations in Control X will come from the 3D model, it is also possible to create 2D inspection drawings and to create Construction Features to assist in the process.
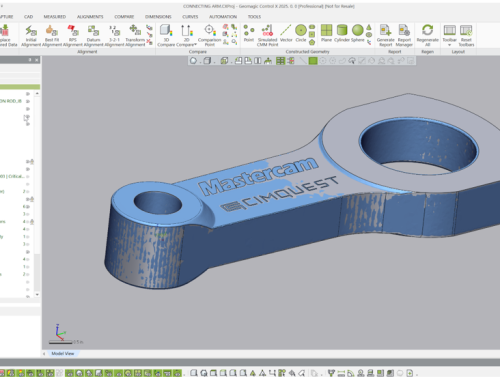
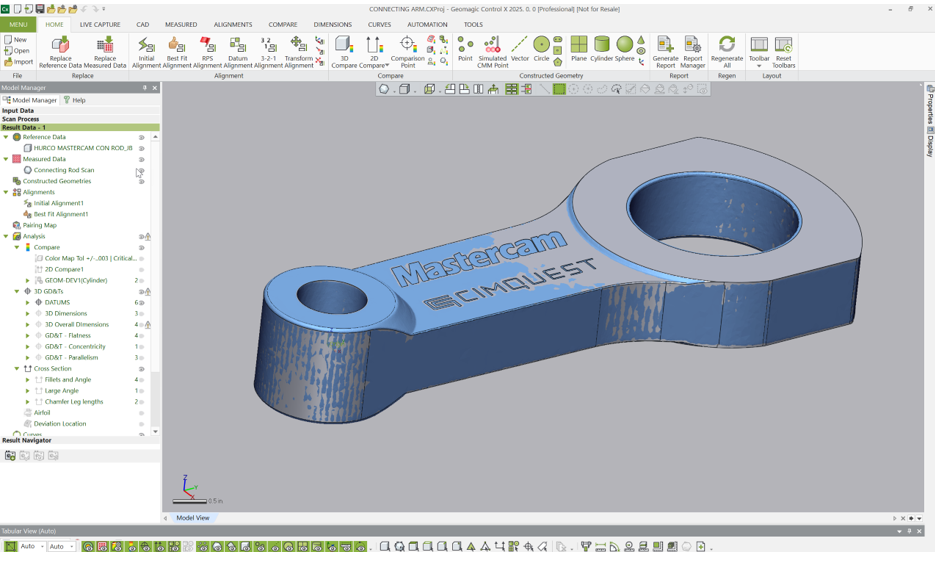
Consider the highlighted face below. Suppose we want to build several 2D inspection dimensions in that face.

We start out by telling Control X to create a 2D drawing in the plane of that face.

As we zoom into an area, we can see both solid and dashed 2D geometry. The solid geometry represents the nominal CAD model’s cross section at that planar location while the dashed geometry represents the scan. Just from this image, we can tell that this hole’s Cylindricity is a bit off, even without measuring.

Next, to measure the theoretical thickness at a location, we ask Control X to create Construction Points at the intersections of lines A&C and B&C.


Now that the theoretical intersections are in the inspection drawing, we can ask Control X to measure the distance between the two points, representing the part thickness.

Next, Let’s measure from the center of the main port to the outer tangency radius, shown below. This dimension is created by simply selecting both arcs and selecting the appropriate ‘Arc Condition’ in the dialog; center for the main port and Max (outer tangency) for the tab.

We can also check 2D GD&T Callouts using the 2D tools provided. Consider the wall thickness of the groove around the outer perimeter. Suppose we want to check Concentricity of the outer arc as compared to the inner.
We first define the inner arc as a Datum.

Next, we check the Concentricity of the outer arc as compared to Datum A to ensure it is within the .030” tolerance provided.

So as you can see, 2D inspection dimensions are also possible to achieve using Control X Professional, and sometimes can be used to report inspection information in a clear, concise fashion.
Please contact Cimquest with any questions.

Leave A Comment