As a good rule of thumb, there are three areas of highest concern when selecting the right 3D scanner for your needs. 3D Scanners should be selected based on their accuracy, their resolution, and in cases of metrology, for their repeatability.
- Accuracy is perhaps the most intuitive as it is simply the distance that the scan points will be from the surface being captured.
- Resolution (aka “Point Spacing”) is a scanner’s ability to capture fine detail. It is essentially the density of the point cloud. So when scanning something with a lot of small detail, such as a coin, a very high resolution is required. In considering resolution, the lower the number (i.e. the more dense the point cloud is) the greater the resolution.
- Repeatability is simply a test we would typically run where one person scans a part several times and colleagues do the same and we want to ensure that the differences between any of the collected scans is within an acceptable deviation tolerance.
In this post, we are going to give you an overview of the Shining 3D scanners and we will explain what the best applications are for each scanner. All have excellent repeatability.
The Autoscan Inspec
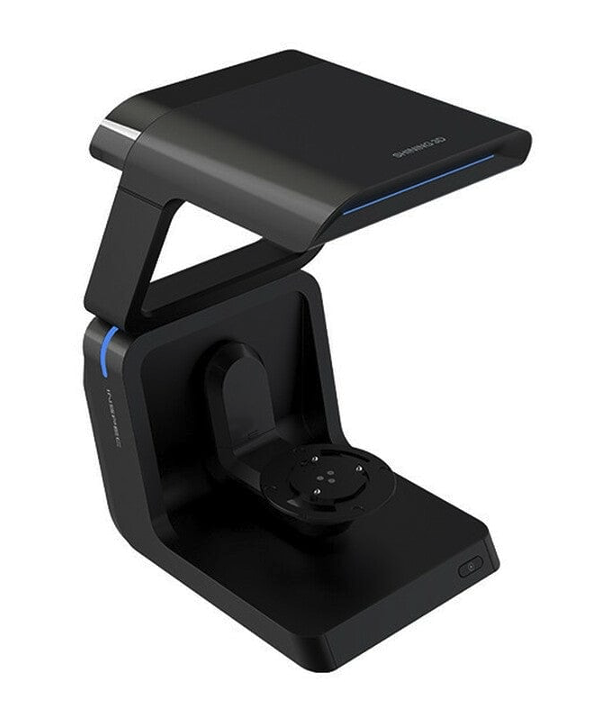
Excellent for reverse engineering or inspection of small parts
The Autoscan Inspec is a desktop, structured light scanner designed to scan very small objects (4” x 4” x 3”) at an extremely high accuracy of just 10 microns (.00039”) and a 50 micron (.002”) resolution. So the small point spacing enables very tiny features to be captured in the scan.
The Einscan HX
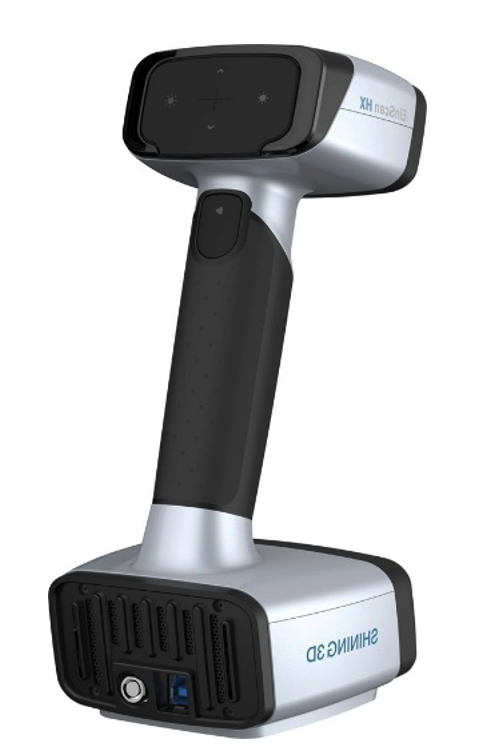
Excellent for Reverse engineering, “lite” inspection and color scanning (small to midsize parts)
The Einscan HX is an extremely versatile handheld scanner with both a laser mode for high-precision scanning and a structured light mode for organic shape scanning, capturing both color (texture) and shape with extreme accuracy. This scanner can handle larger parts than the Autoscan but very large part scanning (the size of a car) would have limitations.
The Freescan Combo
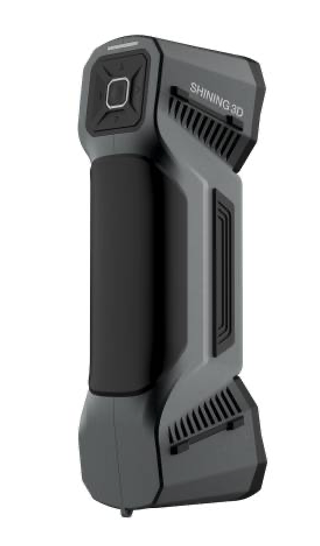
Excellent for Reverse Engineering and Inspection (small to midsize parts)
This tiny scanner (roughly the length of a cell phone) is excellent for both metrology as well as reverse engineering. Like the HX, it has dual modes for scanning; Laser and Infrared where the Laser setting would be used primarily for mechanical part precision scanning, and the infrared mode would be more focused on organic shape scanning. This scanner too would have limitations on part size in laser mode and scanning something the size of a car would be challenging.
This scanner also comes with an HD (High-Definition) mode whereby a user can scan a complete part at a lower resolution and just scan isolated areas in high resolution, when capturing fine detail is required.
The Freescan UE Pro
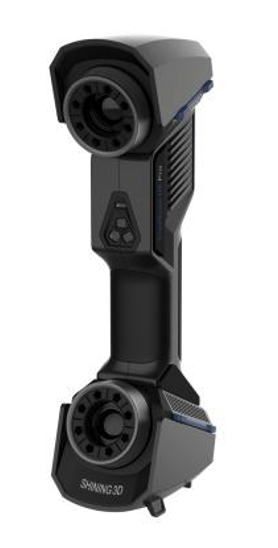
Excellent for Reverse Engineering and Inspection – Used for scanning very small to very large parts
The Freescan UE Pro is perhaps our most versatile scanner as it can scan very small parts (the size of a quarter) in HD mode and capture extremely fine detail. It also has built-in photogrammetry for capturing very large parts (i.e. the size of a car) and the built-in photogrammetry technology will reduce the volumetric error that typically accumulates with handheld scanners.
The Freescan Trak
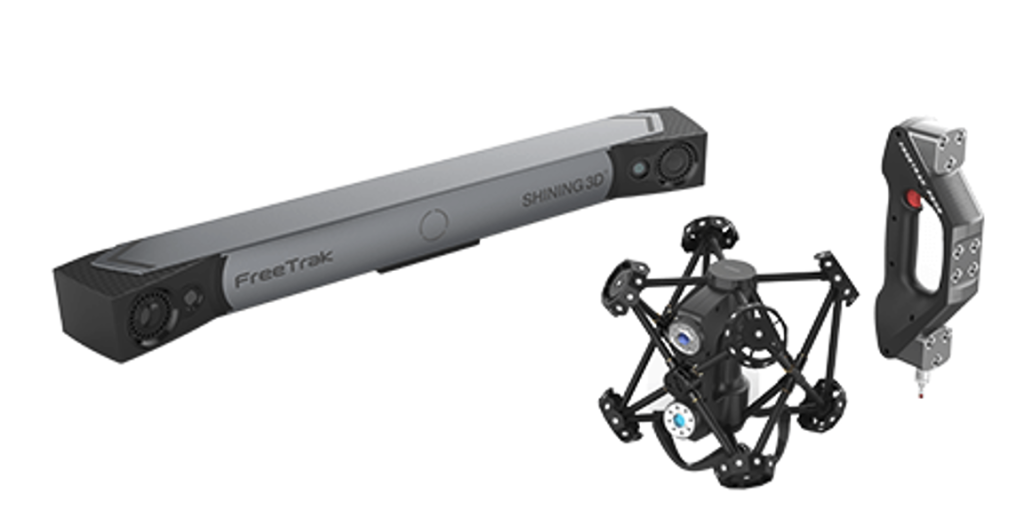
Excellent for Reverse Engineering or Inspection of very large objects (Cars, boats, etc.)
The Freescan Trak uses a scanner and a laser tracker to define a scannable volume. The combination allows for extremely large part scanning and using just a few targets. The volumetric error for such a large scanning volume is excellent.




Leave A Comment