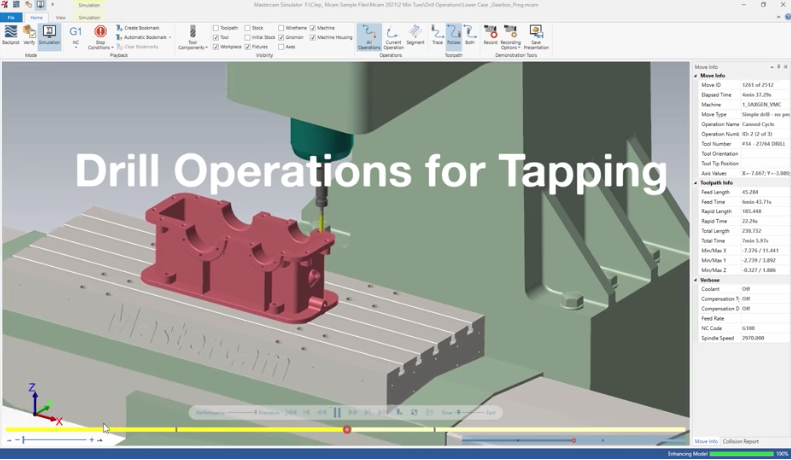
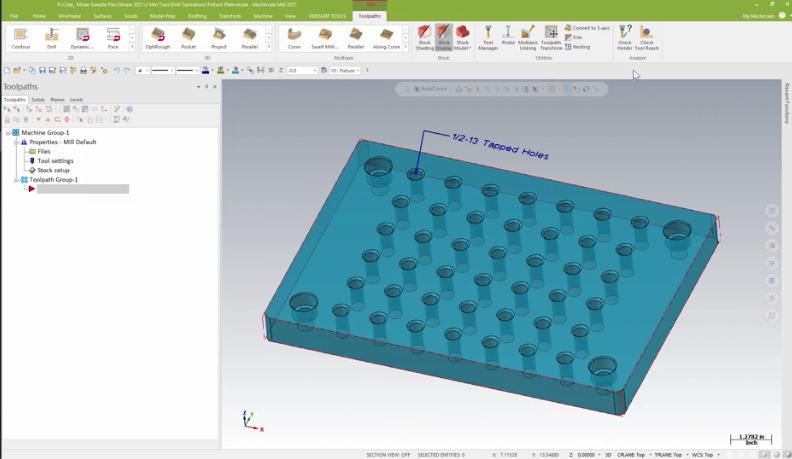
This blog post will discuss creating Mastercam drill operations for tapping. The order of operations for the tapping cycle will typically share common parameters from part to part. By creating custom drill operations, you can increase the efficiency of programming for these common features. Our example fixture plate has multiple drilled and tapped one half 13 holes.
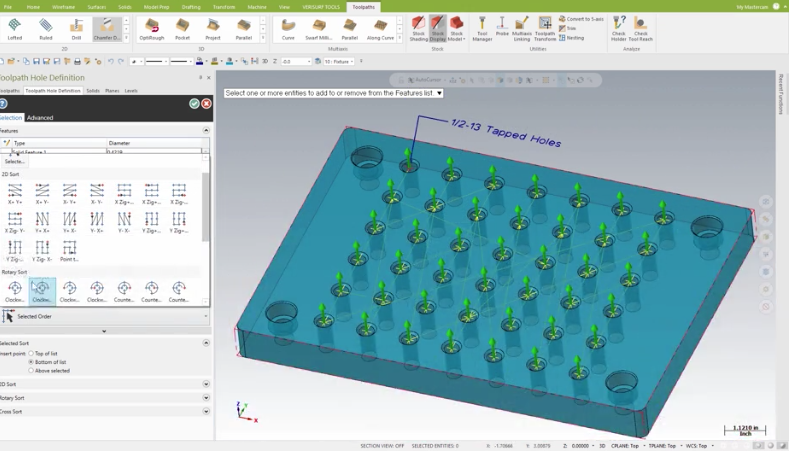
Starting with the chamfer drill toolpath, we took advantage of the solid feature defining the tapped hole. Remember that you can use the ctrl key to select all the matching diameters.
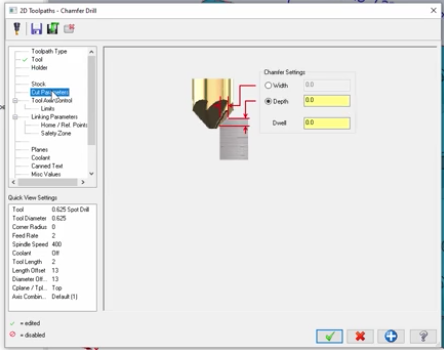
Reset the whole sorting as needed and with the hole location selected, you can associate the spot drill to the toolpath. In the Cut Parameters, the depth for the transfer can be set to zero due to the chamfer being defined in the solid feature.
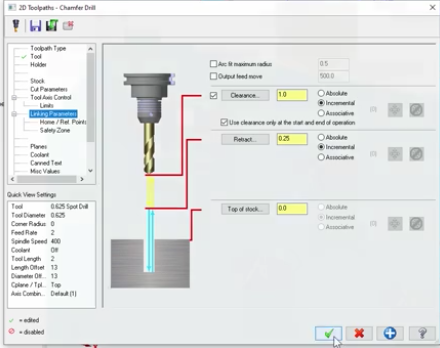
The Linking Parameters were all set to incremental.
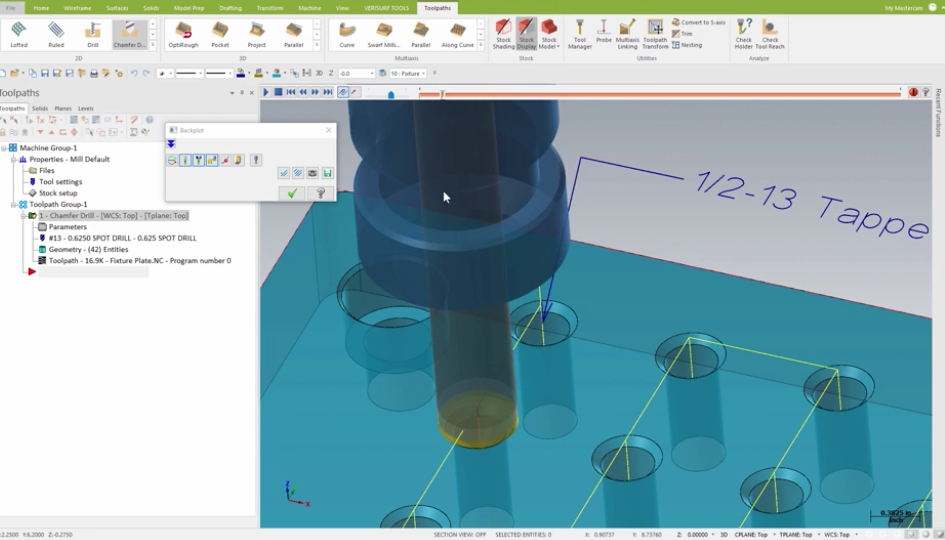
By backplotting the toolpath we saw the spot drill was feeding to the proper depth matching the chamfer.
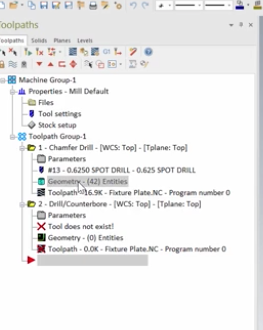
Next, we opened a drill toolpath for the tap drill operation. Just close the whole selection utility and select yes to keep the drill toolpath. Use the left mouse button to select and drag the geometry from the chamfer tool path and release it on the geometry for the new toolpath.
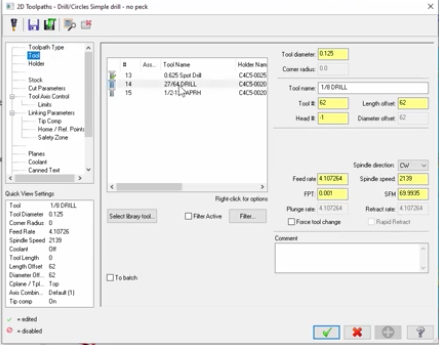
Now you can open the Toolpath Parameters and associate the 2764 tap drill in the linking parameters.
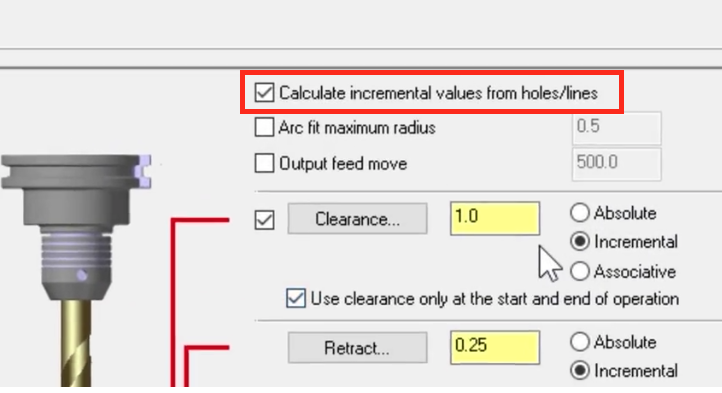
Make certain the first checkbox is selected to calculate values from the holes. All the linking values will need to be set to incremental.
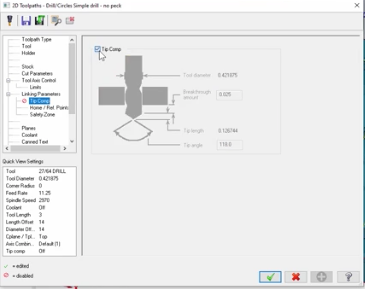
Close the toolpath and regenerate. Copy and paste the tap drill toolpath to create the tapping cycle. Open the parameters to edit the tapping cycle and turn off the Tip Comp due to this toolpath possibly being used in a blind hole.
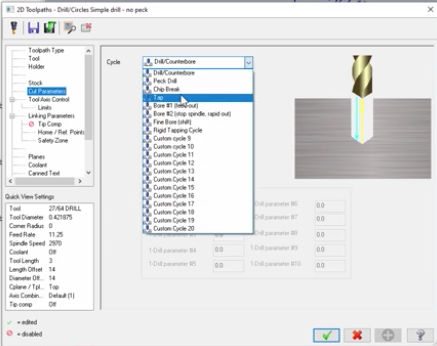
In the Cut Parameters page, you should set the cycle to Tapping in the dropdown menu.
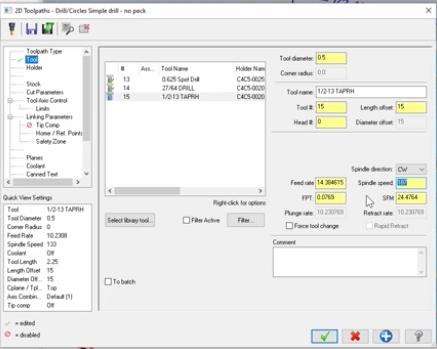
Now use the Apply function to reset the toolpath. Next, you can open the Tool page to select the one half 13 tap. With the toolpath set as a tapping cycle the feed and speed are now associative. This means if you change the spindle speed the feed rate will update as well. Regenerate the tapping toolpath and save the part file.
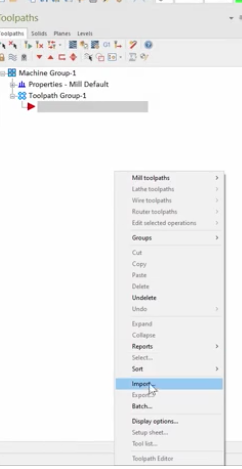
To create the tap drilling operation file, select all the toolpaths and right-click in the Operation Manager. Select Export in the menu and open the folder in the upper right-hand corner of the export utility.
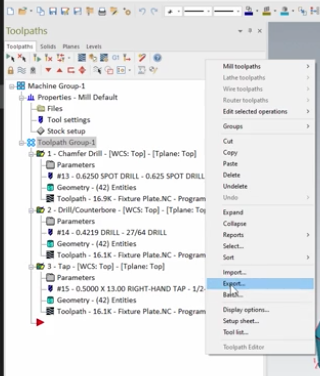
Don’t forget to rename the new operations file so the Mastercam default operation file does not get overwritten. Now save the file. Use the Apply function to export the toolpaths, click ok to export, then close the utility.
Now we have a new part file. Right-click in the Operation Manager and select import.
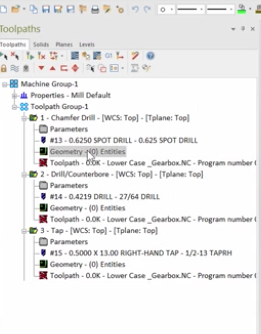
Open the folder and select the half 13 tapping operations file. Select the toolpaths for import. Now use the Apply function to import. Select ok to confirm the import and close the function. Now select the Geometry button in the chamfer drill toolpath.
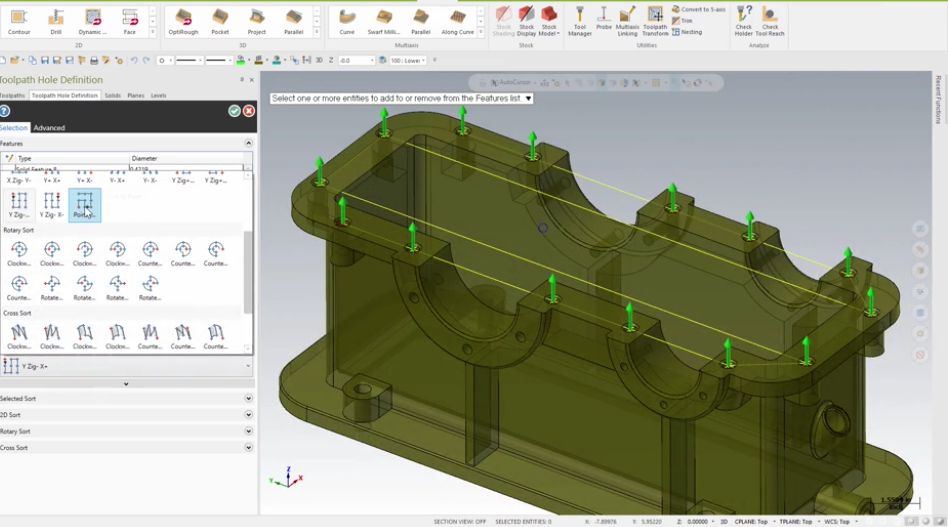
This will open the Hole Selection utility. Select one of the half 13 hole features using the control key to select the matching diameters. Reset the point sorting as needed and close the Hole Selection utility and regenerate the tool path.
To associate the new geometry, use the left mouse button to select and drag the geometry from the chamfer drill tool path and release it on the geometry for the two toolpaths. Because the linking parameters are set to work incrementally from the solid feature you will only need to regenerate the toolpaths.
Please be sure to sign up for our 2 Minute Tuesday video series to receive tips and tricks like this one in video form every week. More info at the button below.





Leave A Comment