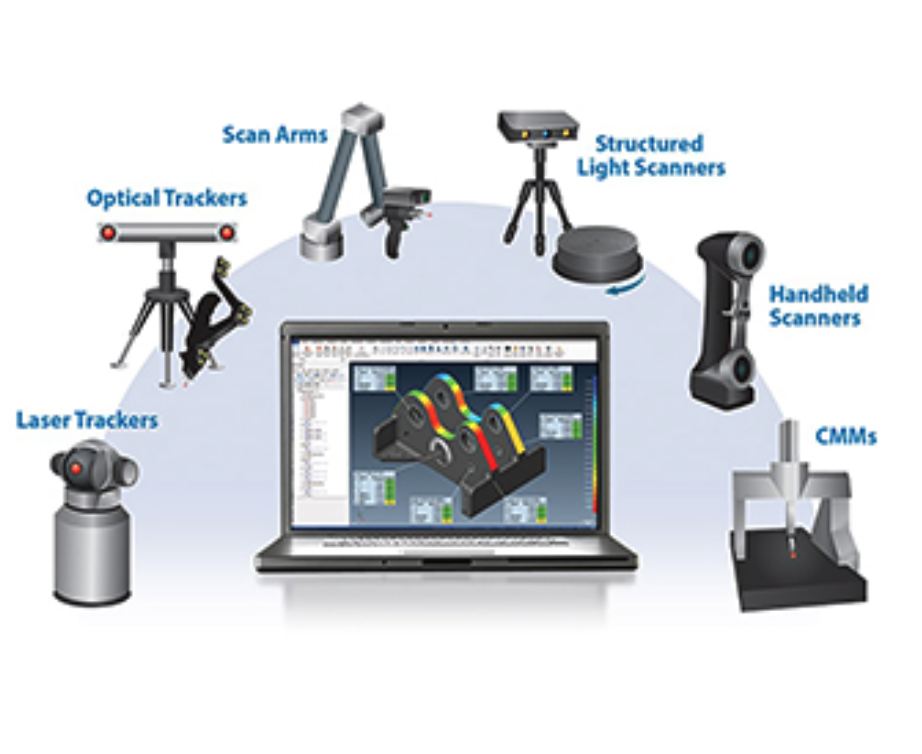
When evaluating choices for the appropriate 3D scanning device(s) there are a number of considerations that can lead you to select the best scanning system for your needs. And unfortunately, there may be a necessity to compromise and decide which option is the best choice albeit not perfect in all aspects of the job.
- Accuracy requirements
- Size of the workpiece
- Access to features, such as those obscured from line-of-sight
- Surface finish – rough or smooth, light or dark color, shiny or matte finish
- Surface softness or vulnerability
- Other factors
Again, 3D scanning devices will be chosen based on the best but not perfect choice, or availability may be the deciding factor. The options vary widely in terms of the cost of equipment. For non-contact scanners versus tactile CMM-type devices, it should be noted that for soft parts and for those with highly undulated or rough surfaces, non-contact is the only way to go. For tight tolerances, contact CMM devices are best.
Articulating Arm & Scanner Combo
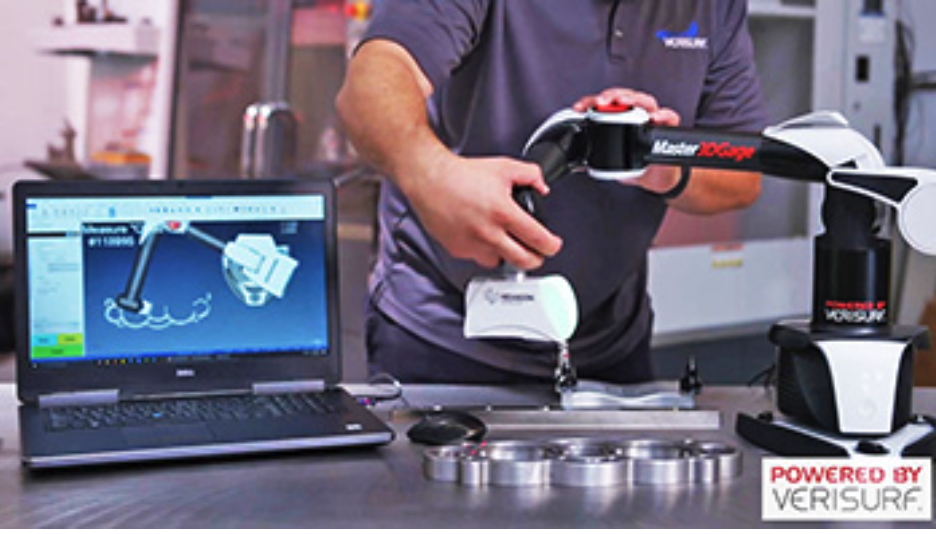
This solution has the advantage of non-contact, high volume data acquisition of the scanner and also the ability to probe holes into the part beyond reasonable access of the scanner. The probe typically is more accurate than the scanner and therefore may be chosen for features that require higher accuracy such as datum features, with holes and slots being of greatest relevance.
Structured Light Scanner
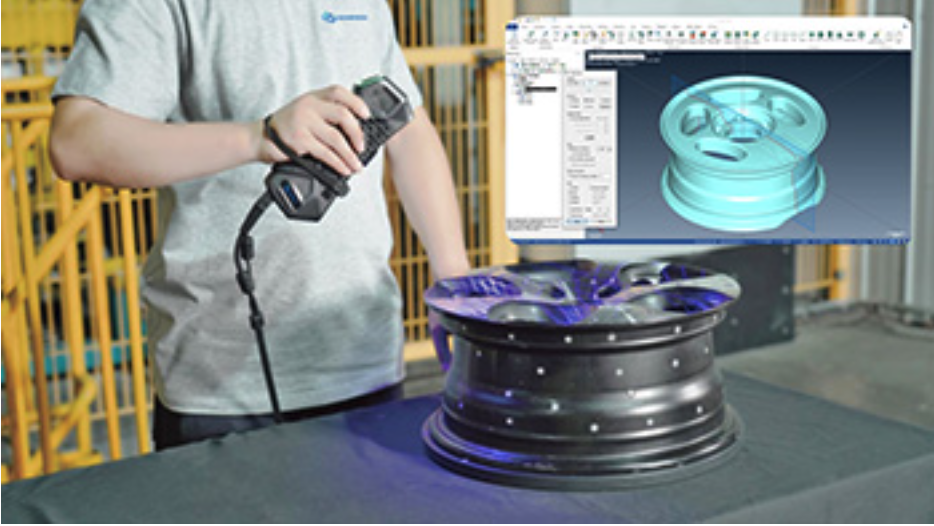
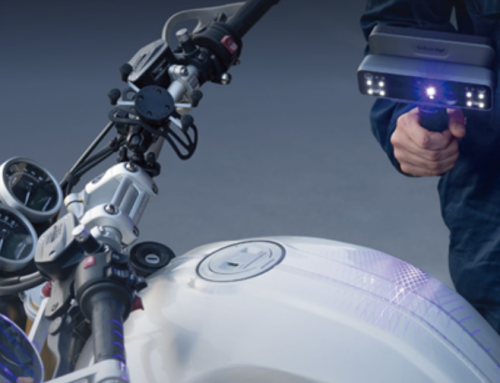
These devices take a lot of data very quickly and can be focused for accuracy or field of view, whichever is the more critical. They acquire cleaner point clouds than articulated arm scanners and require less cleanup, averaging, or smoothing, especially in areas of overlapping scans. Scanners attached to arms have the disadvantage of error induced by the articulating joint encoders, which makes overlapping scans a bit noisy. These devices may take longer to finish the job because it may be necessary to use another means to get data in holes or features that are not accessible to the line of sight.
Contact Probing CMM (Coordinate Measuring Machine)
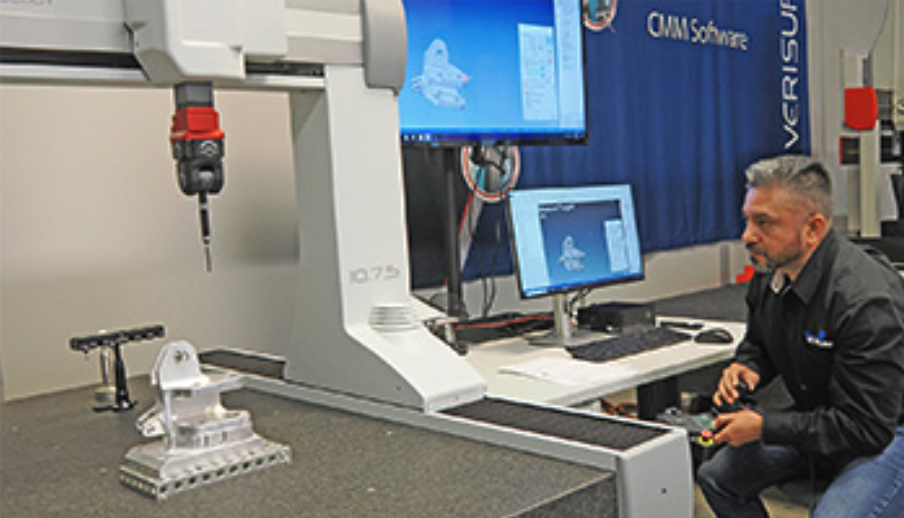
CMM-type devices will do an acceptable job for reverse engineering certain types of workpieces and certain types of shapes. In fact, there are times when contact CMM devices are better than high-volume scanners. When high accuracy is important, it may be the only solution since they are typically around 0.0002” (0.005 mm) in accuracy, and non-contact scanners are around 0.002” (0.05 mm). Please note that these values are only ballpark and can vary widely, but these numbers give you an idea of what you are up against. Something that is important to note, and it is not a popularly understood reality, is that touch probe or hard probe CMM devices can not only do the reverse engineering work, but they can often do it as well or better than non-contact scanners.


Leave A Comment