Enhancing Radiation Shielding Using 3D Printing, Scanning, and Geomagic Design X
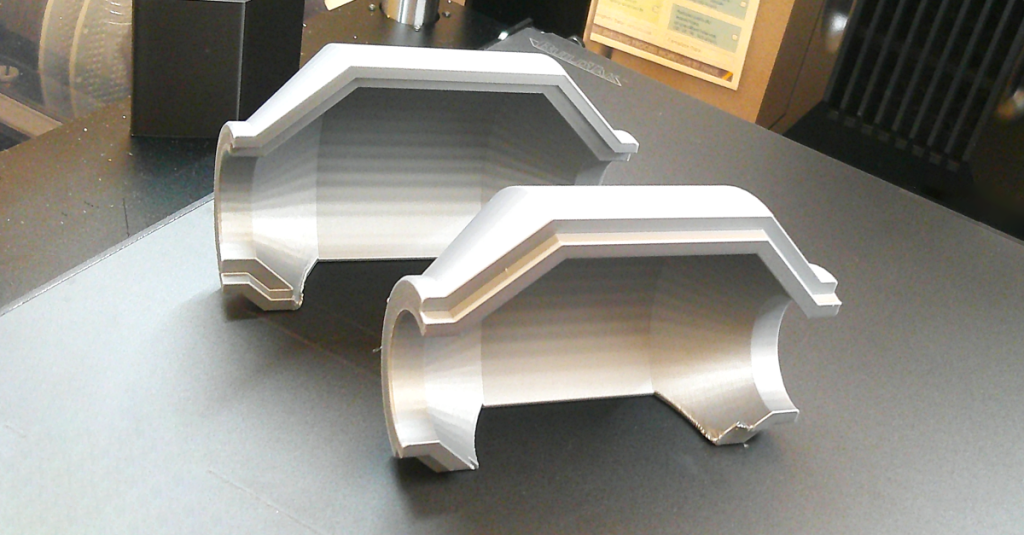
They measure the area that requires shielding – either with a 3D scanner or digital calipers – design the component in Geomagic Design X and print it in tungsten-impregnated plastic powder.
The entire production is carried out in a cubicle at the Bruce Power office. No shop floor, no specialist additive engineer, no expensive machinery, just a 3D scanner, 3D reverse engineering software, and two consumer-level printers. They acquired the scanner and the software from Canadian Additive Manufacturing Solutions.
“The process was developed by a couple of my coworkers who are 3D printing hobbyists,” Neil says. “They discovered a supplier who is producing a filament with tungsten powder embedded in it. Tungsten is a common radiation shield and it’s better than lead because it isn’t toxic. We can use it to shield pipes, valves, and various other components. It’s more effective in many cases because it focuses shielding where it’s needed.”
3D scanning for focused radiation shielding
The new approach enables them to act fast. When a new hotspot is detected, Neil measures the radiation and checks for constraints or obstructions in the area. He takes pictures, identifies the supporting structures, frames and walls, and checks if it is possible to put weight on the item. Based on that information, he can decide if the custom-made shielding is the appropriate way to reduce the hazard.
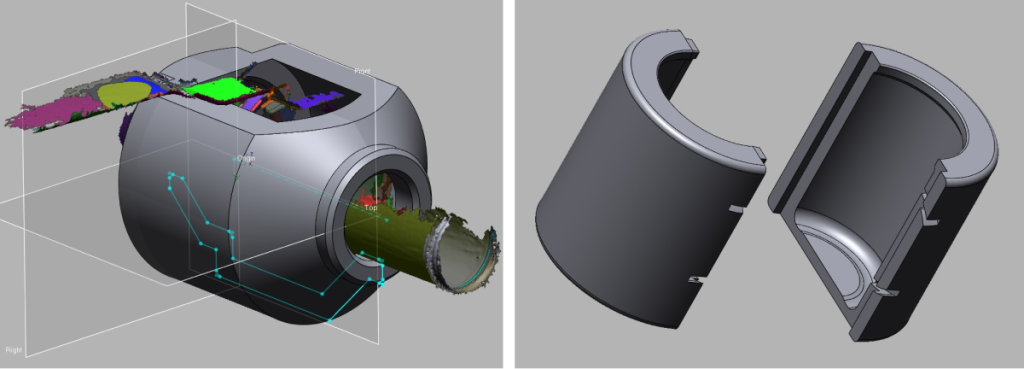
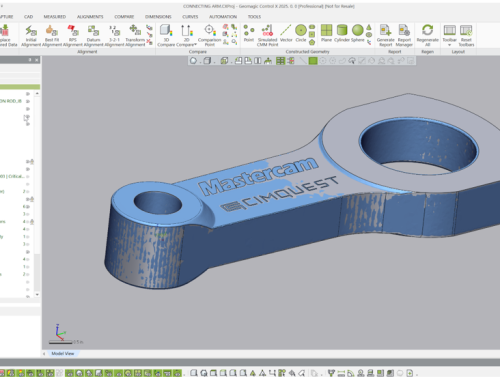
If the project is greenlighted, Neil begins taking the measurements necessary to design the 3D printed component, either with a digital caliper or a Shining 3D FreeScan Combo scanner. He imports the 3D scans into Geomagic Design X and designs the shield around it. He defines the regions and aligns the reference planes after which he can design the shield to enclose the area. He also creates a way to split the component into separate pieces so that it can be assembled on the spot.
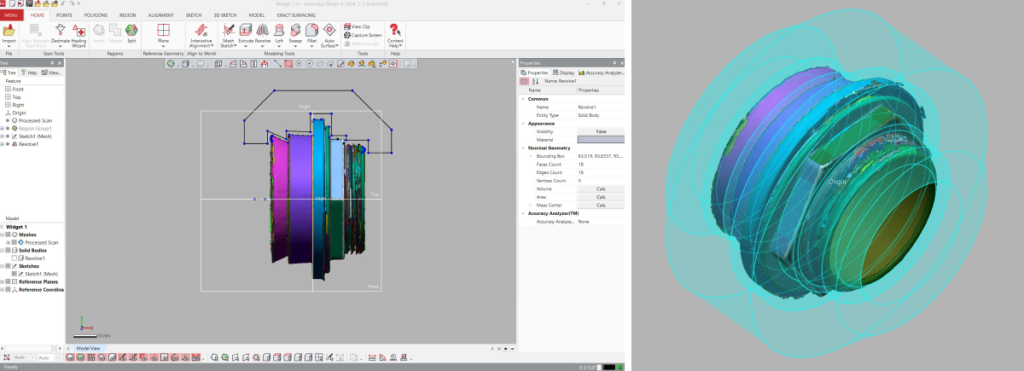
Neil picked up Design X quickly due to its similarities with SolidWorks. He likes that the function menu headings proceed left to right in the order he is likely to need them.
Once Neil finalizes the design, he exports the model as an STL to be 3D printed. He’ll first print a test component in a cheaper material, like PLA or PETG, and check if it fits. After testing, he’ll print the final component in tungsten-infused PLA.
A follow-up is carried out 30, 60, 90 days, and one year after installation to check for signs of degradation. Regular monitoring of the long-term effects of radiation is essential.
Drawbacks of one-size-fits-all solution
Before 3D printing, Bruce Power used two methods to create radiation shielding. The main approach was placing blankets lined with lead wool. The sheets are 30 to 40 centimeters wide, 60 to 70 centimeters long, and weigh 15 to 20 kilograms.
“The lead blankets are awkward. We drape them over the radiation area or wrap them around it. They’re difficult to use for localized shielding because they’re thick, heavy, and don’t bend easily. A lot of the shielding is wasted on areas that don’t need it,” Neil explains.
The issue of excess weight is further exacerbated when an area requires multiple layers. “At times we needed to apply two or three blankets to a spot which could add up to 50 or 60 kilograms. With the small 3D-printed one we can get an equivalent shielding value for a lot less weight because it can be focused where it’s needed. That makes engineering happy because we’re putting less weight on their equipment,” Neil explains.
The second method they relied on is similar to 3D printing tungsten in-house but uses silicone as the carrier medium instead of PLA. The process is undertaken by an external vendor for Bruce Power.
Speed is a big advantage of the 3D scan to 3D print process. “We can have a design made, manufactured and installed typically in less than 48 hours from when it’s needed on an emergency basis,” Neil says.
They even created shielding for a camera in under 24 hours. Radiation damages electronics causing cameras inside the reactor vaults to fail within five or six months. To extend a camera’s life, Neil designed a custom shield to go over it as well as a mounting fixture. “We had it designed, built, and installed in less than 24 hours. We’re at seven months later and it’s still working,” he says.
Changing the nuclear power industry
This innovation is making waves. Bruce Power has been recognized by the Nuclear Energy Institute with the Top Innovative Practice Award. It also held information sessions with nuclear plants in the US and Canada, some of which have started replicating the approach.
Internally, Bruce Power intends to refine the process. Neil is improving the design style for the shielding and aims to reduce materials by optimizing support for printing. He plans to scan more cases and identify hot spots ahead of time. When a quick turn-around is required, they have a process in place to handle it.


Leave A Comment