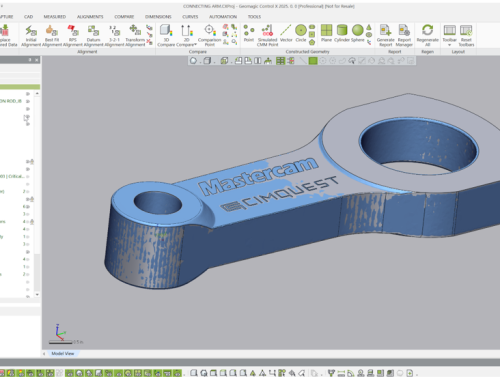
We’ve seen how to inspect the scan of a single, manufactured part against an inspection plan generated using a nominal CAD model.

But what if we have many manufactured part scans to inspect against the same inspection plan, using the same nominal CAD model. That’s where Batch Processing comes in. The exact same inspection process can be reused as many times as needed and no human intervention is required.
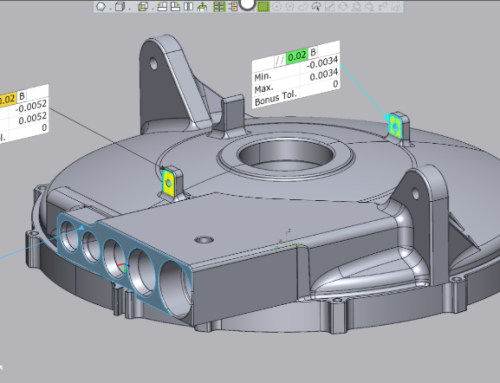
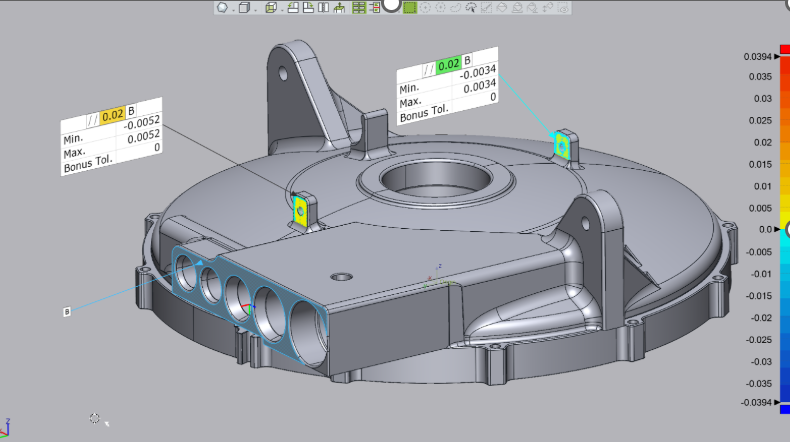
Once the batch processing routine is complete, you will have date and time-stamped, serialized inspection reports for each unique part scan.
The first step is to create the complete inspection model against the nominal CAD model and perhaps inserting the very first scan to verify alignment, data measurements and output to ensure everything that needs to be inspected is setup properly.

The Batch Inspection menu is quite simple to work with…

We first select all scans that need to be inspected. Select the Add Files and Browse to the folder where the scans of all the connecting arms are.

Next, if there are multiple Results files defined in the Control X model, select the one you’d like to use for this inspection.

Next, select the desired Output Options –

And finally, select the destination Folder –

Other options will allow you to further optimize your results, such as adding a user defined Prefix to each report.
Once OK is selected, the process begins and, in this case, all fifteen (15) scans will get inspected against the same nominal CAD model, with no human intervention.
This concludes this month’s Metrology Minute. Please reach out to Joel Pollet with any questions.


Leave A Comment