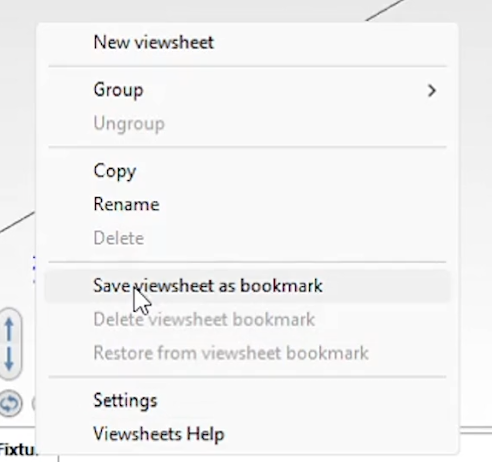
This blog post will explain how to import 2D PDF files into Mastercam 2024. To do this, first create a viewsheet of the part and save it as a bookmark. This will come in handy later.
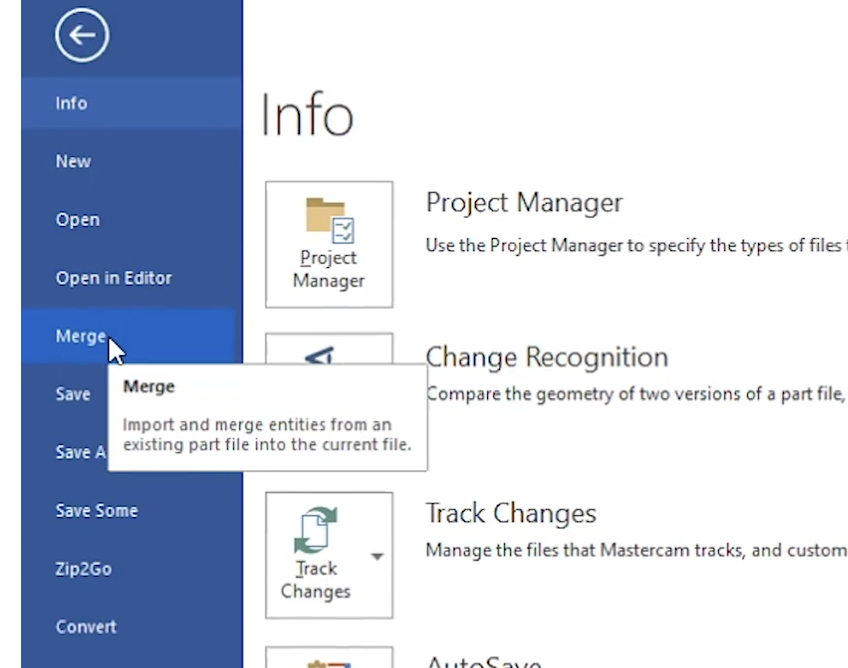
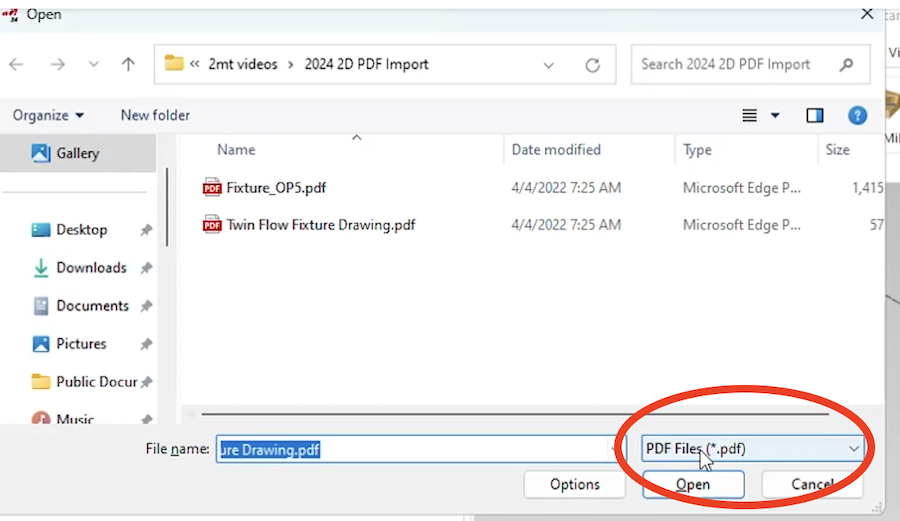
Next, select the Merge option under the File tab, switch the file type to .pdf, and select the pdf file to merge in.
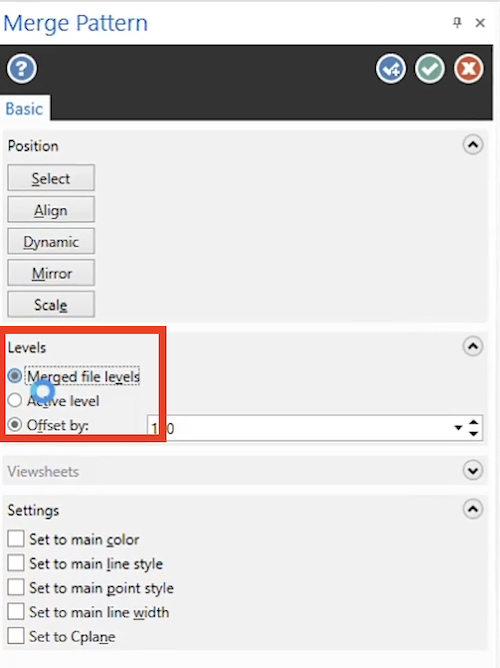
Next, set the levels to merged file levels and hit the green check.
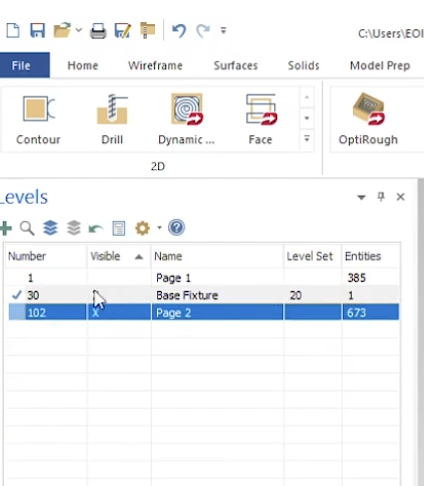
The image below shows what Mastercam imported from the PDF file. You can see in the levels manager that there is a level for each sheet, but more importantly, at the bottom of the screen, you will see that it has also created viewsheets for each page. This allows you to quickly access each drawing.
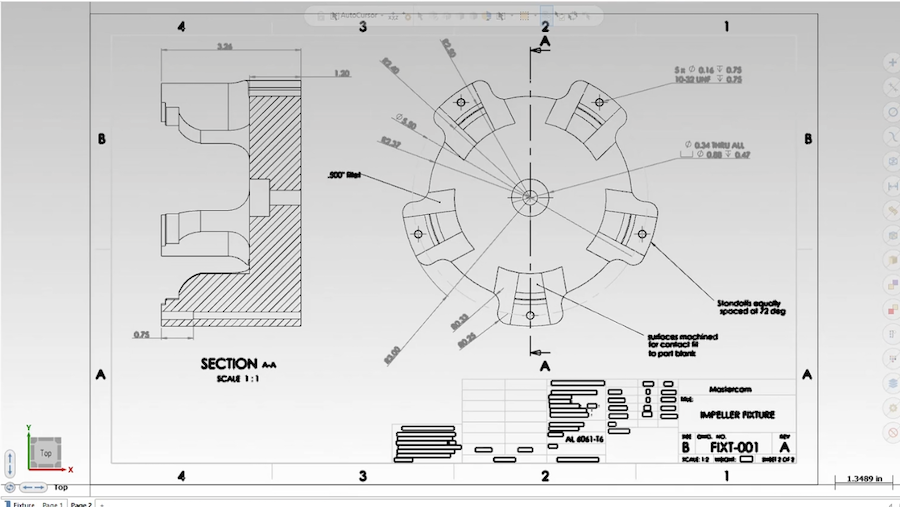
Also, notice that the drawing has been imported as wireframe geometry so you could apply toolpaths directly to the drawing.
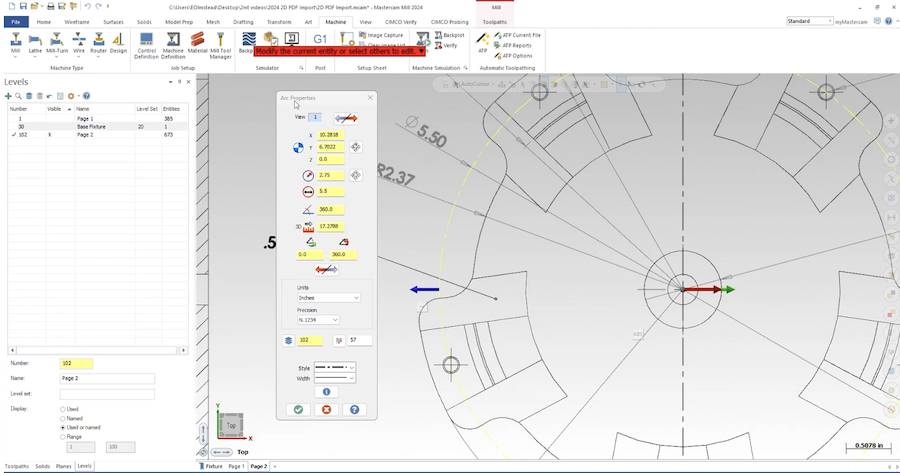
In doing this, just be sure to double-check the scale beforehand and resize as needed. Also, all of the letters will be converted to notes that can also be easily modified. If the drawing you created was to scale you could even apply missing dimensions. All of this combined with the viewsheet allows you to quickly check print dimensions like thread depths for your tapped holes without disrupting your workflow.
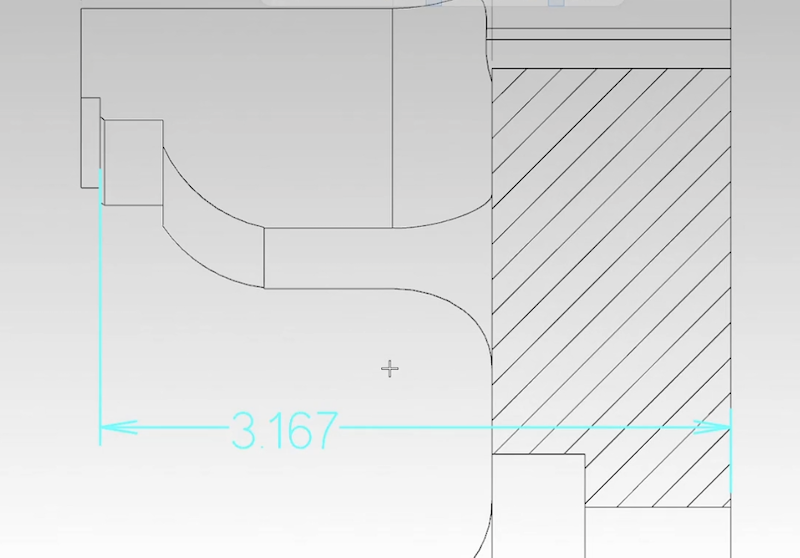
As you can see, the ability to import 2D PDF files into Mastercam not only gives you a quick easy method to view your blueprints but it could also save you time drawing your parts, so you can spend more time creating toolpaths.
Please be sure to sign up for our 2-Minute Tuesday video series to receive tips and tricks like this one in video form every week. More info at the button below.


Leave A Comment