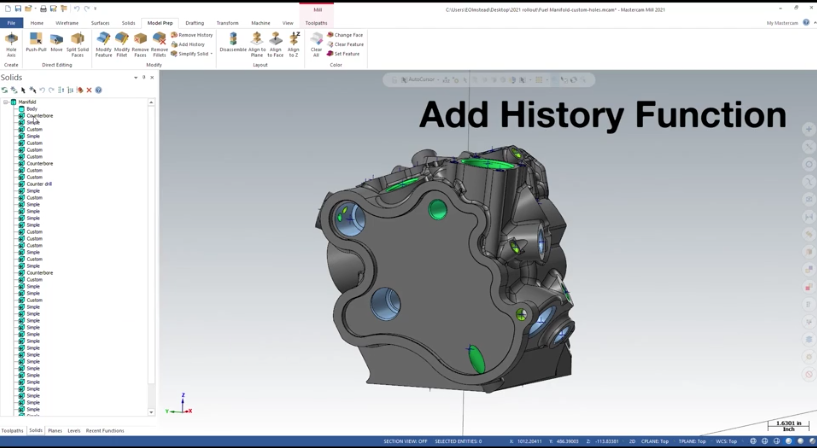
Let’s take a look at how to use the Mastercam Add History function. Suppose you receive a complex solid model from a customer and before you can start machining it you need to address some part revisions. In our example below, we have a fit counterbore that needs to be changed from 34mm to 1.375” diameter to match the new mating part.
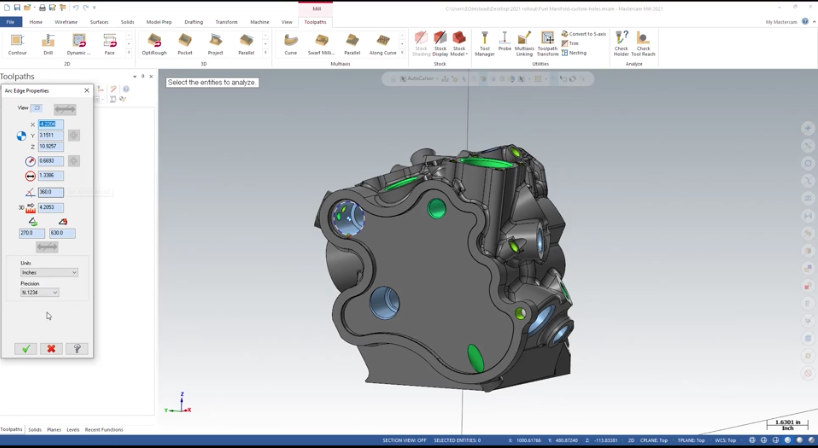
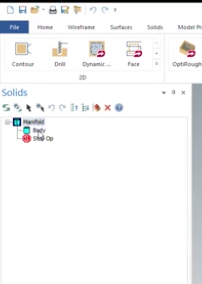
After we identified the proper hole and analyzed it to confirm the current diameter of 34 mm we opened up the Solids Manager to find there was no model history, but rather just a single solid body.
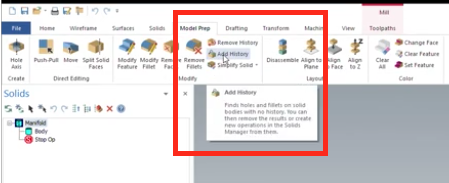
Without model history, you cannot edit specific features. This is where the Add History function becomes handy. To start using it, open the Model Prep tab and select the Add History function.
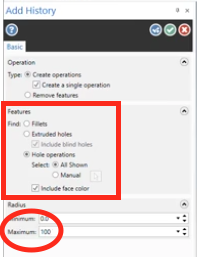
Now you can select Hole Operations as the features you want Add History to find. You should also set a maximum radius larger than anything you would expect to see on the part to ensure all holes are accounted for.
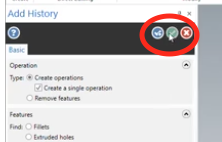
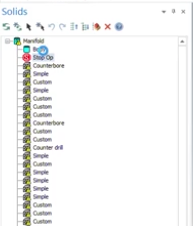
Once we click the green check, Mastercam scans the solid body for possible solid holes and generates them as individual operations in the Solid Manager.
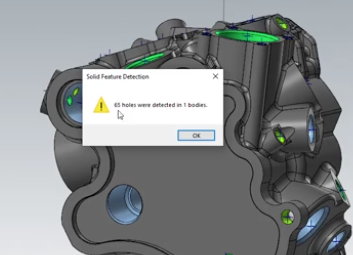
When the operation is complete, you will get a popup to let you know how many holes it detected and created in the solid body.
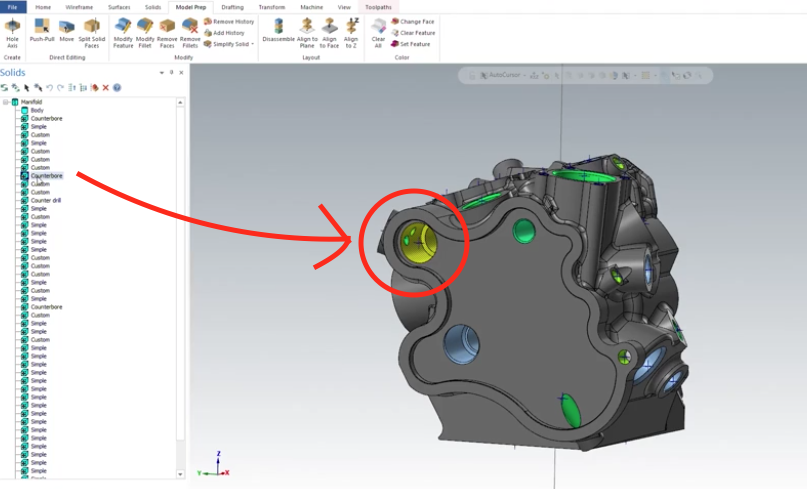
To find your hole in the solids manager you can select the first hole in the list then use the arrow keys on your keyboard to scroll down the list. The corresponding hole will highlight yellow in the graphics screen.
Once you find the correct hole, you can double-click on the operation in the Solids Manager to open up the Hole Manager.
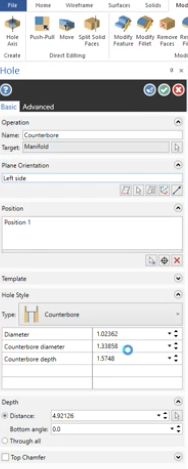
From here, you can modify your counterbore diameter to match your revision change.
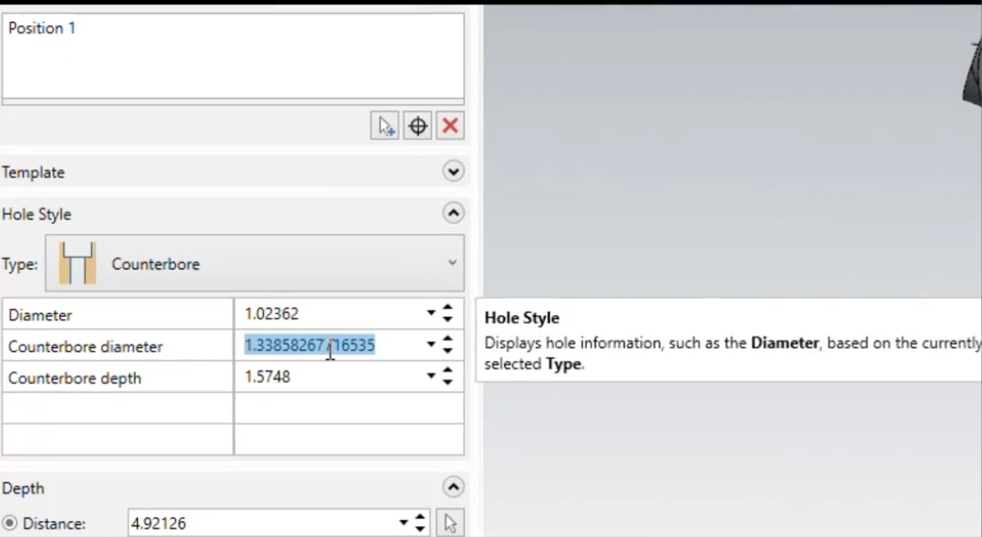
After you hit the green check to save your changes you will need to regenerate the solid body to apply the changes. Once the solid is regened you can analyze your hole to ensure the changes were applied.
Another bonus to using the Add History option is it also gives you the ability to shut off all your holes by dragging the stop sign in the Solids Manager.
Once the model has regened you can make a copy of the blank solid. This can be a useful trick when fixturing or rough machining a part. Then you can simply drag the stop sign back to bottom of the list and the model auto regens.
As you can see, Add History is a powerful tool to help you easily organize and modify complex solid models. Please be sure to sign up for our 2 Minute Tuesday video series to receive tips and tricks like this one in video form every week. More info at the button below.



Leave A Comment