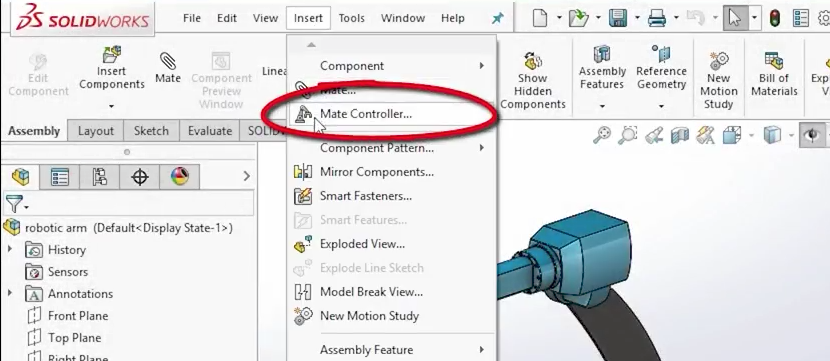
There is a great new enhancement in SOLIDWORKS 2017 that improves the Mate Controller tool. One of the benefits in creating assembly designs in CAD is the ability to simulate component motion. In CAD, you are able to define 3D motion constraints called Mates so that the part interaction resembles real-world motion – whether you want to simulate a robot, a lift mechanism, or even a bionic arm. However, creating animations when a series of specific positions are involved is no easy task. Usually, you would have to create a configuration for each specific position, and then toggle them to create the animation.
The new Mate Controller tool in SOLIDWORKS 2017can can you achieve this in an efficient manner.
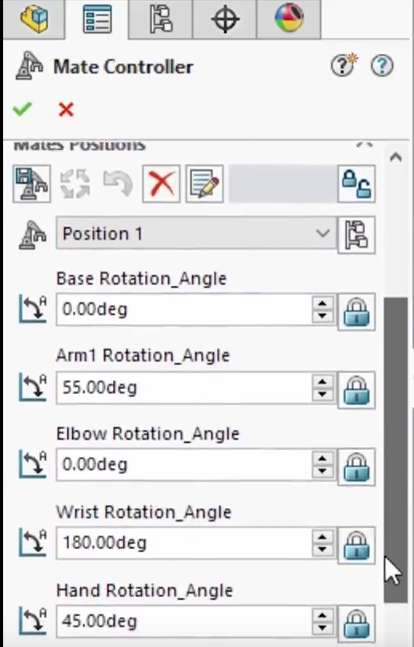
The original Mate Controller tool was introduced in SOLIDWORKS 2016 and allowed you to show and save the positions of assembly components at various mate values and degrees of freedom without using configurations for each position.
The Mate Controller then allows you to create simple animations between those positions, and save them out as .avi files. Various mate types are supported when utilizing this tool, such as angle, distance, limit, slot and width mates.
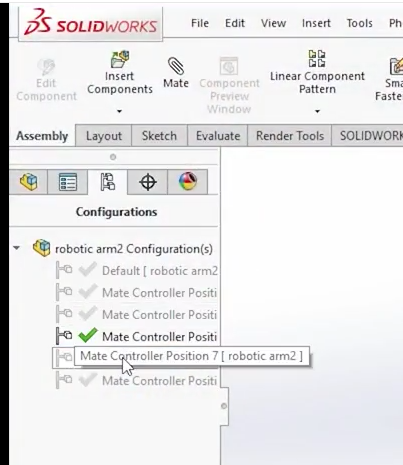
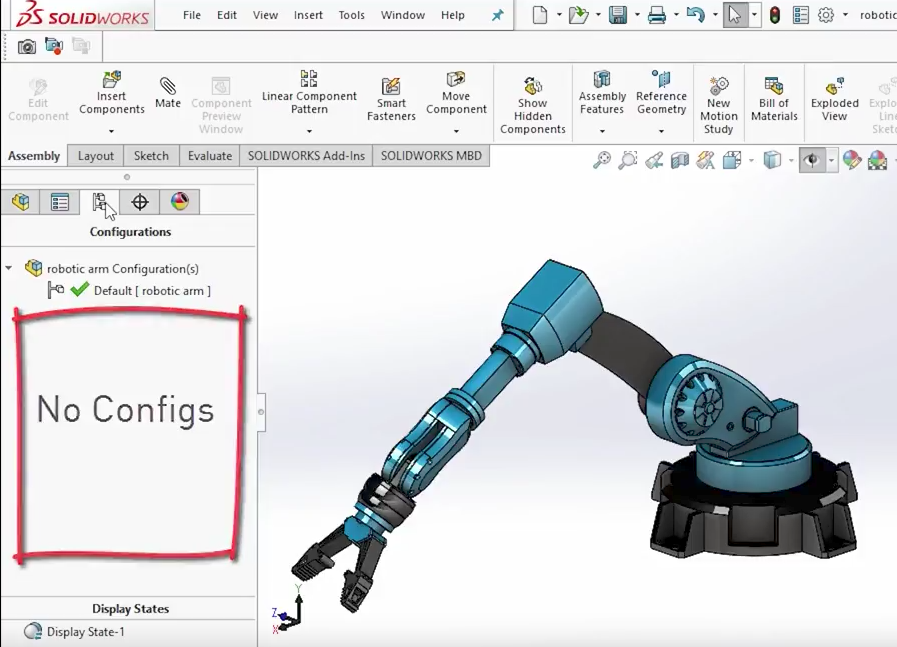
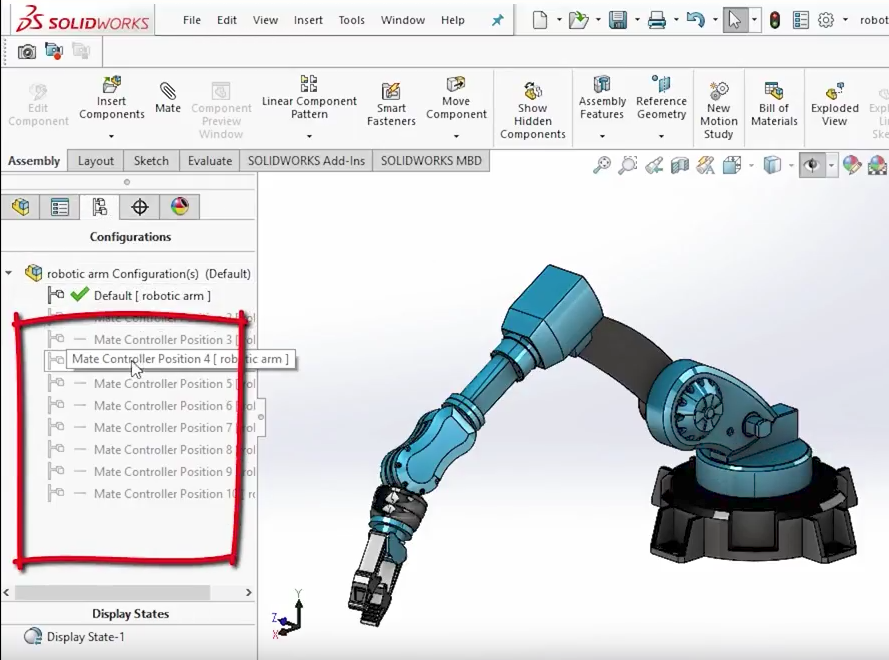
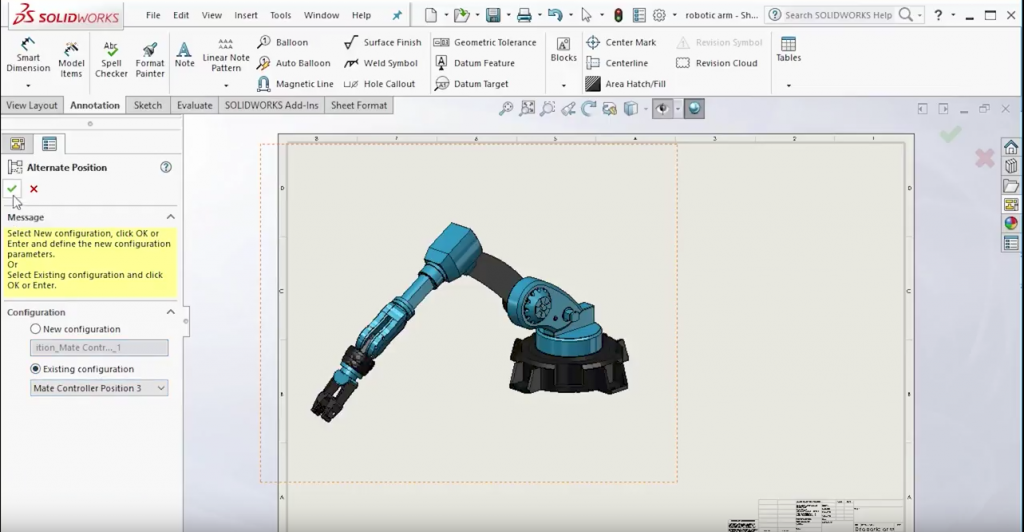
SOLIDWORKS 2017 took it a step further. You can now create a configuration from a saved position in the Mate Controller.
Once captured, this can then be used down the line in the manufacturing drawings, or to capture snap shots for technical documentation.
As you can see, SOLIDWORKS 2017’s Mate Controller tool allows you to quickly create an animation of an assembly in specific positions in space, and produce an .avi, without the having to manually create each and every configuration per position. What a time saver!
Please be sure to sign up for our 2 Minute Tuesday video series to receive tips and tricks like this one in video form every week. More info at the button below.



Leave A Comment