
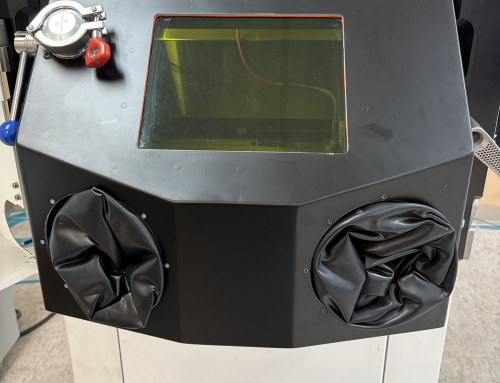
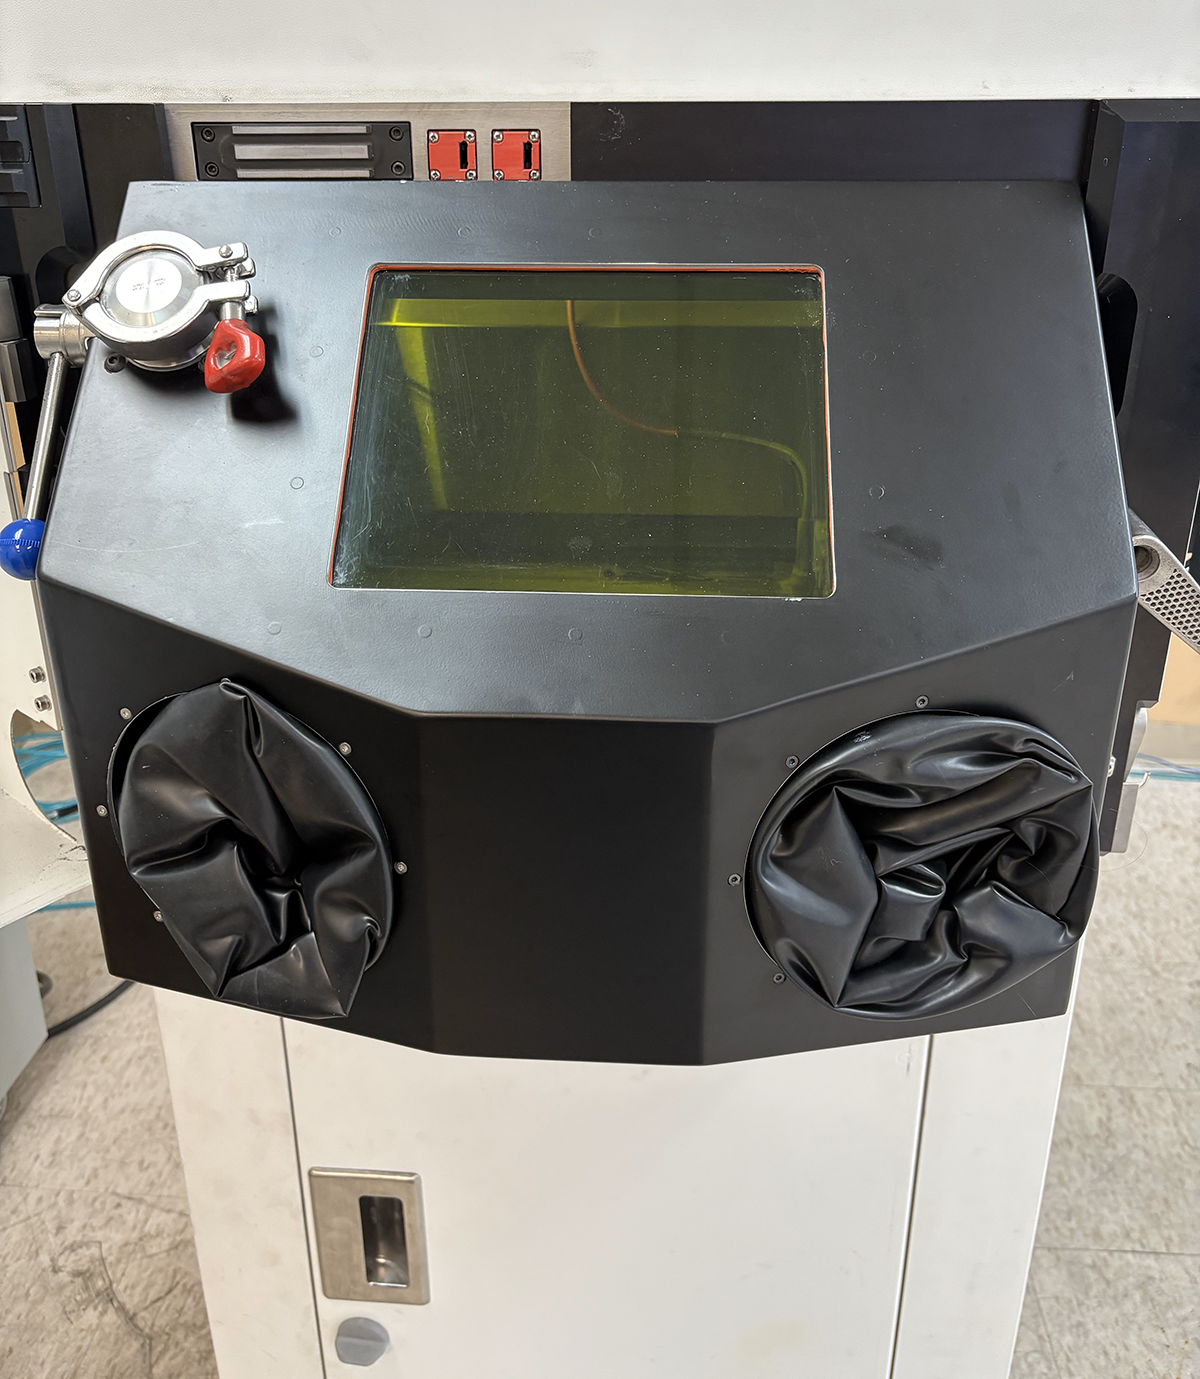
This blog post will cover how to remove Xact Metal Direct Metal Laser Sintering (DMLS) supports from completed 3P-printed parts. It will explain the process of safely and effectively separating supports from the build plate, removing supports from your metal 3D-printed part, and cleaning up support touchpoints.
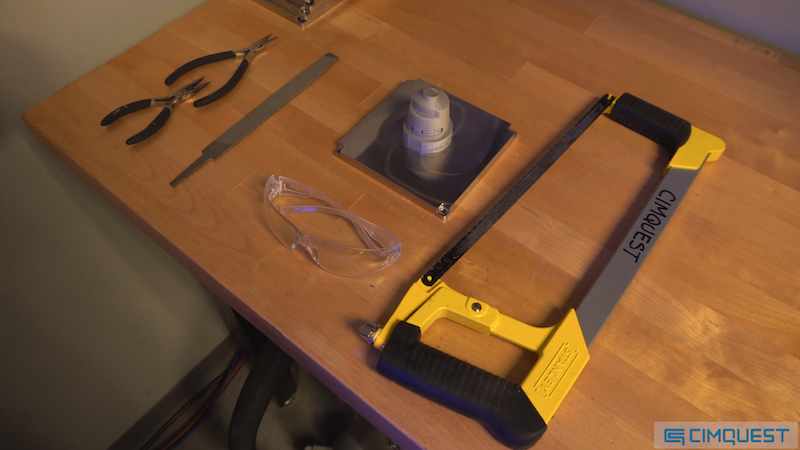
You will first need to have the necessary tools ready, including a cutting tool such as a bandsaw or hacksaw to separate the part from the build plate and small handheld tools like needle nose pliers and flush cutters to remove the supports from the part. Safety is crucial when working with metal parts. Be sure to use safety goggles and gloves to protect yourself from debris and metal particles during this process.
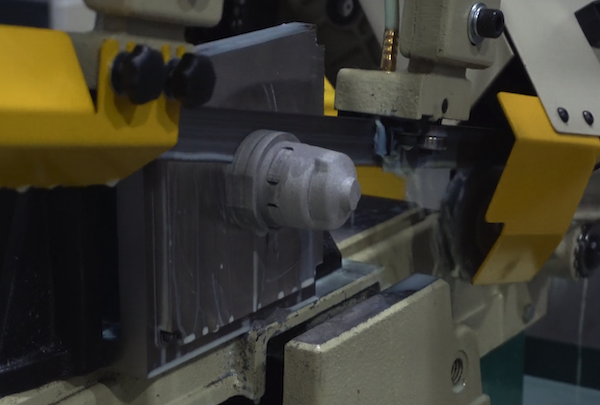
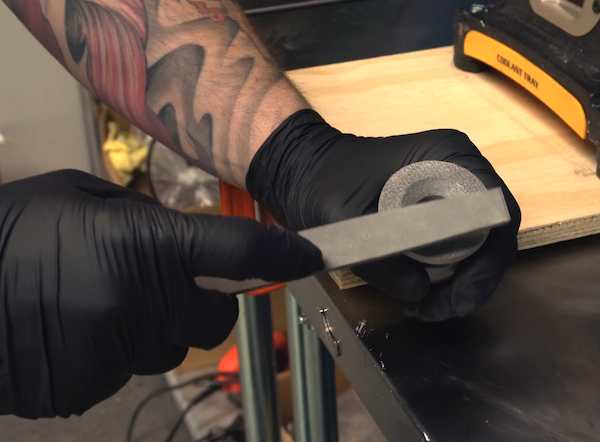
Using a bandsaw or a hacksaw, you will need to carefully cut the part off of the build plate, leaving the supports attached to the part.
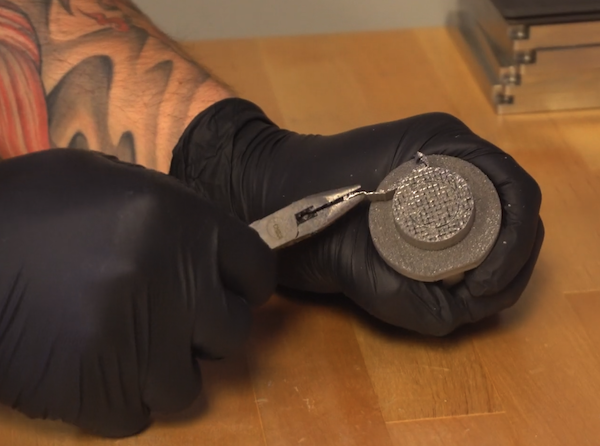
Once the part is cut off, use needle-nose pliers to grip the supports and gently twist or wiggle them to break them away from the part. Be cautious not to apply excessive force that could cause damage.
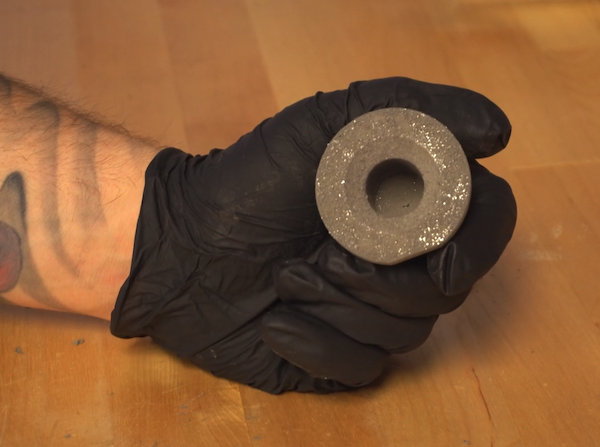
After removing the supports, you may notice some residual material or sharp edges on the part. Use a file, rough sandpaper, or a wire wheel to clean up any remaining debris and smooth out any rough surfaces.
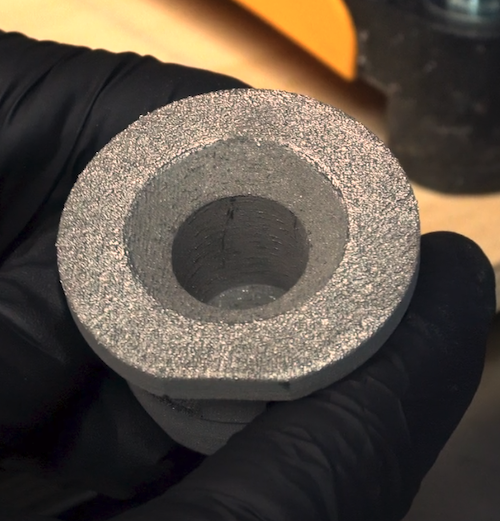
As you can see, your metal 3D printed part with supports successfully cut off and removed is ready for further post-processing or use. With the right tools, removing Xact Metal DMLS supports can be successfully executed. Remember to prioritize safety and take your time to achieve a clean and finished result.
Please be sure to sign up for our 2 Minute Tuesday video series to receive tips and tricks like this one in video form every week. More info at the button below.

Leave A Comment