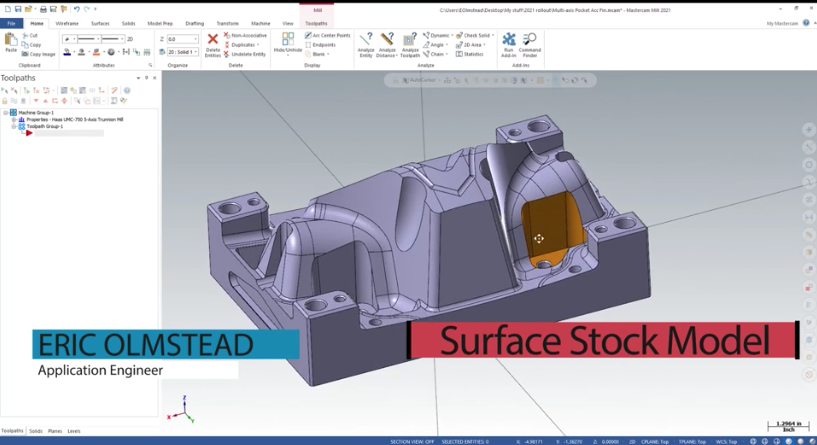
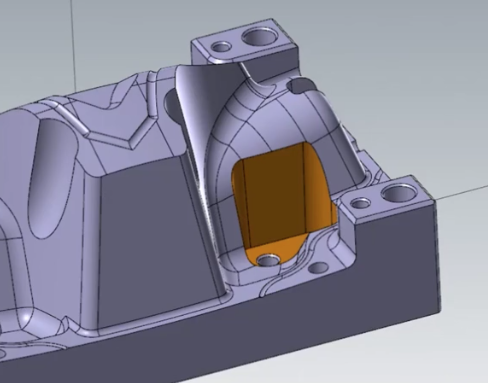
This blog post will cover how to use the Surface Stock Model feature in Mastercam 2021 when remachining a finished part. In this example, we will walk through remachining the orange pocket shown below in the mold core. We will use Stock Model to create machineable stock only on the walls of the pocket.
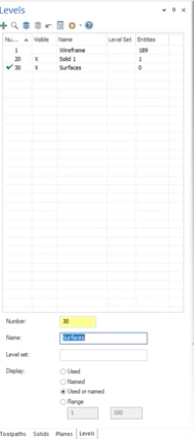
To get started, we can create some surfaces from the solid model. First, create a new level and name it surfaces.
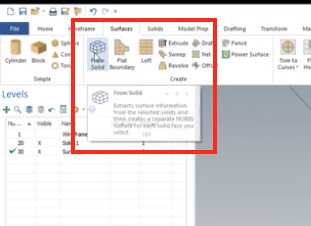
Now launch the From Solid Surface tool and select the pocket walls to create your surfaces.
Now you are ready to create your stock model. Start by selecting the stock model tool from the Toolpath tab.
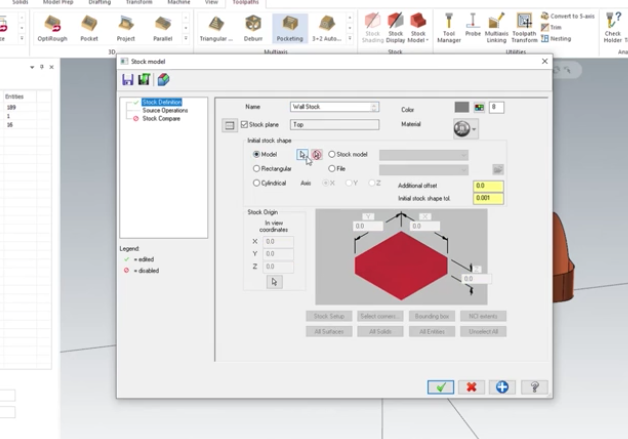
Then give it a name. Next, you can set your initial stock shape to model and hit the selection arrow to pick your surfaces from the graphics screen.
Finally, you can add .03” of additional offset to represent the stock to be removed from your pocket and select a color so your stock model stands out from the part.

Add the additional offset here.

Use this icon to bring up the color palette window.

And select your color.
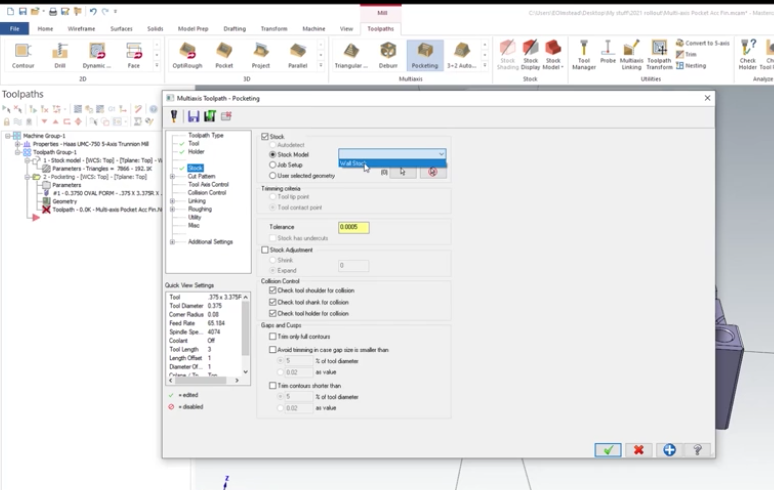
One of the benefits of using Stock Model is that you can use stock-aware toolpaths, such as multiaxis pocketing to finish your part. Do this by selecting the stock model on the Stock page.
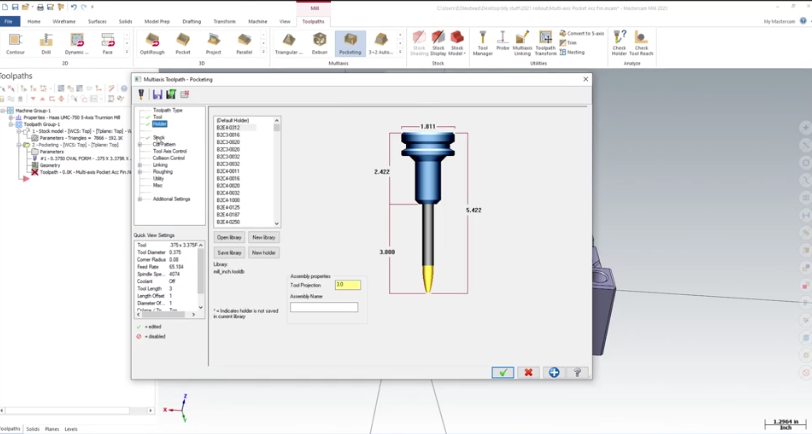
This will allow you to use an accelerated finishing tool on your 5-axis mill to cut down the cycle time remachining your pocket.
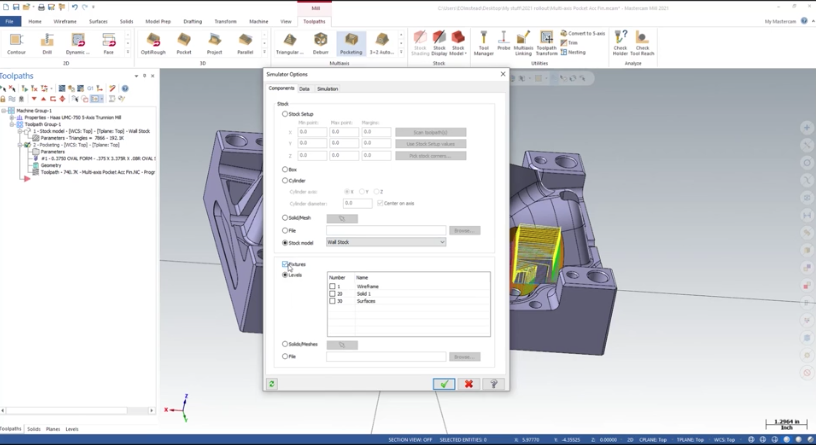
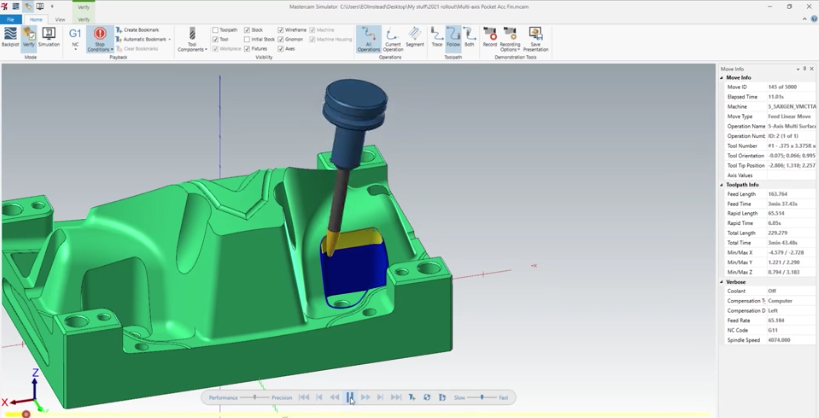
Now you can set up your simulator options in the Toolpath Manager. Set your stock to the stock model, then turn on fixtures and select your solid model.
This allows you to see the stock being removed from your pocket in Verify while still checking for collisions with your solid model set as a fixture.
As you can see using surfaces to create stock models not only allows you to accurately simulate your toolpaths in Verify but also gives you the ability to utilize stock aware toolpaths for more efficient tool motion. Please be sure to sign up for our 2 Minute Tuesday video series to receive tips and tricks like this one in video form every week. More info at the button below.




Leave A Comment