Today’s toy aisles showcase a wide range of shapes, from realistic animal figures to imaginative cartoon characters. Most of these toys are made of plastic, with their creation involving two primary steps: design and manufacturing.
The challenge of designing toys is compounded during the manufacturing stage. Plastic injection molding is the most common method used, where detailed 3D designs are turned into molds for mass production. Effective software plays a crucial role in this process, simplifying the workflow and reducing the need for multiple steps.
In this guide, we explain how leading toy companies efficiently manufacture detailed toys, creating figurines and objects from organic designs that entertain both kids and adults.
Streamlining Toy Manufacturing with Digital Workflows
1. Designing toys in 3D
The design phase kicks off any toy-making project, whether it’s a sketch, a 3D scan, a CAD model, or an adaptation of an existing item. Key considerations include the manufacturing process and the final size of the toy.
For example, if the toy replicates a real-life vehicle, start by laser scanning the actual vehicle. This captures its shape, which you can then import into 3D modeling software to refine and adjust the design.
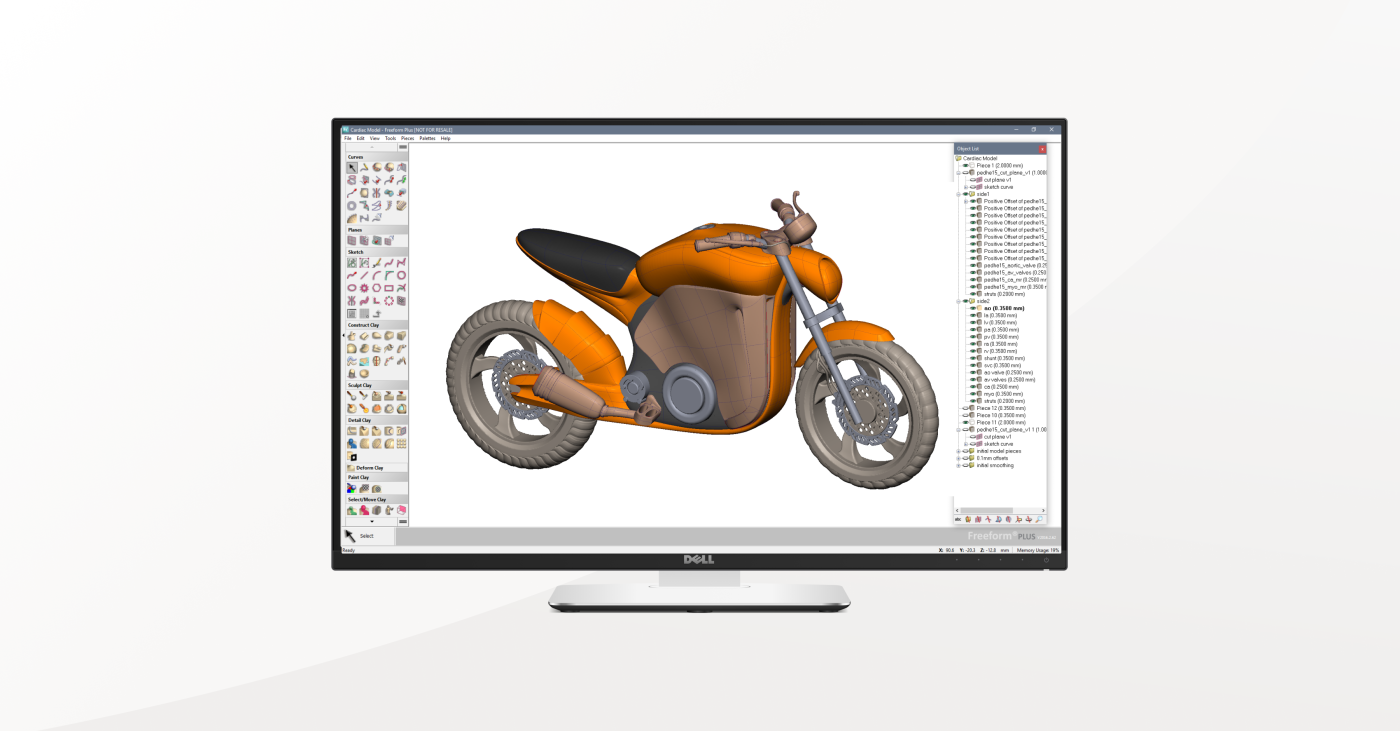
For toys modeled after real objects, start by 3D scanning the original, then adjust the shape using organic 3D modeling software.
Next, you might shrink the object to four inches while maintaining its core details. Features like the door shutline, which can vanish at a smaller scale, need to be exaggerated. The same applies to other key elements, such as windows and headlights, to ensure they remain recognizable.
2. Segmenting the model into individual pieces
Once the finer features are set, focus on manufacturability, considering production ease and cost.
Injection molding is cost-effective and efficient for mass production but requires breaking down complex models into moldable parts. Organic shapes can be tricky with standard CAD software; specialized 3D design tools can help. If your software lacks these features, you might need to use multiple solutions.
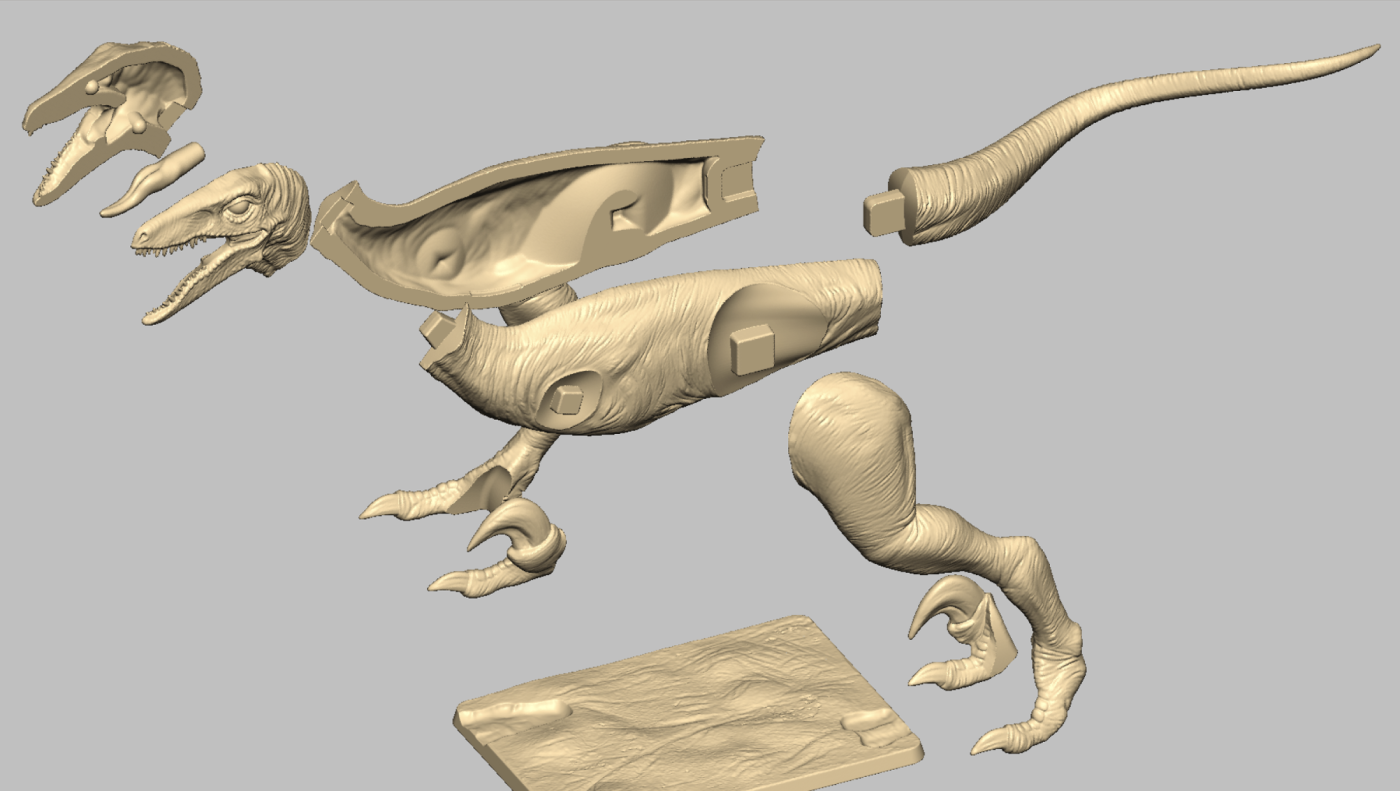
Preparing a raptor toy model for injection molding in Oqton Freeform.
Oqton Freeform offers tools like Patch to efficiently trim and segment the model. After breaking the model into parts, add assembly features to each piece.
3. Design considerations for manufacturing
Focus on:
- Shell thickness
- Mold release orientation
- Split line design
- Draft analysis and undercuts
Balancing manufacturability with design intent requires software that integrates artistic and engineering controls.
4. Mold design
Import the mold base from CAD into Freeform, which supports various model types. Arrange components, design shut-off surfaces, and consider machining constraints for smooth surfaces.
5. Machining the mold
Export design files in CAM-compatible formats from Freeform. Use STL files or convert meshes to NURBS if needed. Once the mold is complete, transfer it to production for toy manufacturing.
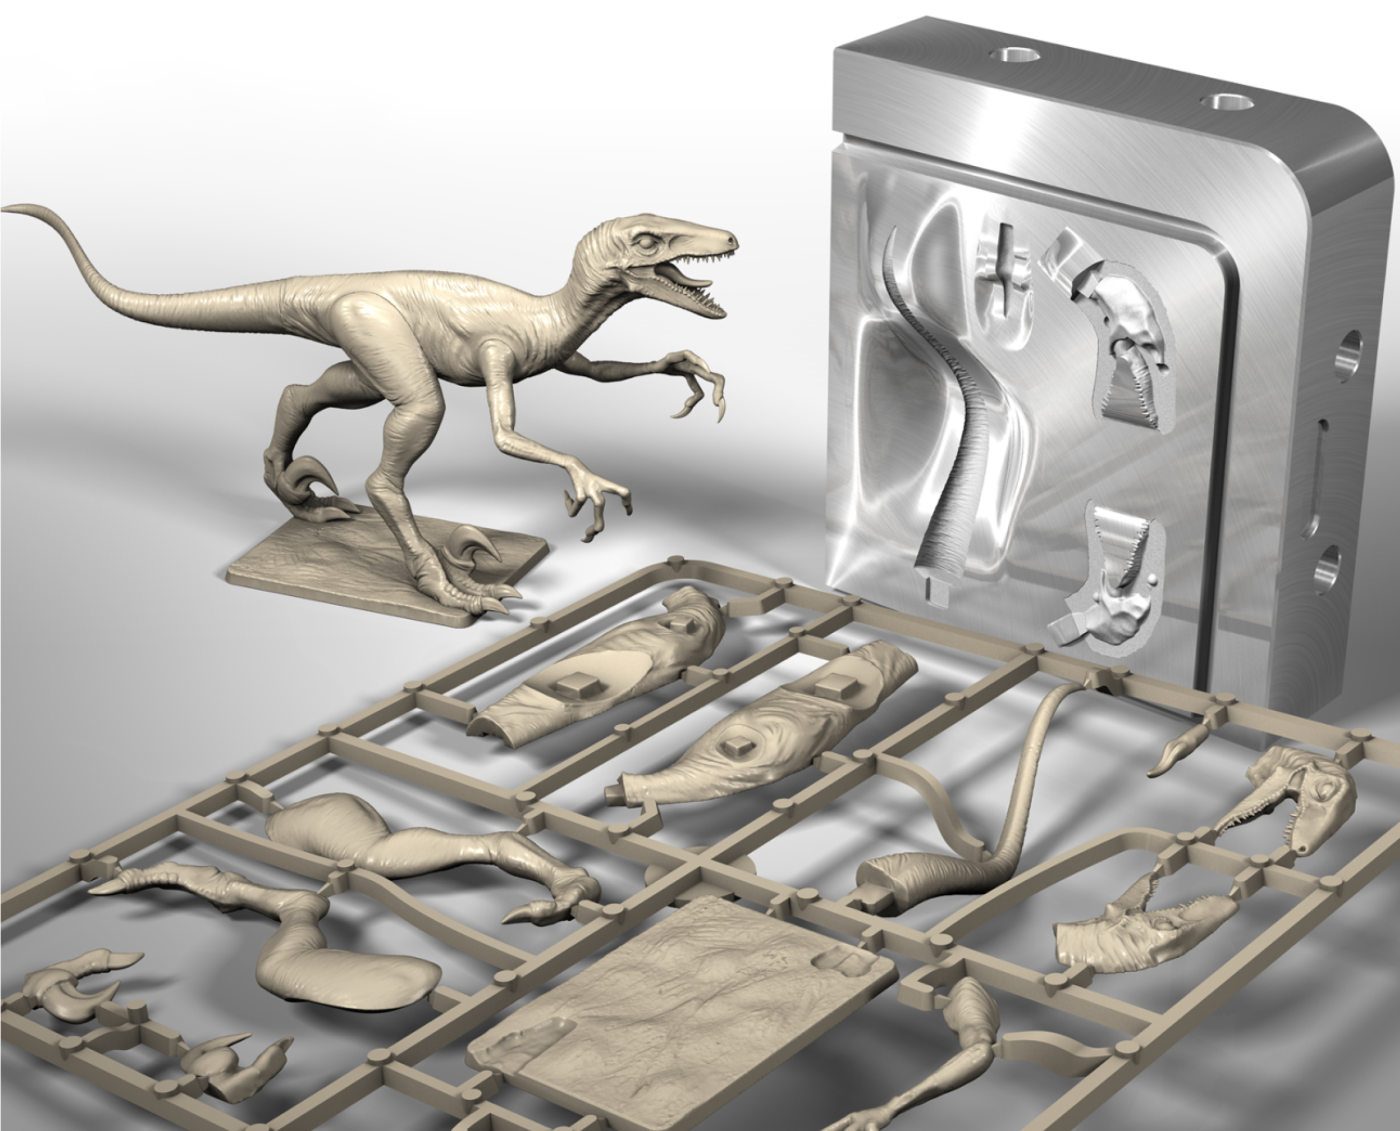
Mold for a plastic toy raptor created with Oqton Freeform.
Why software matters
The design and manufacturing process for toys is generally consistent, but software quality can greatly impact efficiency and how well the original design is preserved.
While many organic 3D design tools exist, few support complete design-to-manufacture workflows. Often, toy designers outsource component breakdown, risking unwanted changes and costly iterations.
Alternatively, some designers prefer maintaining control by handling most of the design-to-manufacture process themselves. This approach ensures their design remains intact with minimal adjustments upon production.
Ultimately, using software that integrates design and manufacturing can streamline the process, cut costs, and improve product outcomes. Oqton Freeform stands out as a top choice for modeling complex organic shapes, offering a unified toolset. Contact us to explore Freeform today!



Leave A Comment