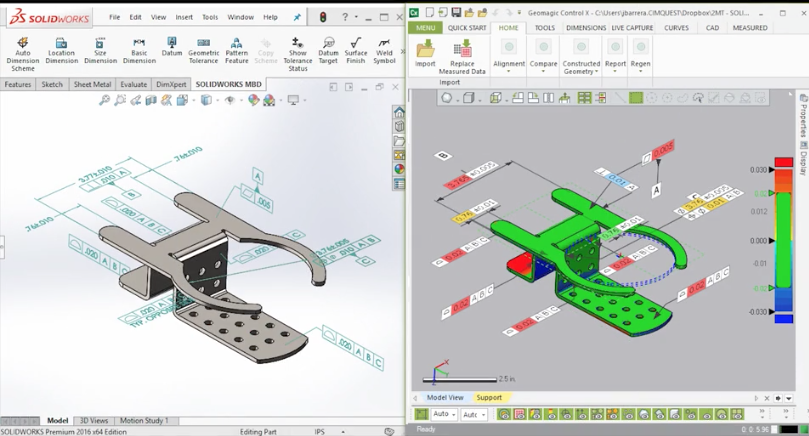
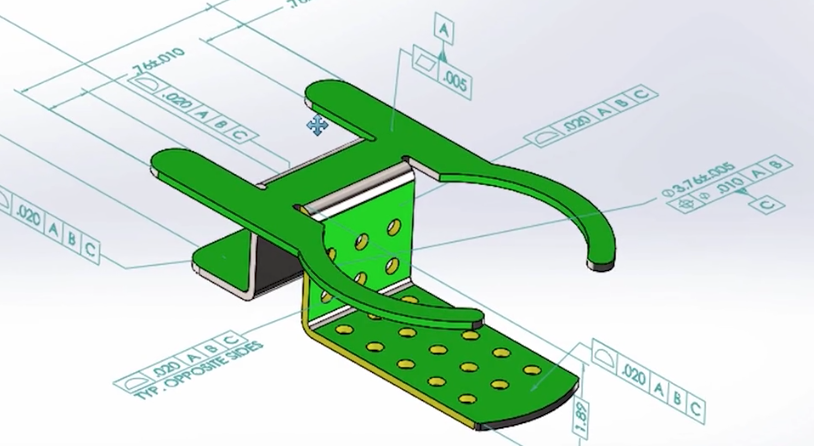
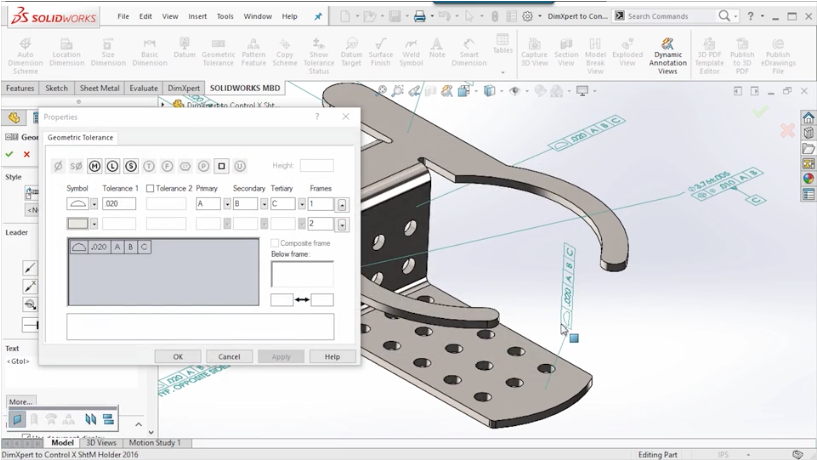
Let’s discuss two pieces of software that work really well together in the 3D part inspection world: SolidWorks, and Control X. SolidWorks is one of the leading CAD tools in today’s design and manufacturing world. One of its advantages is that it offers you the opportunity to create a 3D annotated model. This can include things such as explicitly-specified dimensions, tolerances, 3D GD&T, surface texture symbols, finish requirements, and so on.
This 3D annotated model is then used to manufacture the part, as well as provides the needed criteria to inspect the part. A part can contain anywhere from several dozen annotations, to several hundred!
Wouldn’t it be great to repurpose these annotations, and import them directly into the inspection software, as opposed to recreating all of them one by one? Well, one of the inspection software packages that have this ability is Geomagic Control X.
The first step is to add all of the 3D annotations directly to your 3D model. This is a pretty simple process in CAD.
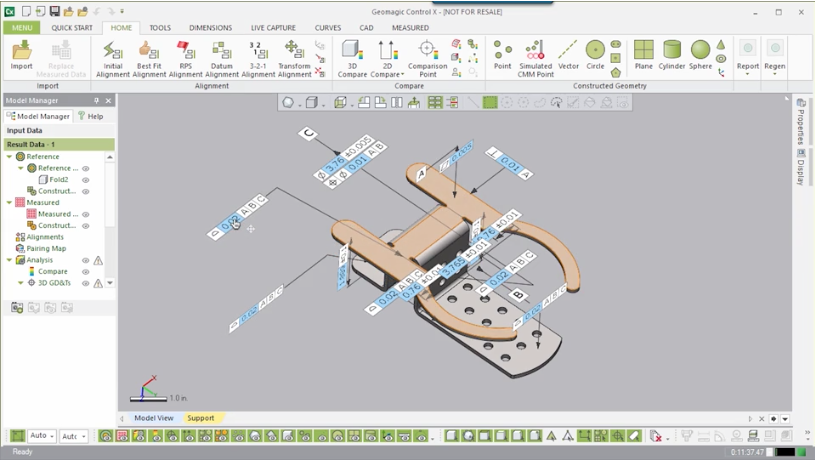
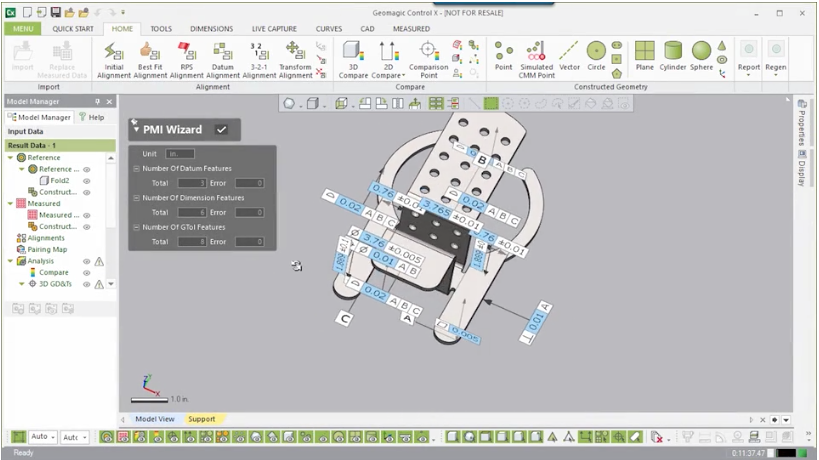
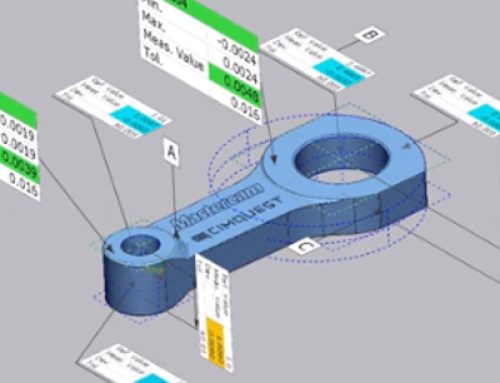
Once this is complete, you can open up Geomagic Control X, and use the PMI Wizard to import the 3D annotated model. All of the explicit dimensions and GD&T information come through just fine, with no errors.
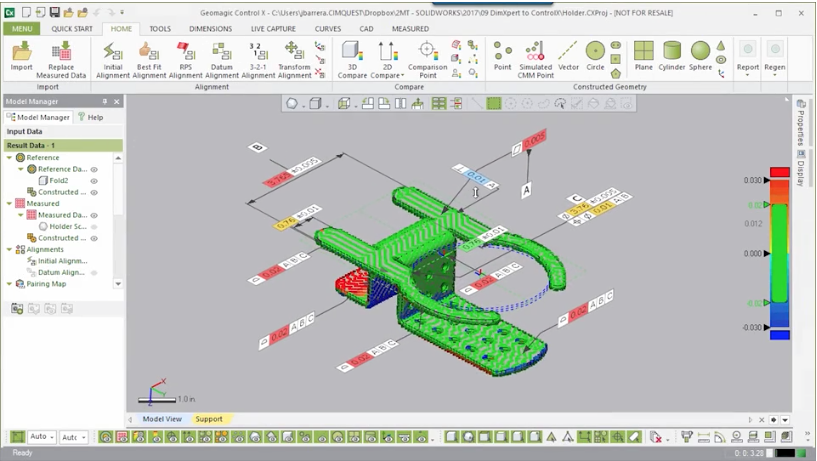
The last step would be to import the scan, align it with the CAD model using the same Datum features that came over from CAD, and your results update in a few seconds. At this point, you can Generate a Report, and with a few clicks, your inspection is complete!
As you can see, technology is continuing to take giant leaps and bounds in the design, manufacturing, and inspection world. A combination of SolidWorks along with Geomagic Control X has streamlined the process from Design to Inspection, by being able to import PMI directly and generate a report within minutes.
Please be sure to sign up for our 2 Minute Tuesday video series to receive tips and tricks like this one in video form every week. More info at the button below.



Leave A Comment