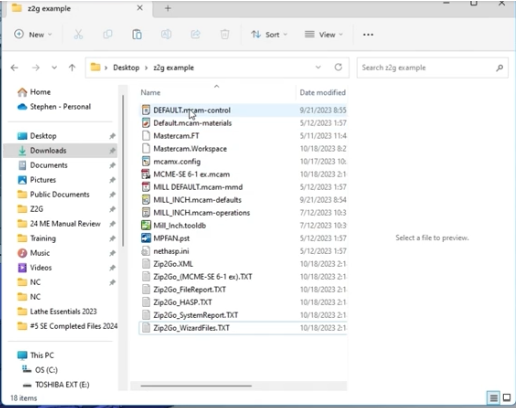
In this post we will explore the Mastercam Zip2Go feature, how it’s helpful, and how to create one. A Zip2Go or Z2G file is a file created by Mastercam’s Zip2Go wizard. This file allows you to easily consolidate the files necessary for sharing programs with others.
For example, if you have an issue with a tool while creating or using it, you may have to share a tool library. If you have an issue with a post, you would need to gather your machine files. It is possible that all of these things could be necessary for the individual receiving the file, so they can recreate the situation you are currently experiencing. Here’s how it works.
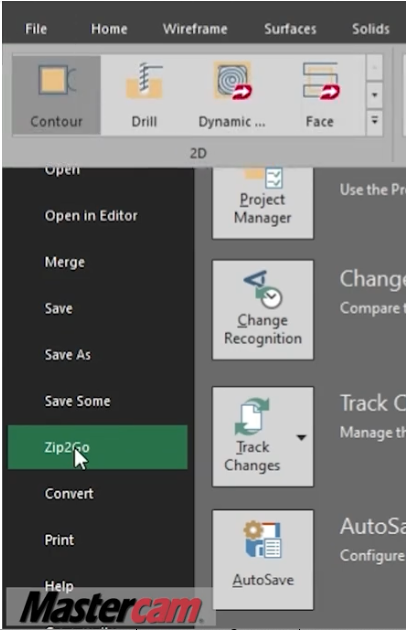
To begin, go to the File tab and go down to Zip2Go. You can also use Zip2Go from the quick access toolbar generally located in the top left region of the interface.
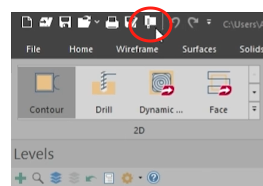
After you click on the Zip2Go icon you will be prompted to save your part file.
Next, the Zip2Go wizard will open and give you three options; Create, Edit, and Extract.
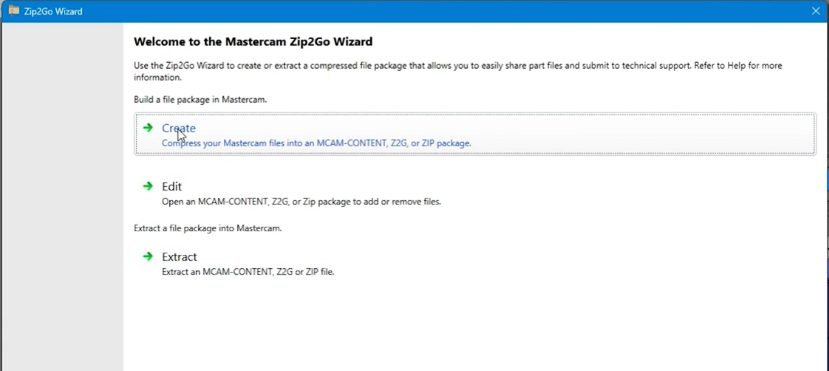
Start by creating a file. Inside the File Options page, select the desired files to add to your Z2G file.
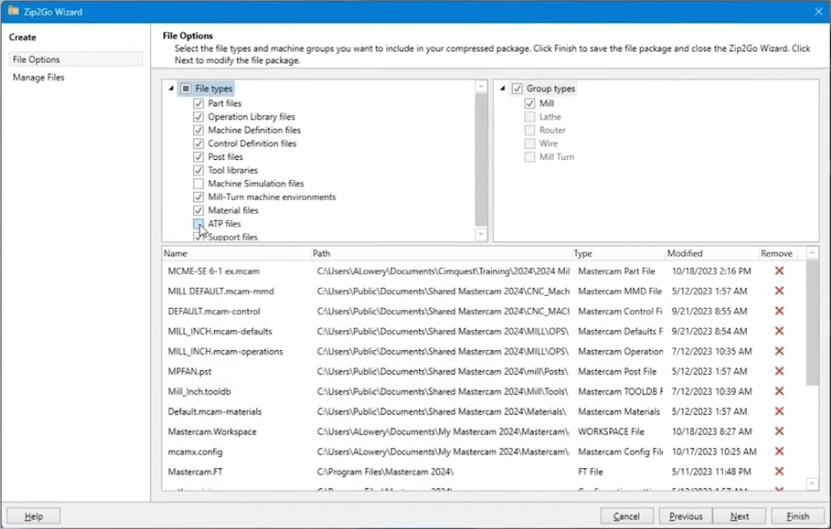
You can remove or add files by unclicking the file type or manually removing the individual files from the list at the bottom of the screen.
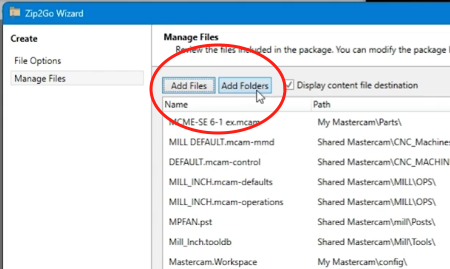
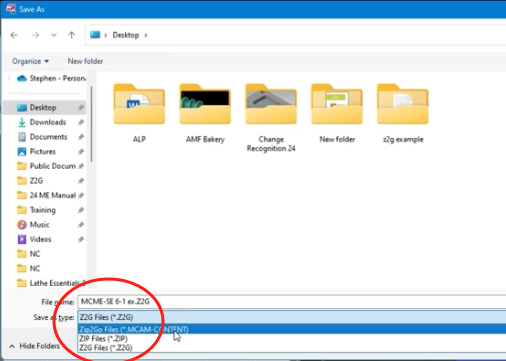
On the next page, you will have the option to add extra files that are not associated with Mastercam. Now, click Finish and you will now be prompted to save the Z2G file. The default is a content file, so under Save As Type select Z2G.
To import a Z2G file, just drag the file into a new instance of Mastercam and the Zip2Go wizard will open automatically. Select the folder name that you would like to extract your Zip2Go file to and select Extract as Flat View. This will allow us to see all of the files inside one folder.
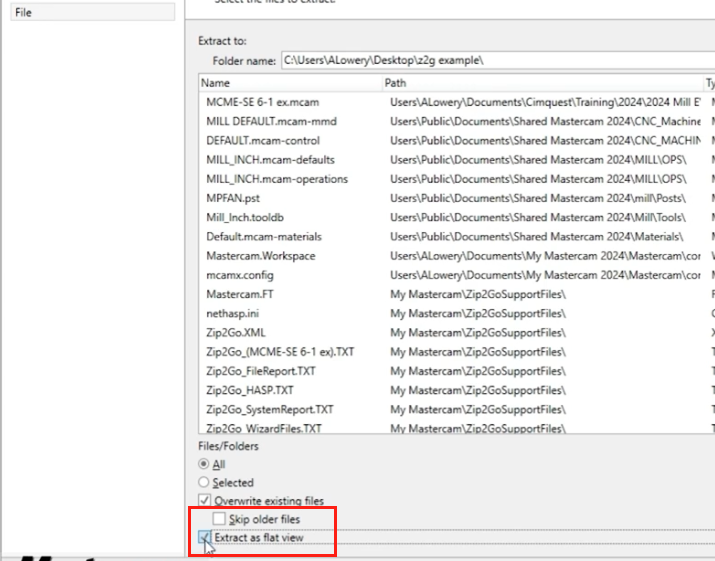
As you can see, the Mastercam Zip2Go wizard makes it simple to extract and share files with other Mastercam users. Please be sure to sign up for our 2 Minute Tuesday video series to receive tips and tricks like this one in video form every week. More info at the button below.


Leave A Comment