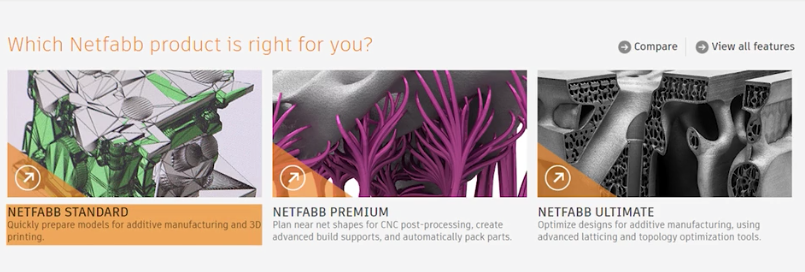
This blog post will show you how to use Autodesk Netfabb Standard to orient, lattice, add supports, and send a part to your Formlabs Form 2 3D printer. Autodesk Netfabb is Additive Manufacturing software that connects directly to many AM systems. There are three tiers of Netfabb: Standard, Premium, and Ultimate. In order to connect to the Formlabs Form 2 workspace Standard tier is required.
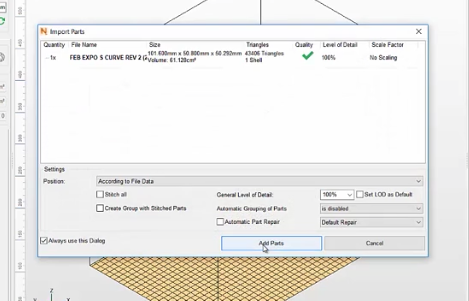
When using the latest version, Netfabb 2019 you will be able to drag and drop a file into the program. Since Netfabb has a CAD importer built in, you do not need to purchase any specific file types in order to bring in a native CAD file. A dialogue box will appear with information on the file and, most important, the green check mark that states the file does not have any errors and can be sent to the workspace.
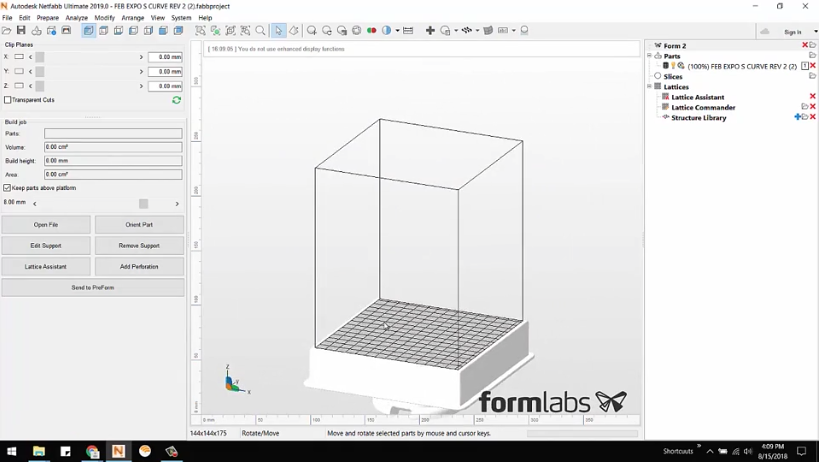
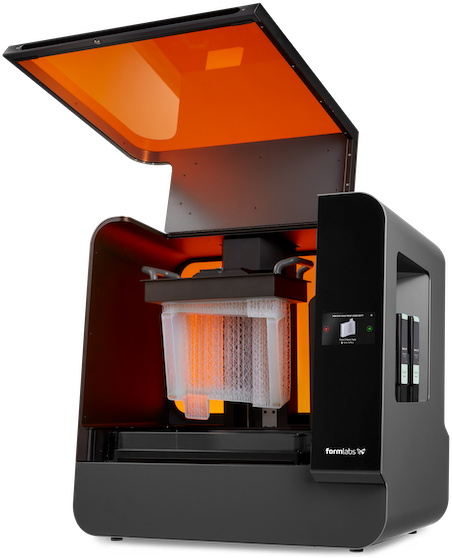
When you open the Form 2 workspace you will see the build platform for the Form 2 and the outline of the build volume.

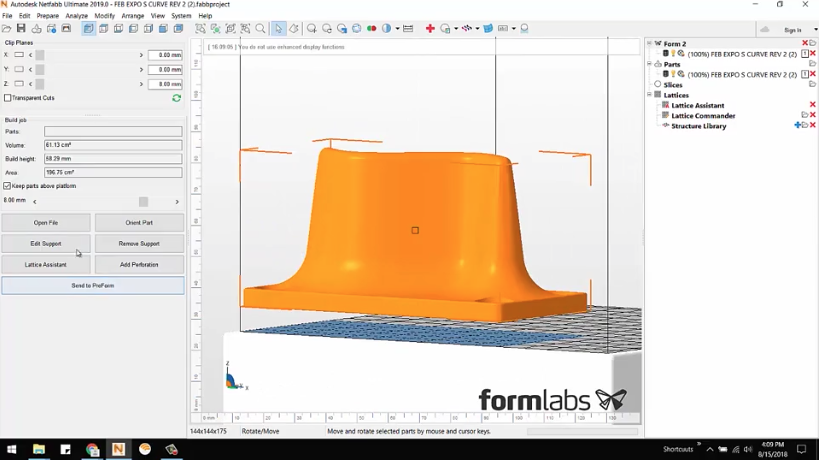
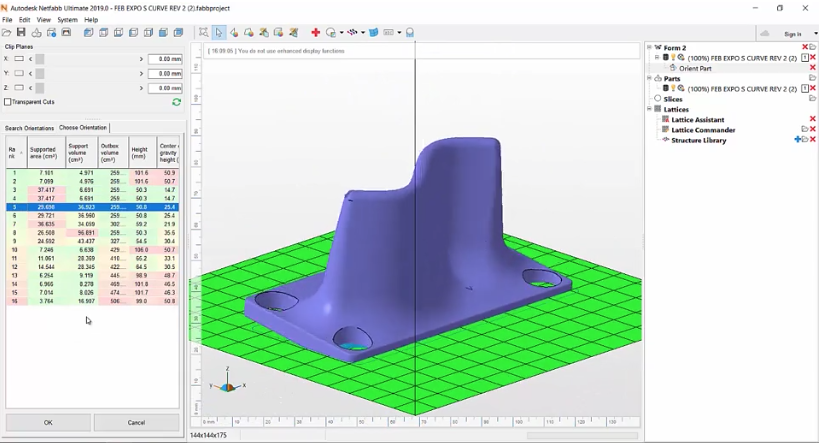
After bringing in my part you can orient the part by selecting through the recommendations.
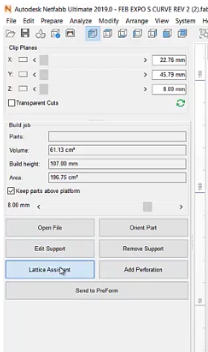
Upon accepting the orientation and choosing the Lattice Assistant, it will hollow out the part and add a lattice to keep structural integrity.
By applying the lattice you can print larger parts with less resin, giving you a cheaper and lighter part.
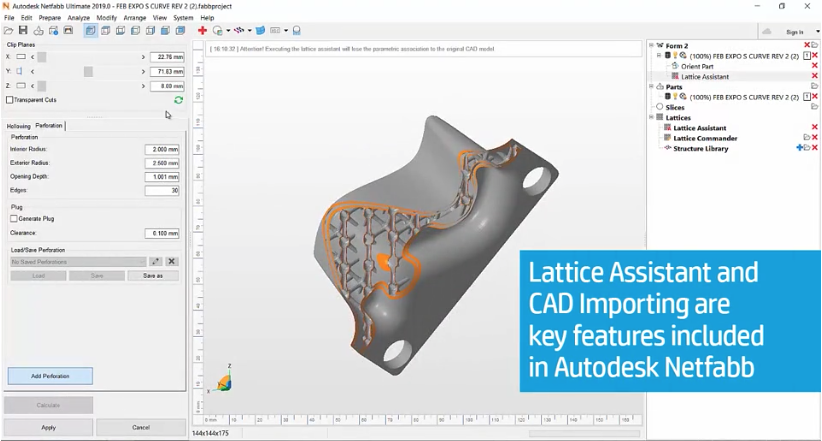
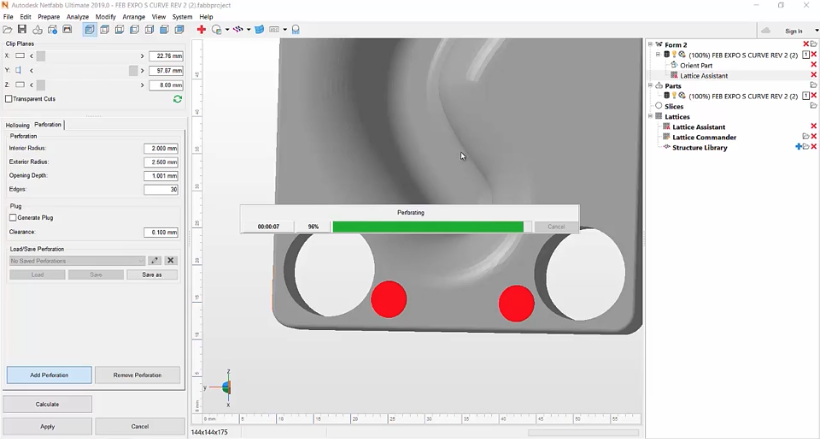
The Perforation Tool creates holes in order to allow the resin to drain.
In order to print this latticed part at this orientation supports will need to be added.

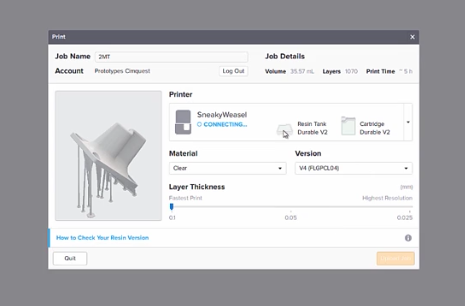
You can send the part to the Form 2 by saving the file as a “.form” file. Then open it in Preform to immediately send to the Form 2.
For more information on Autodesk Netfabb, please click the button below.


Leave A Comment