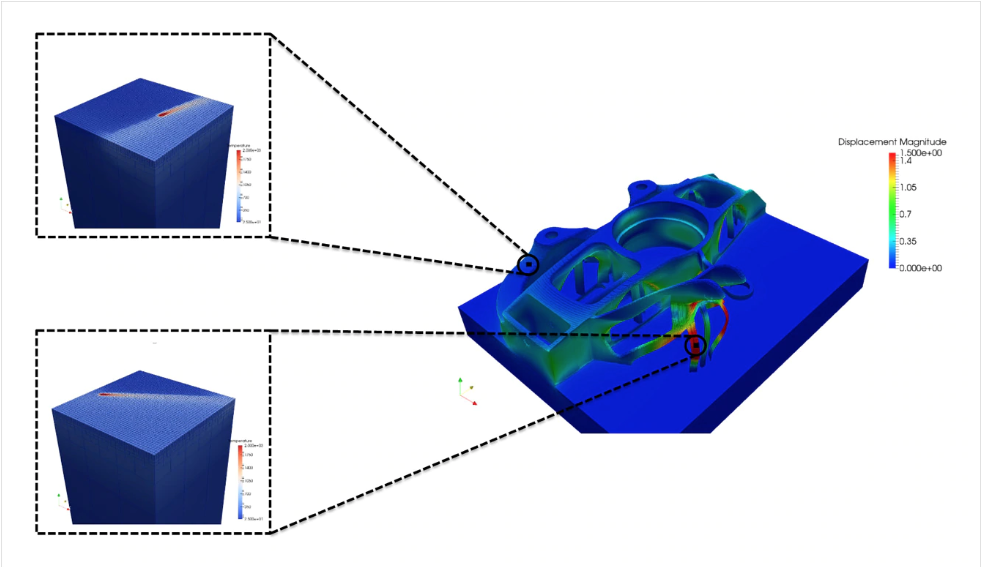
What’s New in Netfabb 2019
Netfabb® 2019 brings updates to two of the most powerful Netfabb features, simulation and latticing, in addition to cloud storage, new machine workspaces and new support actions. Multi-scale cloud simulation Small scale and part scale metal powder bed process simulation with the compute power of the cloud. Latticing Access to Netfabb manual latticing is now available at the premium tier with a new interface fully focused on ease of use. My machines workspace Setup and save your machine catalog and print settings. Replay support actions Automatic support adjustments to accommodate model geometry changes. For more information on Autodesk Netfabb, please click the button below. More Info

Moving into the New Year
A letter from our CEO As we reset the business year and pick ourselves off of the floor I reflect on the year gone by. Cimquest went thru a very challenging but necessary transition over the past 17 months which still, in part, continues today. We embarked on a journey leaving the safety of Stratasys and the valued business relationships with both our customers and vendor. This transition meant losing more than half of our revenue. However, in the process, we acquired additional valued customers utilizing the Mastercam CNC programming software. While the net of this changed still left us with over a 30% revenue shortfall, myself and our team really believed in our long-term strategy and continued to make significant time and money investments in our endeavor. In the past 8 months we have added 7 new people to our team in brand new positions and will be looking to add another 4 over the next several months. And, we will be soon opening our new Cincinnati Ohio office with a grand opening celebration in February. The good news is that our investments have paid off and Cimquest has just completed its best year and we are proud to announce that thanks [...]
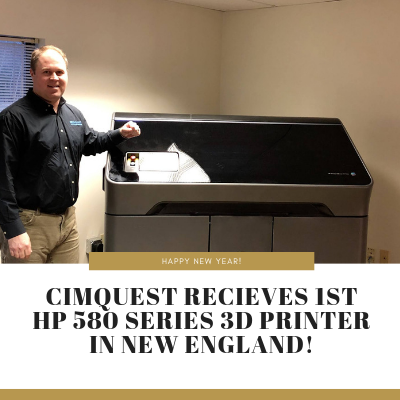
Cimquest Receives 1st HP 580 Series 3D Printer in New England
We are excited to be the first company in New England to receive our new HP 580 Series 3D Printer! The machine is fully installed, and we have started to build parts. Tailored for small/medium-sized development teams, design firms, and universities, HP’s new printer is a compact solution for producing injection mold quality parts. This automated system integrates material mixing and loading, printing, and reclaiming material in one machine. Teams can accelerate their design cycle by producing prototype iterations or functional parts without tooling, at a faster pace compared with traditional 3D printing technologies. Learn more about this machine here.
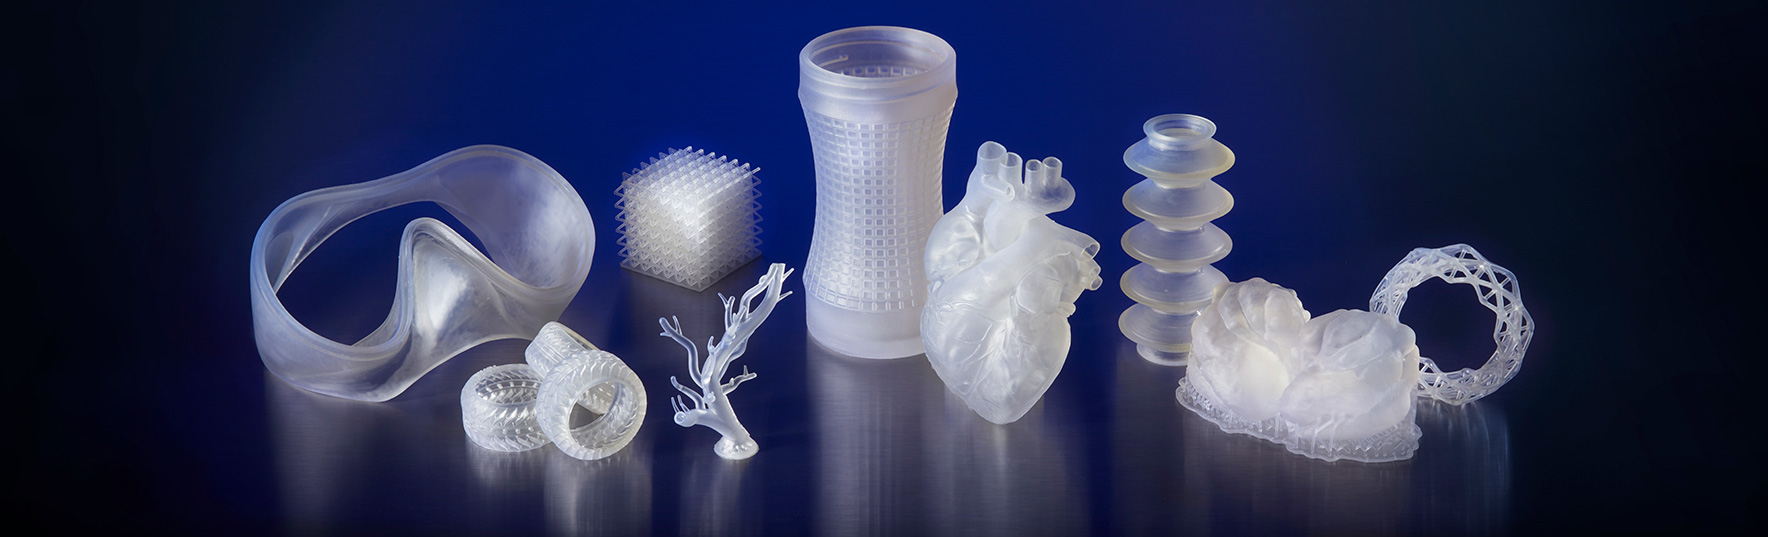
Formlabs Announces New Elastic Resin Material
Formlabs just announced their latest new engineering resin. This soft engineering resin (50A Shore durometer) is suitable for prototyping parts normally produced with silicone that need to bend, stretch and compress. Due to its high elongation (160%) and good tear strength (19.1kN/m) it will hold up to repeated cycles without tearing. Elastic resin is also translucent which is ideal for healthcare and medical applications where visual simulation is required. Please click the button below for more details about this exciting new material. More info
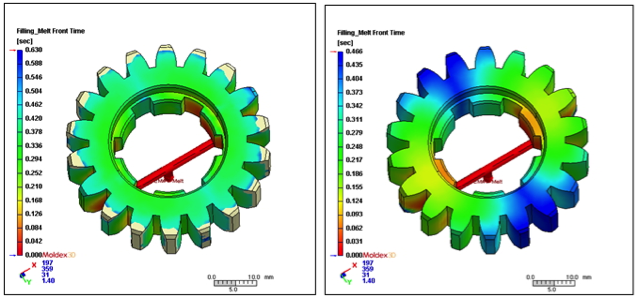
Moldex3D Tech Tip: Import Curves
Import Curves in Moldex3D for Quick Venting Setting Moldex3D’s pre-processing tools enable you to set venting. The main purpose of venting is to allow the air trapped during the injection molding process to escape and prevent surface defects, such as burning, flash, short shots and air traps, and severe volume shrinkage. Importing curves in Moldex3D’s venting setting eliminates the need for manually selecting the venting boundary. It provides you with a more streamlined workflow, reducing time and effort. It only requires the following simple steps to complete the vent setting: Create venting curves → Set Moldex3D project → Set Computation Parameters → Set Venting (Import curves) → Save and complete. The following will demonstrate how to quickly and efficiently complete the venting design and setting in Moldex3D Designer. Step 1 In Moldex3D Computation Parameter, click Advanced and go to the Venting tab. Step 2 Check Venting analysis and click Setting to launch workspace for B.C. setting. Step 3 Click Import Curves, select the venting boundary curve and import it. Note: venting curve (IGES/STEP file) is required. Step 4 Check if the imported venting boundary conditions are properly listed and shown in Display Window. Click OK and confirm to complete the BC setting. Step 5 [...]

Ringing in 2019
All of us at Cimquest would like to wish you a very happy, healthy, and prosperous New Year! We are very much looking forward to ringing in 2019. It is going to be a great year with many new technological advances. We will be here at your side to help you take advantage of new innovations that will make your jobs easier and your business more profitable. Cheers! Please note that our offices will be open until 5pm today and will be closed tomorrow, January 1st to celebrate the New Year. We will be back to business bright and early on January 2nd.