3D Scanning

27 10, 2021

Color Map Fitting Inside Control X

By |2021-10-27T09:02:25-04:00October 27th, 2021|Categories: 3D Scanning|0 Comments

In this blog post, we are going to take a look at Color Map Fitting inside of Control X. Color Map Fitting is a useful tool for analyzing the tolerances of 3D scan mesh files, relative to the original model. The image above shows a CAD model of a crankshaft with the scan mesh superimposed on the model. The image below shows the Color Map Fitting. We first selected the flatness of the scanned mesh [...]

12 10, 2021

Color Map Fitting Deviation

By |2021-10-12T08:12:26-04:00October 12th, 2021|Categories: 2 Minute Tuesdays, 3D Scanning, 3d Scanning & Reverse Engineering, CQTV|0 Comments

https://cimquesttv.wistia.com/medias/aloevmn7ri?embedType=async&videoFoam=true&videoWidth=640 Color Map Fitting Deviation Color Map Fitting zeroes in on GD&T tolerances to exactly where on a feature the tolerances may be failing…this provides insight as to a fixturing or feed and speed issue in the machining.

13 08, 2021

Autoscan Inspec from Shining 3D

By |2021-08-13T08:36:22-04:00August 13th, 2021|Categories: 3D Scanning|0 Comments

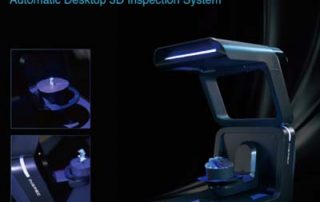
The Autoscan Inspect structured light scanner has remarkable parameters at an extremely affordable price point. At just $13,200 complete, the Autoscan holds incredible accuracy of 10 microns (+/-.0004”) and has an equally incredible resolution of 50 microns (.0019”) making this an excellent choice for a customer in need of scanning small, precision geometry. The single-click calibration and scanning routines make this a simple scanner to use yet produce unbelievable results that today’s scanning professionals demand. [...]

12 07, 2021

3D Scanning – Importance of Resolution

By |2021-07-12T20:05:16-04:00July 12th, 2021|Categories: 2 Minute Tuesdays, 3D Scanning, 3d Scanning & Reverse Engineering, CQTV|1 Comment

https://cimquesttv.wistia.com/medias/rrinncgyjo?embedType=async&videoFoam=true&videoWidth=640 3D Scanning - Importance of Resolution This comparison shows the difference between a high-resolution scan and a lower resolution scan. Many people purchase 3D scanners without considering the resolution. But resolution can be very important when scanning small parts and very fine details.

8 07, 2021

Metrology Minute – Flatness

By |2021-07-08T08:24:48-04:00July 8th, 2021|Categories: 3D Scanning, Metrology Minute|0 Comments

In continuing our series on GD&T callouts, today's Metrology Minute focuses on Flatness. Flatness is a very simple callout that focuses on just how flat a particular surface is without making reference to any specific datum. Very often, a Flatness callout can determine whether a job shop is able to face mill a surface to its finished dimension or if grinding and perhaps outside services are required to achieve the necessary Flatness. If a specific [...]

25 06, 2021

Selecting Your Company’s First 3D Scanner

By |2021-06-25T08:16:39-04:00June 25th, 2021|Categories: 3D Scanning|0 Comments

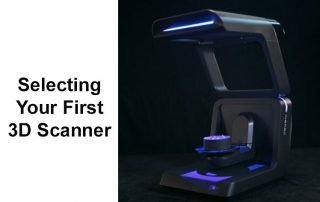
by Harry Foxman - a reprint from https://www.fabbaloo.com/news/lessons-from-cimquests-2021-xpand3d-event-part-one What to look for in selecting a 3D Scanner Over the past three decades, scanning technology has advanced immensely. It is now a helpful tool to be used in reverse engineering, inspection, and 3D printing. With a large number of different types of scanners from a variety of manufacturers on the market today, it is important that a company selects the correct one. Before beginning the search [...]

14 06, 2021

Airfoil Analysis for Inspection

By |2021-06-14T17:43:35-04:00June 14th, 2021|Categories: 2 Minute Tuesdays, 3D Scanning, 3d Scanning & Reverse Engineering, CQTV|0 Comments

https://cimquesttv.wistia.com/medias/1irpz8ob26?embedType=async&videoFoam=true&videoWidth=640 Airfoil Analysis for Inspection Airfoil analysis is important when working with turbines, blisks, belongs, or blades. Through this feature, you can gather essential profile measurements, analyze results, and then generate inspection reports.

Go to Top