HP Multijet Fusion technology is known for its high-quality parts with near isotropic qualities and performance. The advances offered by Multi Jet Fusion can add up to major advantages, including:
- Better mechanical performance
- Significant cost savings with batch manufacturing
- Accelerated time to market with faster build speeds
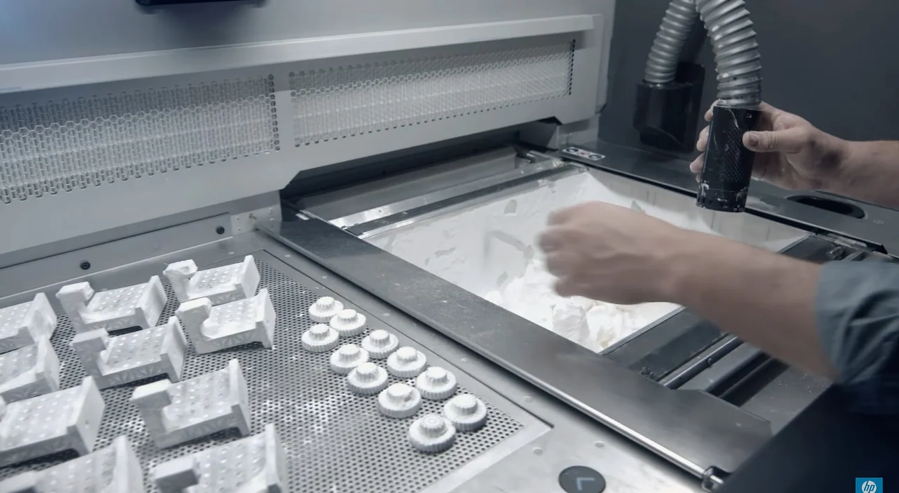
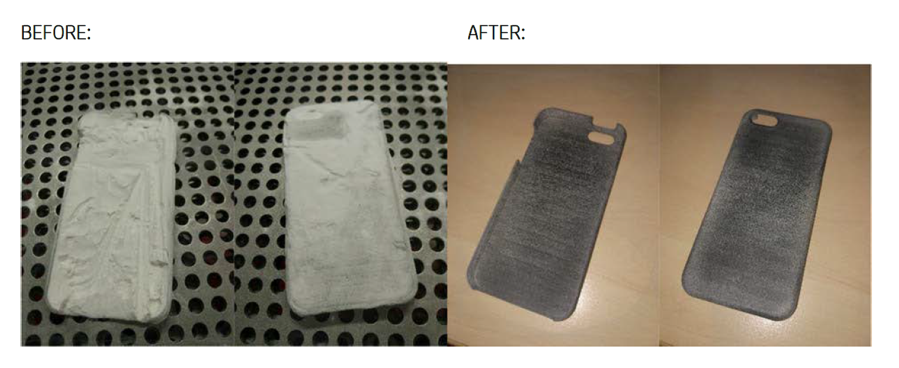
On the back end of getting such great parts, there is post-processing that needs to be done. Whether support removal, sanding, bead blasting or bathing it needs to be done on any 3D printed part. With HP MJF technology, there is no support to remove but there is a powder residue. We can remove it manually or automated. Powder removal is a mandatory post-processing procedure in the HP MJF 3D Printing workflow. It is done in order to get rid of the remaining powder attached to the part after removal from the cake. It is necessary as part of the cleaning process after printing.
Workflow
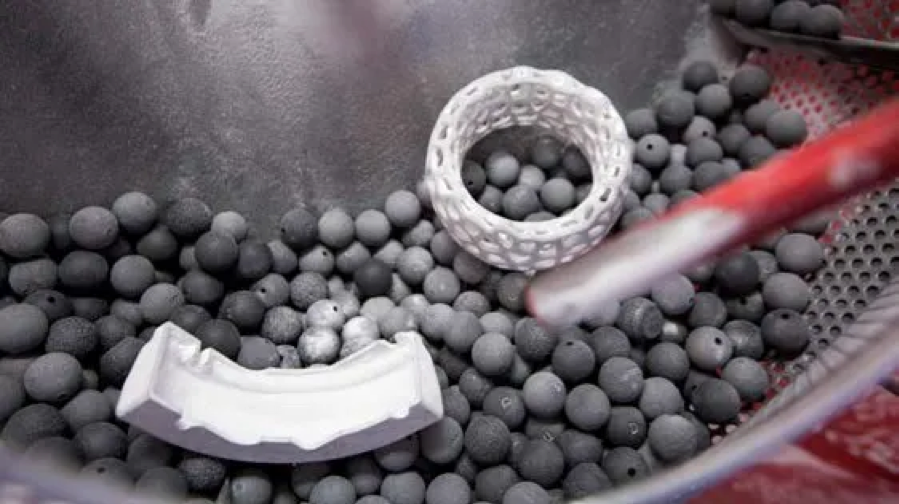
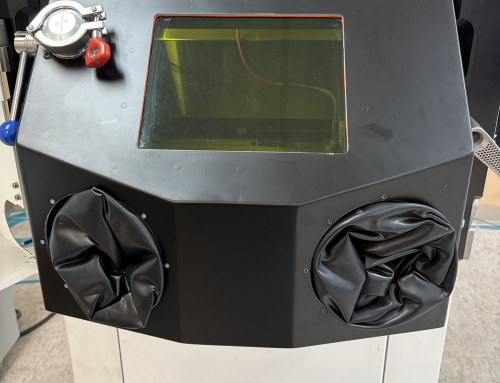
To remove this excess of powder, bead blasting is necessary. After the job is finished, the parts are “unpacked” and removed from the build chamber then brought to a bead-blasting machine. Even though most of the powder is removed from the surface, a thin layer of material will often remain attached to the part.
Tools of the Trade
These are some variables to consider before undertaking the process:
- Manual Solution: It is a low capital investment for the manual solution. If you are SLS user already, you can reuse the same equipment that you use for your SLS printed parts, since this is the most typical post-process after layer sintering. The manual solution requires intensive manual labor, and there is a lot of variability on results due to operator experience. For example, not moving the nozzle in a consistent manner can score the part, leaving a line.
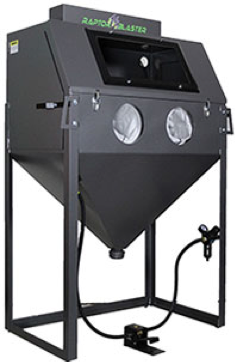
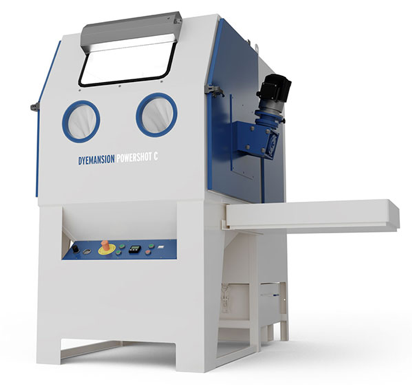
- Automatic/manual procedure: This medium-to-high capital equipment can clean several parts at the same time. Parts with fragile or fine features cannot be cleaned using the automated solution. Also, there are dimensional limitations for automatic equipment. A positive benefit of automated systems is that it requires very little labor and you get a consistent look and feel.
- Media: As part of the characterization plan for Bead Blasting post-processing, many different media were tested. The optimal one chosen was glass beads (GB) 70-110 μm.
- During the test performed, the abrasive life lasted between 3 to 4 usage of pure usage before a refill was necessary. The quantity of media loaded each time was 5 kg. You can go longer without hurting anything.
- Air Pressure: The air pressure should be set between 3 to 5 bar (make sure your selected machine can cover this range). We recommend 4 bar for non-fragile parts, and 3.5 bar, or even 3 bar, for more fragile parts.
- Blind holes: Blind holes can be tough. Having a brush, blind hole tool, and pick is recommended.
- Distance to part: Based on the above values for air pressure, we consider the best distance between the part and the source to be 15 cm.
- The time required: On average, we have considered a time of 20-40 seconds per part. This time can increase to over 5 minutes if the part is extremely big and complex. It can also decrease to 5 seconds (or even less) for very small parts. Fragile or very detailed parts need extra care, including reducing air pressure, so it might require more time than the average values considered here.
- Abrasive media: The abrasive media selected, as specified before, is glass beads. This is the most common choice for MJF parts. We have not observed great improvements with other media and also observed that some were too abrasive. Therefore, pure glass beads with a diameter of 70-100 μm are the choice we recommend. (Finishing companies are actively working on other media and depending on the finish you need during powder removal going to a more abrasive and wet automated system could work)
How does it work?
Manual Procedure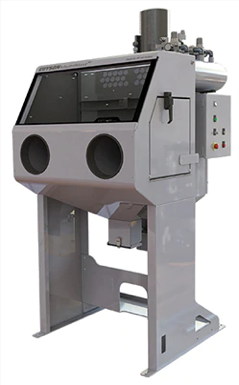
- Load the bead-blasting machine with 5 kg of abrasive media.
- Set the part inside the machine and close the front door.
- Put both hands inside the gloves in the front of the machine.
- Use the pedal to start bead blasting.

- Clean the surface of the part, paying special attention to fragile parts and not getting too close with the source. Remember: The average distance suggested is 15 cm. If parts are small and not very fragile, it may be more efficient to put several of these parts in a container or basket and clean them all at once.
- When cleaning is complete, open the front door and remove the part from inside the machine.
- Airblast the part in order to remove any powder or abrasive media that might remain on the part. This is an important part when manual cleaning as it removed any media or loose remains.

Automated Procedure
1. Load the tumbler bead-blasting machine with abrasive media.
2. Set the part inside the machine and close the front door.
3. Set the time to 5-15 minutes and walk away.
4. When cleaning is complete, open the front door and remove the part from inside the machine for inspection. Additional runs maybe required.
5. Airblast the part in order to remove any powder or abrasive media that might remain on the part.

Tips and tricks
Issues found and their solutions or workaround them
- Complex Parts: Sometimes, for very complex parts, the cake might get stuck in some parts of the geometry. To remove it, it may be necessary to use a tool manually, like a pic or blind hole cleaning tools, and then continue using the bead- blaster machine.
- Using a water jet system can work but not for complex parts with pockets or blind holes. The powder will cake up in corners and create more difficulty. An automated water jet system may take care of this. We are testing solutions now to recommend.
- Color parts: Color on the JF580 solution are a bit of a different animal. When running a manual bead-blaster, lower the pressure 3 bars and take your time. It is very easy to “score” the part on a solid full color like a red part. Multi-color parts are far much better and don’t show scores from bead-blasting. Air blasting works on open areas.
Impact on part properties:
We haven’t observed any variation to dimensional or mechanical properties as a result of this process. In terms of the look and feel of a part, this process can help to reduce surface roughness a little.
Surface roughness:
Tumbling or using a more abrasive media will help with surface roughness. Also, there are finishing products that can turn the surface to a sheen. I’ll cover this in a separate post coming soon.

Leave A Comment