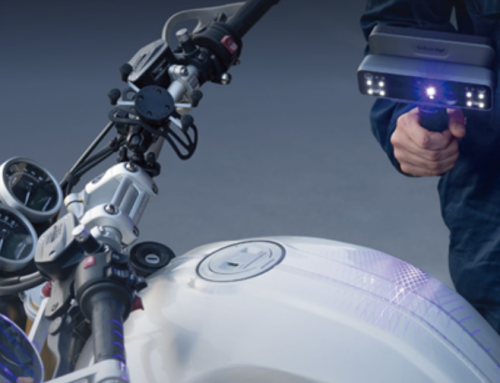
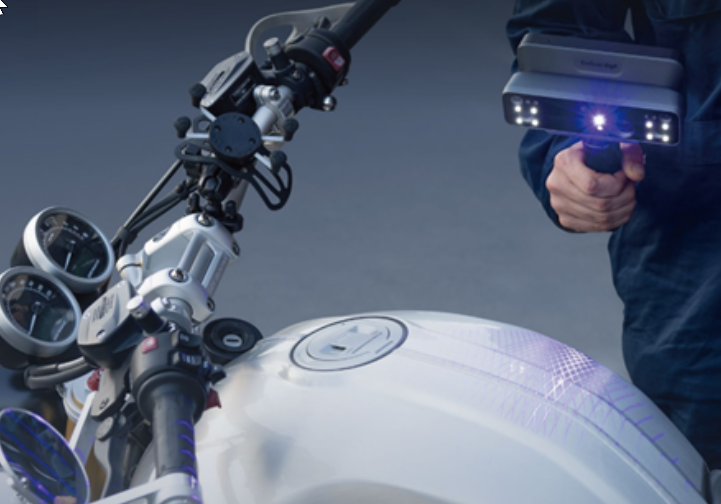
In this post, we will walk through how to create a tire model with deep treads using Geomagic Freeform. We will do this by applying the basics of Sub D modeling to create a real-world part.
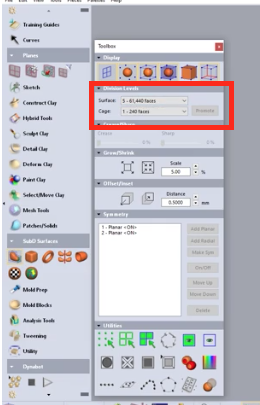
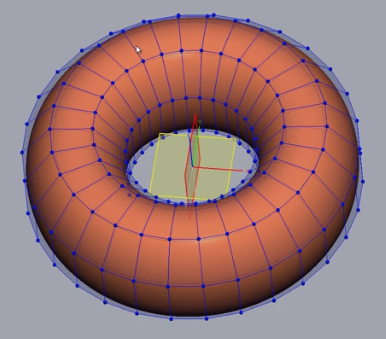
Let’s start by creating a Taurus. Inside the editing tools, we can see that we have 61,440 faces on Level 5.
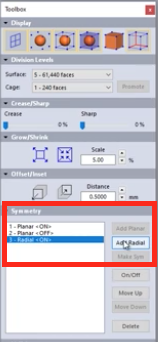
We have two planes here – the XY and YZ plane. For the XY plane, we keep Symmetry on because anything we do on the front of the tire we want to cross over to the back. We can turn off YZ Symmetry but we also need to create Radial Symmetry.
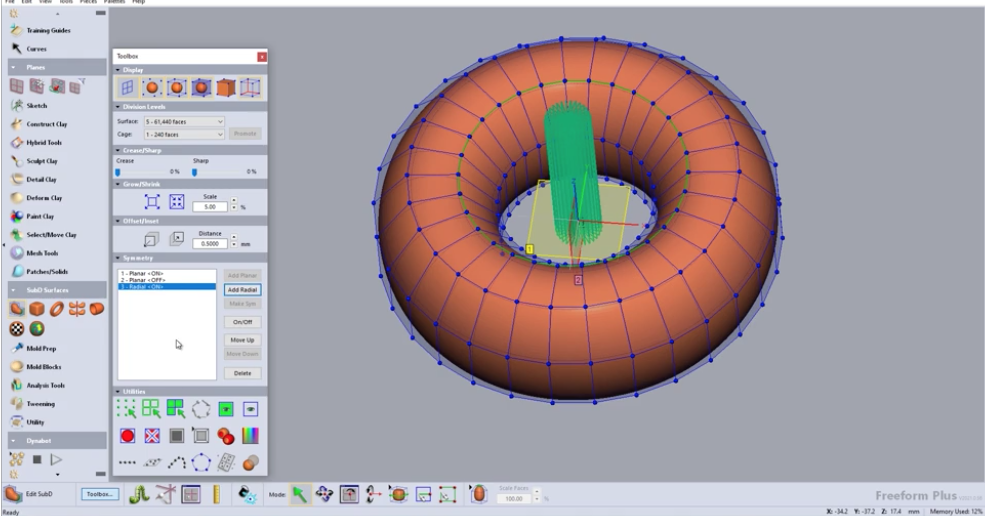
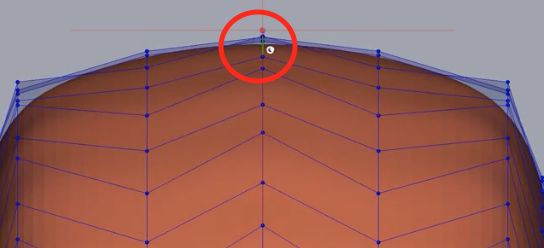
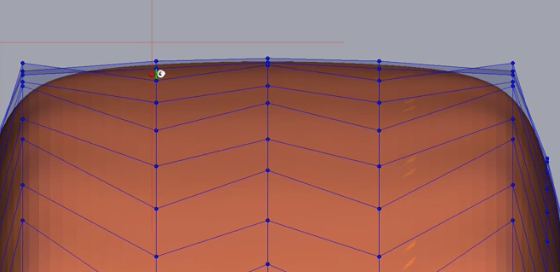
Radial Symmetry allows for any changes to the shape to be perpetuated all the way around the circumference of the tire. Using a haptic device, we select an edge and click Radial.
From here we can take the Control Cage, and promote it to level 2 which quadruples the number of faces.
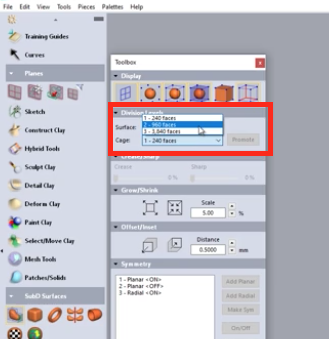
This gives us the ability to create finer details on the tire. It also creates a centerline of edges to manipulate for modeling.
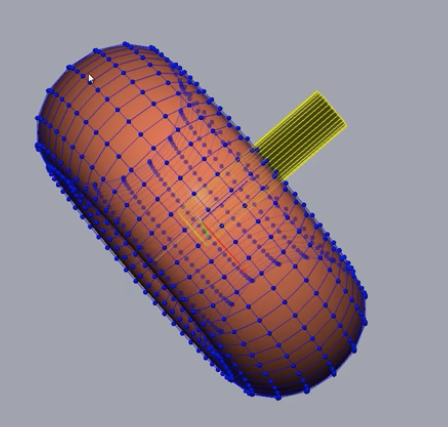
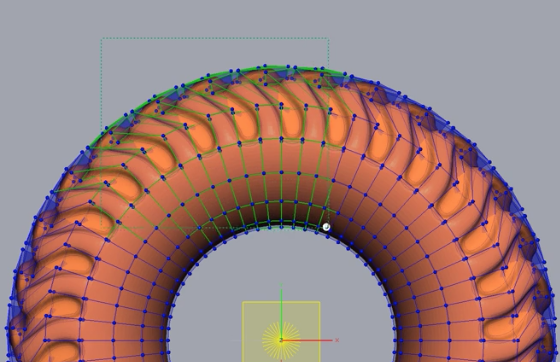
The first thing we want to do is create a Zigzag pattern. We select two of these edges and then pull down with our haptic device. Due to the XY symmetry, the changes cross over to the back as well.
The next step is to flatten down the cross-section since tires typically have a flatter cross-section.
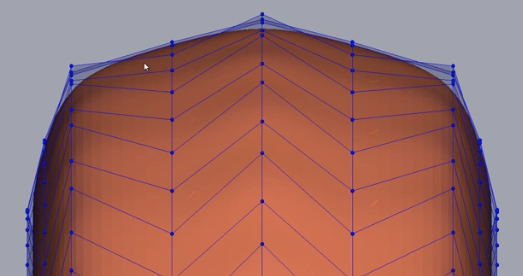
To do this, you can grab the edges and then pull down. You can also modify dimensions to fit your design intent.
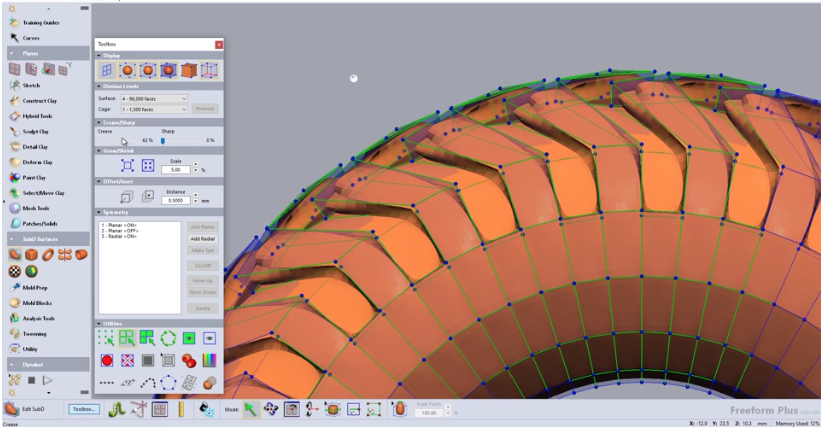
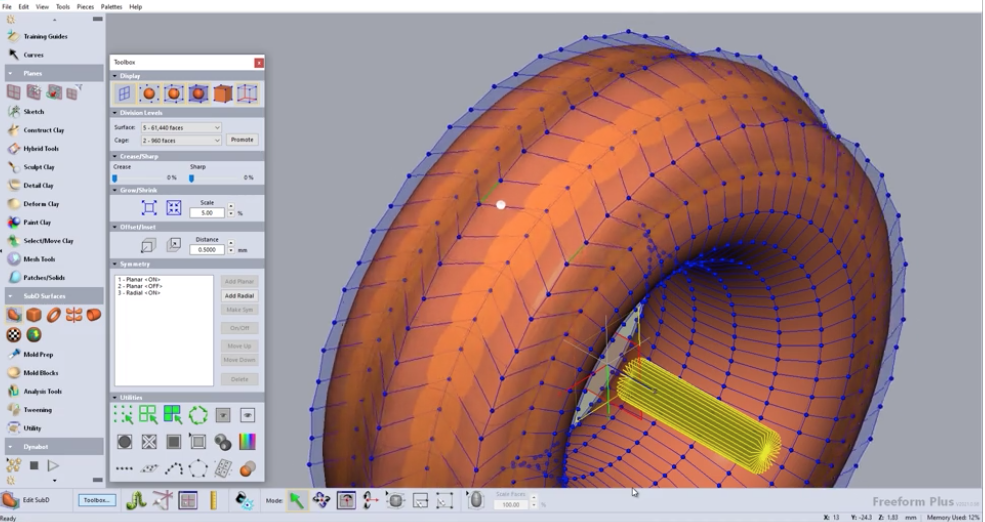
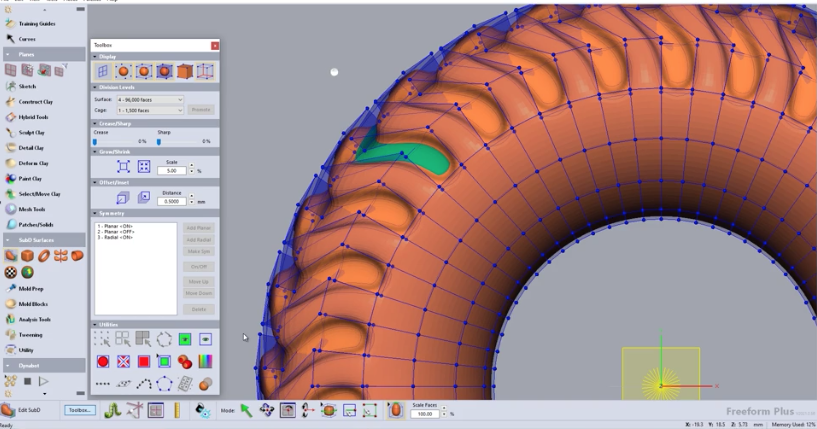
Now we have something that’s starting to look more like a large tire. The next aspect is to create the treads. To do this, select these four faces, and go to the Extrude function.
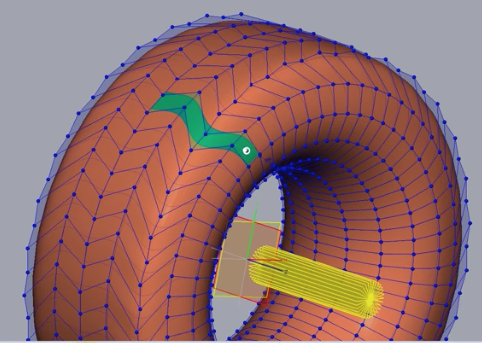
You can now push these four faces into the tire to create the treads. In this front view, you can see that the edges need to be a little bit sharper. Right now, they are too rounded for our design intent.
You can do this by creating a sharper crease angle. Crease is the sharpness of a surface edge. Select several of these edges all at once and take the crease angle and put it to about 66%.
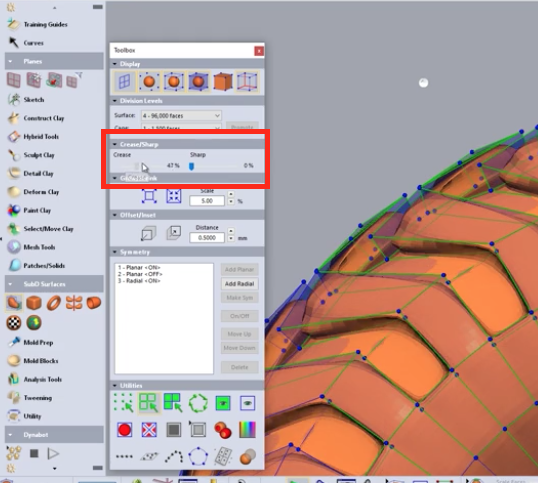
You can also move the sharp setting edge up to 25%. Now we can see that the shape of the tire is really coming to fruition.
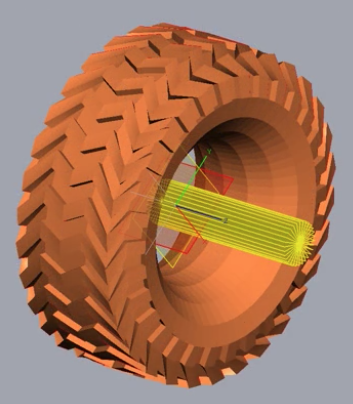
We now turn off the control cage and edges view, we see the final shape. Because we created the rotational axis symmetry, we were able to get that cross-section perpetuated all the way around the tire and we have that nice flat cross-section as well.
As you can see, Geomagic Freeform allows you to create organic shape parts that can be manufactured for many types of industries. Please be sure to sign up for our 2 Minute Tuesday video series to receive tips and tricks like this one in video form every week. More info at the button below.
Leave A Comment