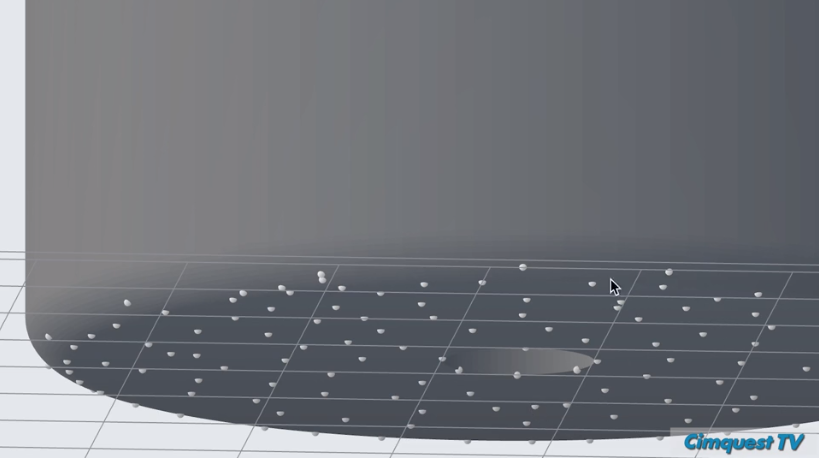
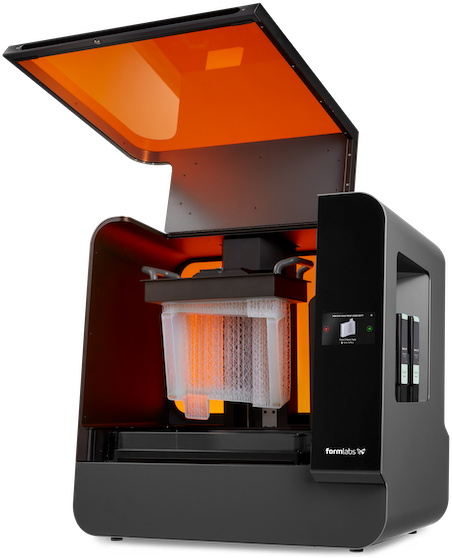
This blog post will show you the best way to orient and support your resin prints for the Formlabs 3 and 3L SLA printers. By modifying the support touch point size and density, you can have resin parts that simply break off of the support which reduces your post-processing time.
When it comes to supporting models for SLA 3D printing, the goal is to have the least amount of support while still securing the model to the build plate. If your support size is too large, small puck marks can be visible on the model as the supports’ tips pull off some of the uncured resin.
If you make the support size too small and the supports too sparse, the model will break away from the build plate, and the print will fail.
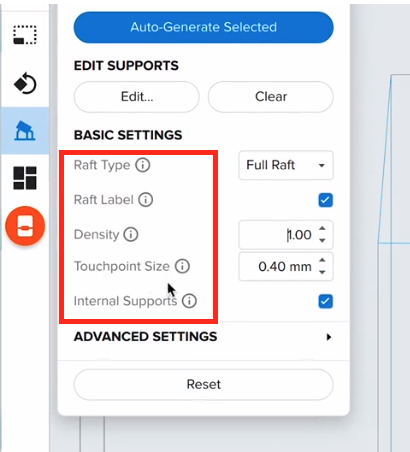
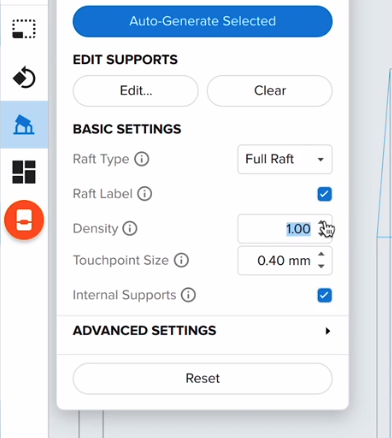
PreForm is the standard slicing software for Formlabs printers. This software allows you to generate supports for your models. Some of the parameters that you can change are the touchpoint size, density, and support location.
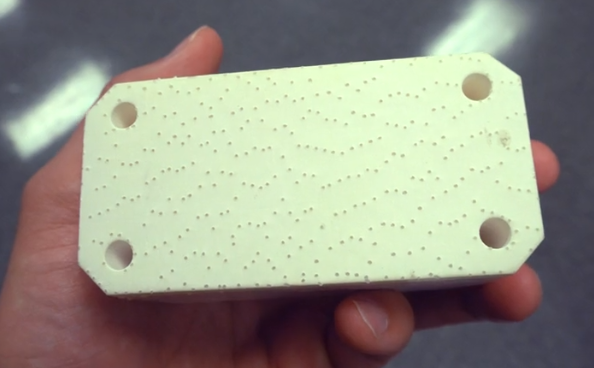
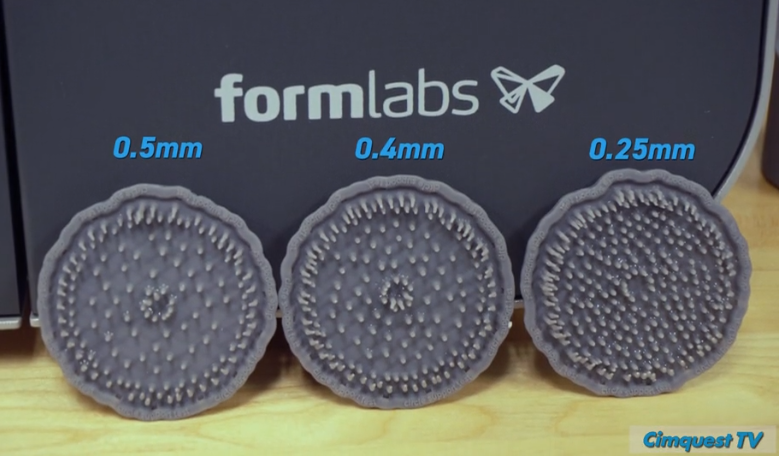
In this example, we have a simple box that can be supported using large touchpoints. We used 0.5mm supports with a density of 80%. Using the Edit Support feature, you can add extra supports in places that may lead to drooping.
Next, we supported this box with 0.4mm touchpoints and a density of 100%. This combination adds more support structures which provide a smoother bottom surface.
Lastly, we supported this part using “light touch” settings. This was set to a 0.25mm touch point with 150% density.
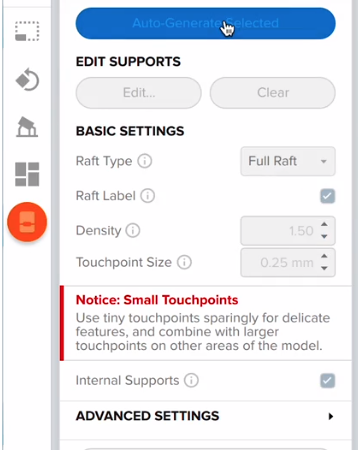
As the densest of our examples, this provided the best-quality surface finish. Since the touch points are so small, they do not pull off any material or leave puck marks during removal.
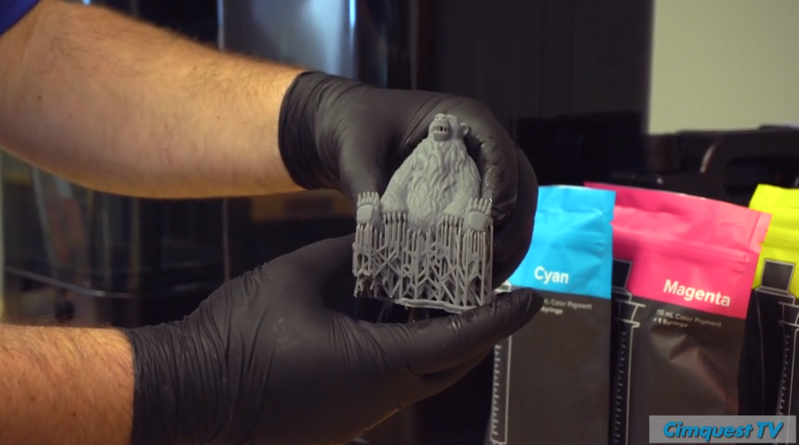
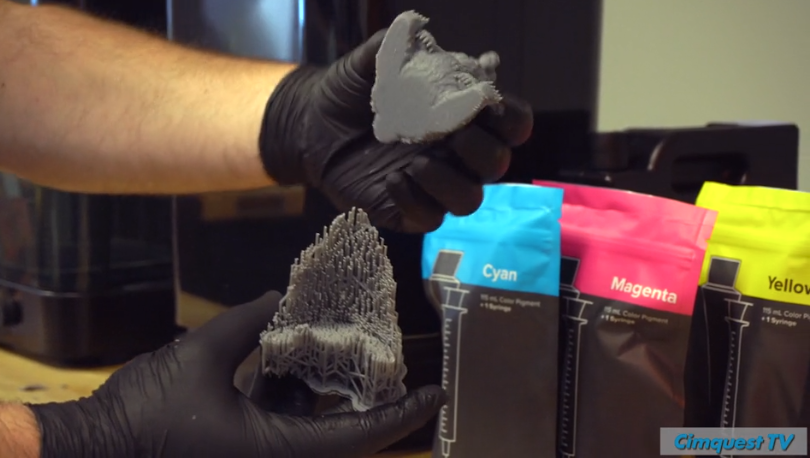
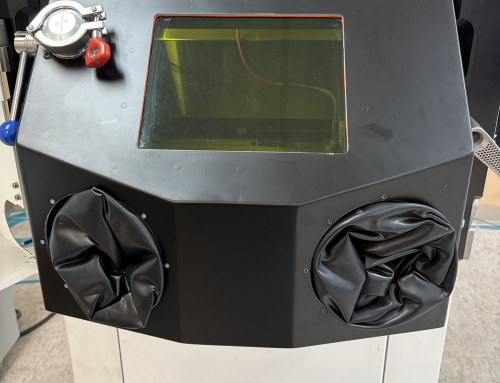
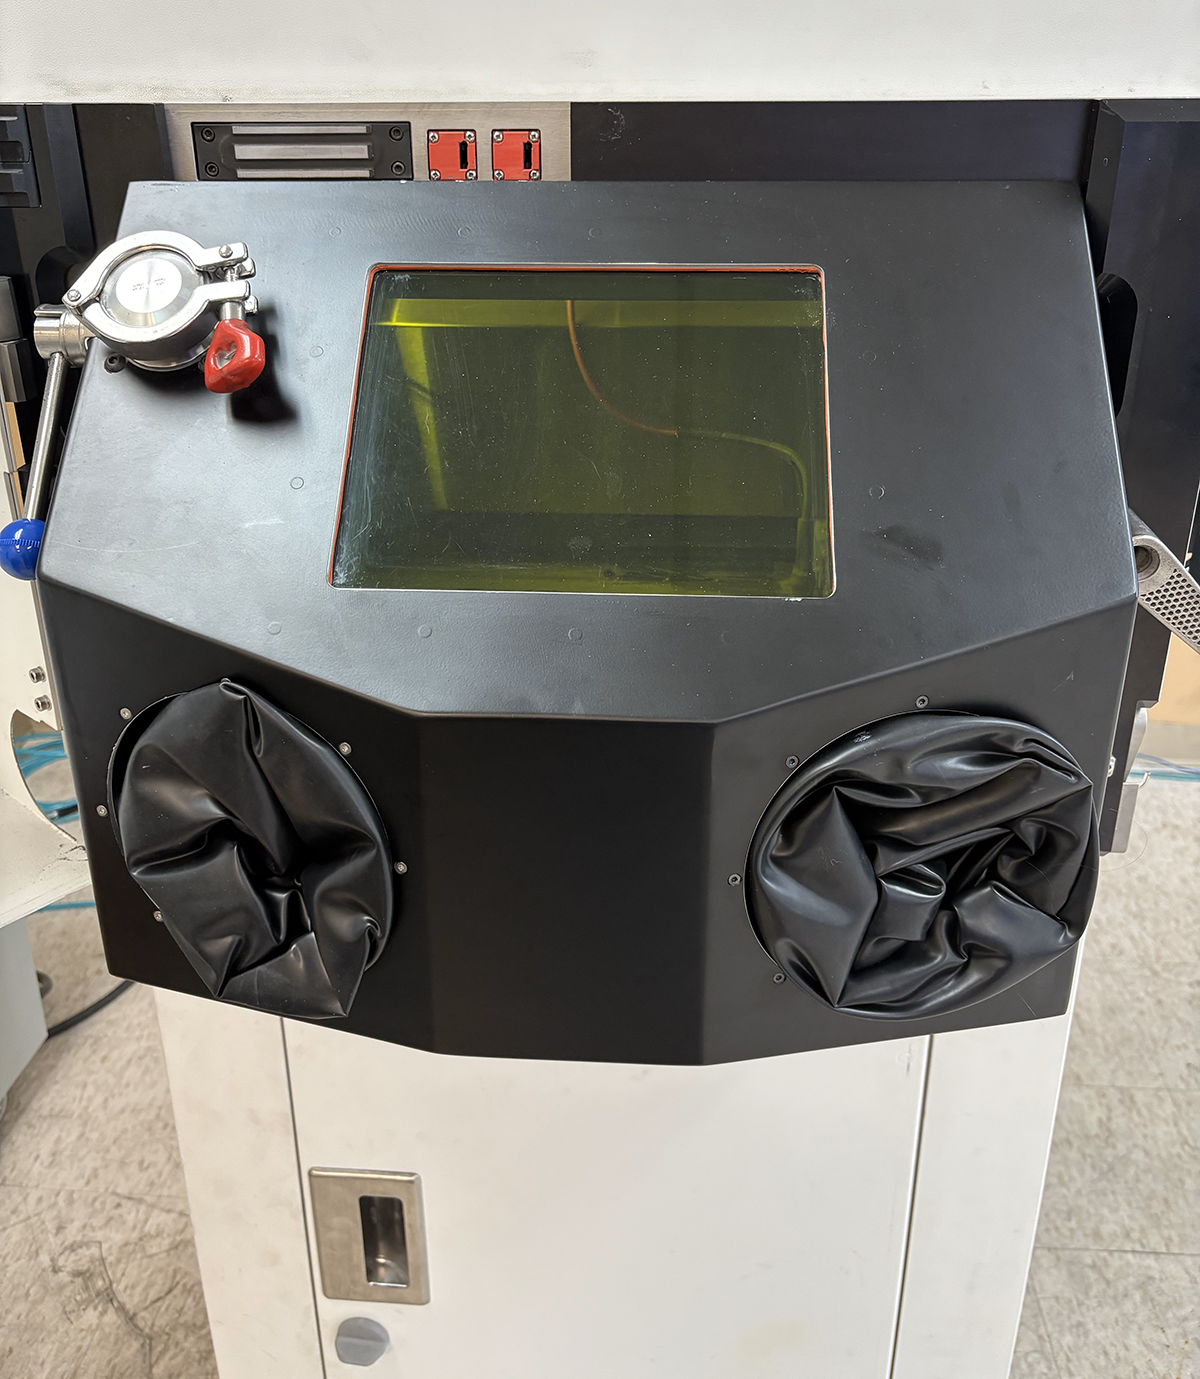
After all of the models are printed, it is time to remove the supports and inspect for visual defects.


Leave A Comment