This post will explain the new functionality in SolidWorks 2019 called Slicing.
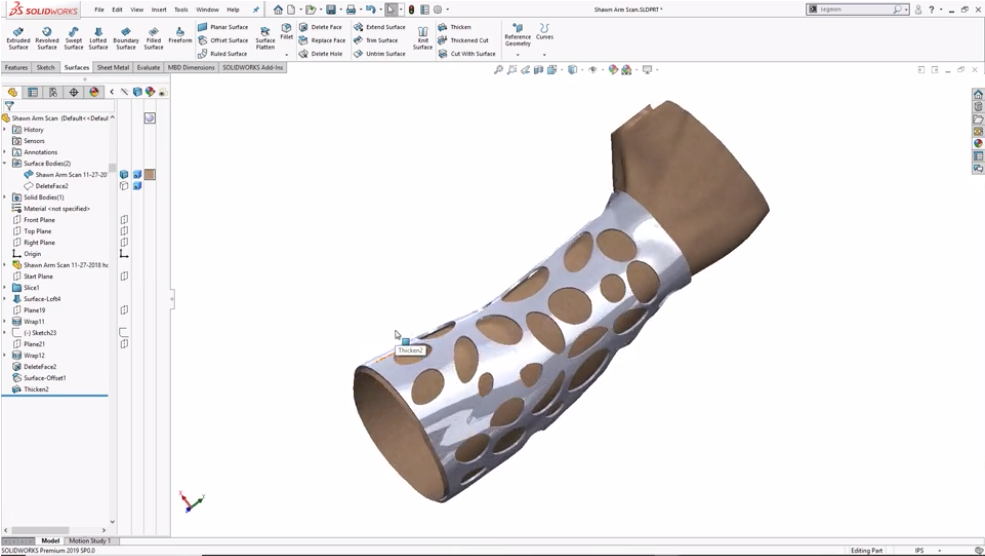
Scanning is becoming more and more prevalent in the engineering world. Whether you want to scan geometry just to back up your design or scan to recreate and make modifications, it’s becoming more and more easy to start from a scan. Once done, you export the scan as an STL.
The challenge comes when trying to utilize an STL file as graphics bodies in SolidWorks. You are not able to select anything on the body, nor can you trace or work off of the geometry.
Although there are different workarounds for this, SolidWorks 2019 came up with yet a new way to be able to leverage and trace Graphic Bodies, Mesh BREP geometry, and SolidWorks BREP geometry. This new tool is called Slicing.
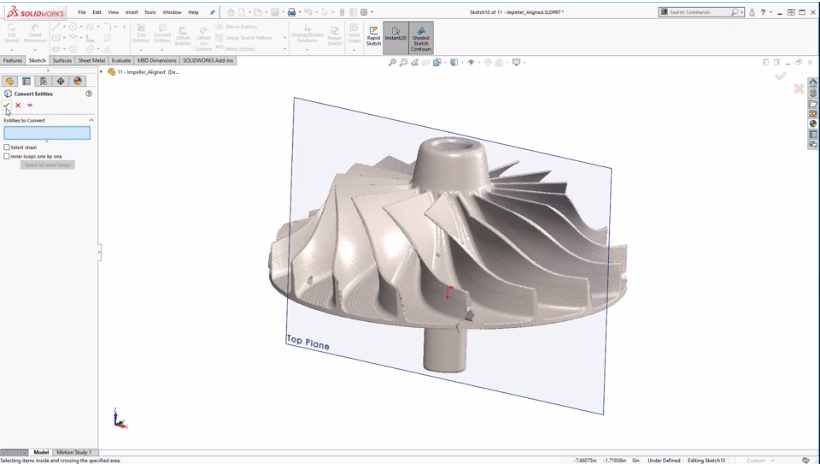
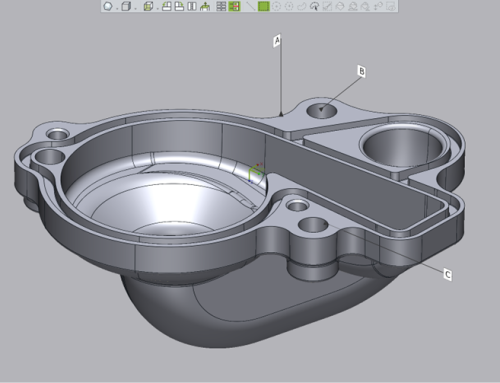
In the example below, we have a Graphics Body of an impeller, which was scanned and then imported as an STL. To start the Slicing Tool, go to Insert > Slicing.

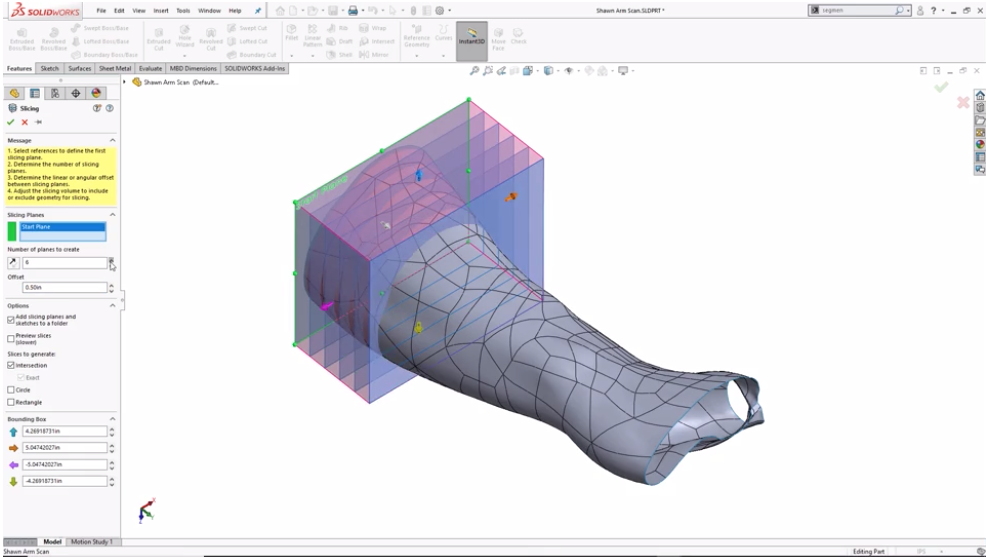
At that point you select your base Slicing plane, the number of additional slicing planes that you would like to create, and the offset distance between.
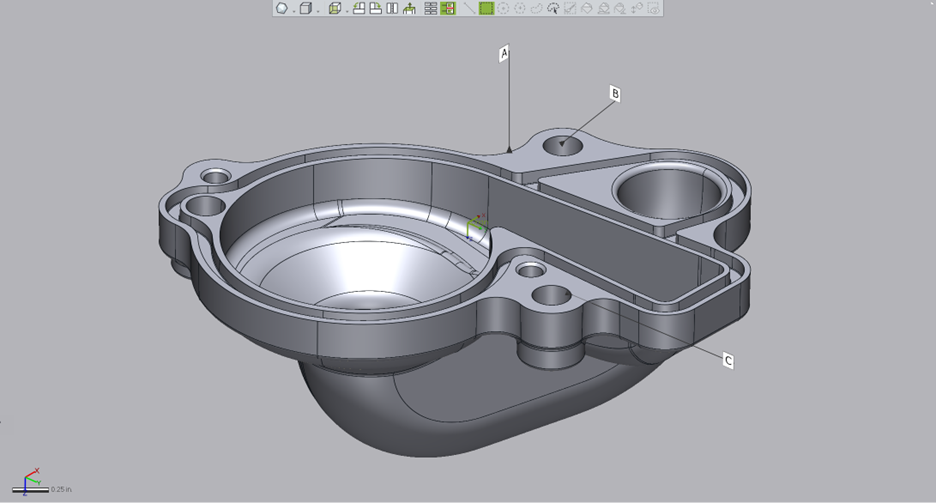
Once you click on the green check mark, SolidWorks creates 2D sketch sections that are at the intersection of the source geometry and reference plane.
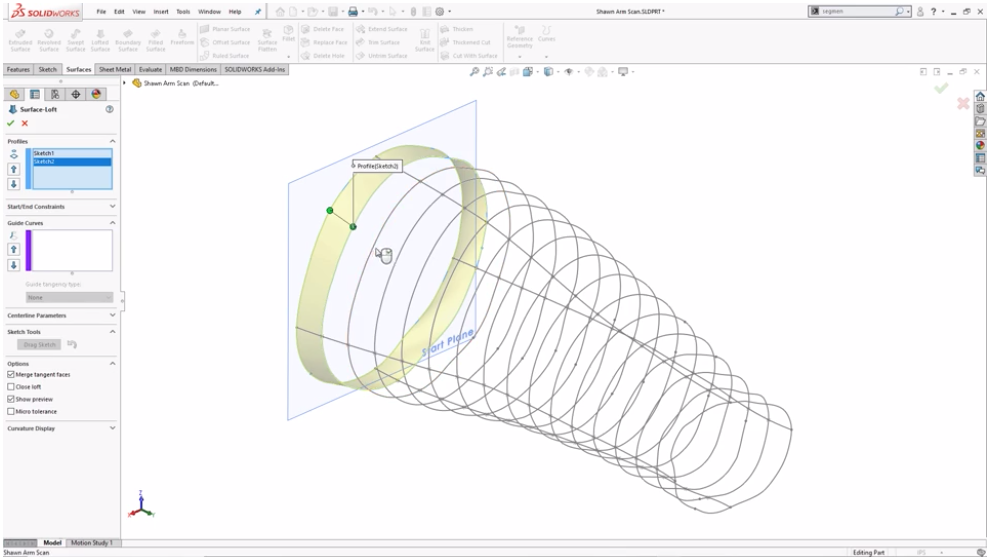
At that point, you can now create clean smooth geometry over those sections, and recreate the geometry with 3D CAD features to get your final native editable shape.
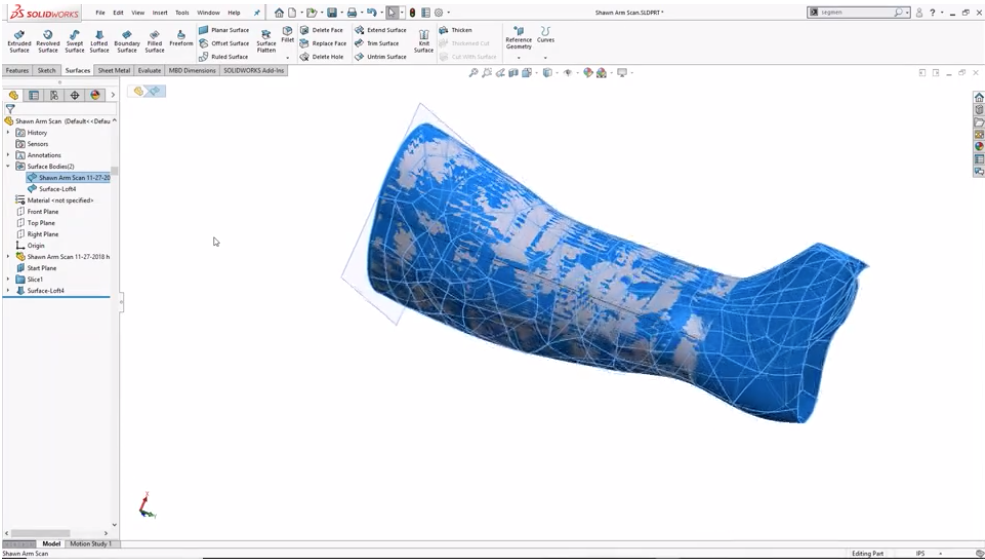
In SolidWorks 2019 you can now leverage STL graphics bodies and BREP geometry, trace it, and reproduce true native SolidWorks features to create your design.
Please be sure to sign up for our 2 Minute Tuesday video series to receive tips and tricks like this one in video form every week. More info at the button below.


Leave A Comment