Adding NC Base to a Cimco DNC Installation
Adding NC Base to a Cimco DNC Installation In the first chapter of this webinar series we will exhibit the use of Master 3D Gage. We will demonstrate applying targets to a model to execute a 3-2-1 Alignment by way of using a 5mm Renishaw Ruby probe. Once aligned, we will use the BUILD module to verify the alignment and manually check coordinate locations on the model as well as establish how to check multiple features using the MEASURE module." https://cimquesttv.wistia.com/medias/gvoqc228xe?embedType=async&videoFoam=true&videoWidth=640
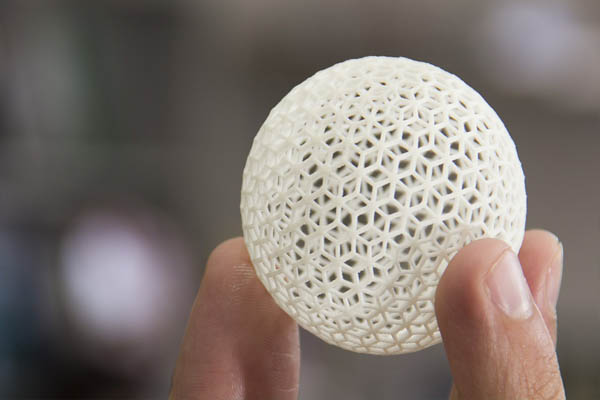
3D Printer Evaluations – What to Look for in a Benchmark
by Tom Wakeley, 3D Printing Application Engineer Often companies that are looking to get into the additive manufacturing space come to us with a benchmark file for us to print on the system they are interested in. This can be a great way to see if the machine in question can give you what you are looking for. However, coming in with a realistic expectation of what you are really looking to get is important. Often, we get files that are not representative of what the company would ultimately be printing. These are parts that have features that are either achievable by other non-comparable technologies or parts that have features that are beyond achievable based on minimum features the manufacturers state the machine is capable of. Unfortunately, they can paint that technology in a bad light. It would be best to submit a benchmark part that is or is similar to, parts you would expect to be running on the printer in question. Now here comes the tough point for some . . . be open-minded about your design. We do realize that some parts just have to be the way they were designed due to red tape in making changes. etc. But [...]

PMI Integration – Webinars on Demand
PMI Integration - Webinars on Demand Driving inspection criteria from your CAD system Our next installment in our Webinar series continues the discussion on how to apply 3D laser scanning to part inspection. In this episode the nominal CAD model will be prepped for inspection using the same part with Solidworks. We will demonstrate how to use the PMI Import Wizard to get all the inspection criteria from Solidworks into Control X and establish a seamless and fully integrated move from CAD to inspection. https://cimquesttv.wistia.com/medias/gqvri0v6u8?embedType=async&videoFoam=true&videoWidth=640

Formlabs response to Covid-19 – Webinars on Demand
Formlabs response to Covid-19 - Webinars on Demand In this On Demand Webinar that aired on April 14th, you’ll discover how Formlabs revamped its 3D printer farm to produce 100K Covid-19 Test Swabs per day. By teaming up with Northwell Health and the University of Southern Florida Health, they were able to develop and optimize the design in only one week. https://cimquesttv.wistia.com/medias/55ln9jfnnw?embedType=async&videoFoam=true&videoWidth=640

Geomagic Reverse Engineering – Modeling Wizards
Geomagic Reverse Engineering - Modeling Wizards In this webinar on demand we demonstrate how Batch processing in Control X can be used to create one inspection process that can be applied to multiple parts and or scans automatically with the advantageous component of it being an unmanned process. Watch as we uncover how to develop a singular Control X inspection program then capitalize on it by using it for any other subsequent inspections. https://cimquesttv.wistia.com/medias/3rlrxoysep?embedType=async&videoFoam=true&videoWidth=640
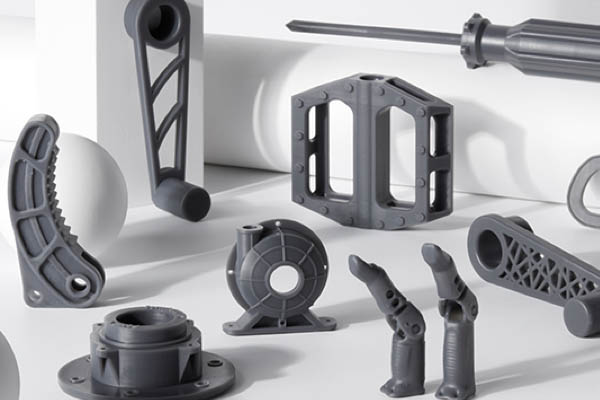
Tough 2000 Resin by Formlabs
Tough 2000 Resin is a reformulation of Formlab’s popular Tough Resin, offering more advanced mechanical properties and a new dark grey finish. Compared to Tough Resin, this material reformulation brings: Reduced brittle failures: Increased elongation by more than 100%. Improved strength and stiffness: Increased flexural strength and flexural modulus by roughly 15%. Better performance at elevated temperatures: Increased heat deflection temperature by roughly 25%. Professional-looking parts: New grey color. Tough 2000 Resin is the strongest and stiffest material in the functional family of Tough and Durable Resins, with “2000” representing the material’s tensile modulus. In developing this material, Formlabs simultaneously improved elongation, strength, and stiffness, which are typically competing for mechanical properties. It is ideal for: Strong and stiff prototypes Jigs and fixtures requiring minimal deflection Simulating the strength and stiffness of ABS Applications Choose Tough 2000 Resin for prototyping strong and sturdy parts that should not bend easily, such as housings and enclosures, jigs and fixtures, mechanical connectors, and prototypes undergoing wear and tear. For more information on Formlabs materials, please click the button below. More info