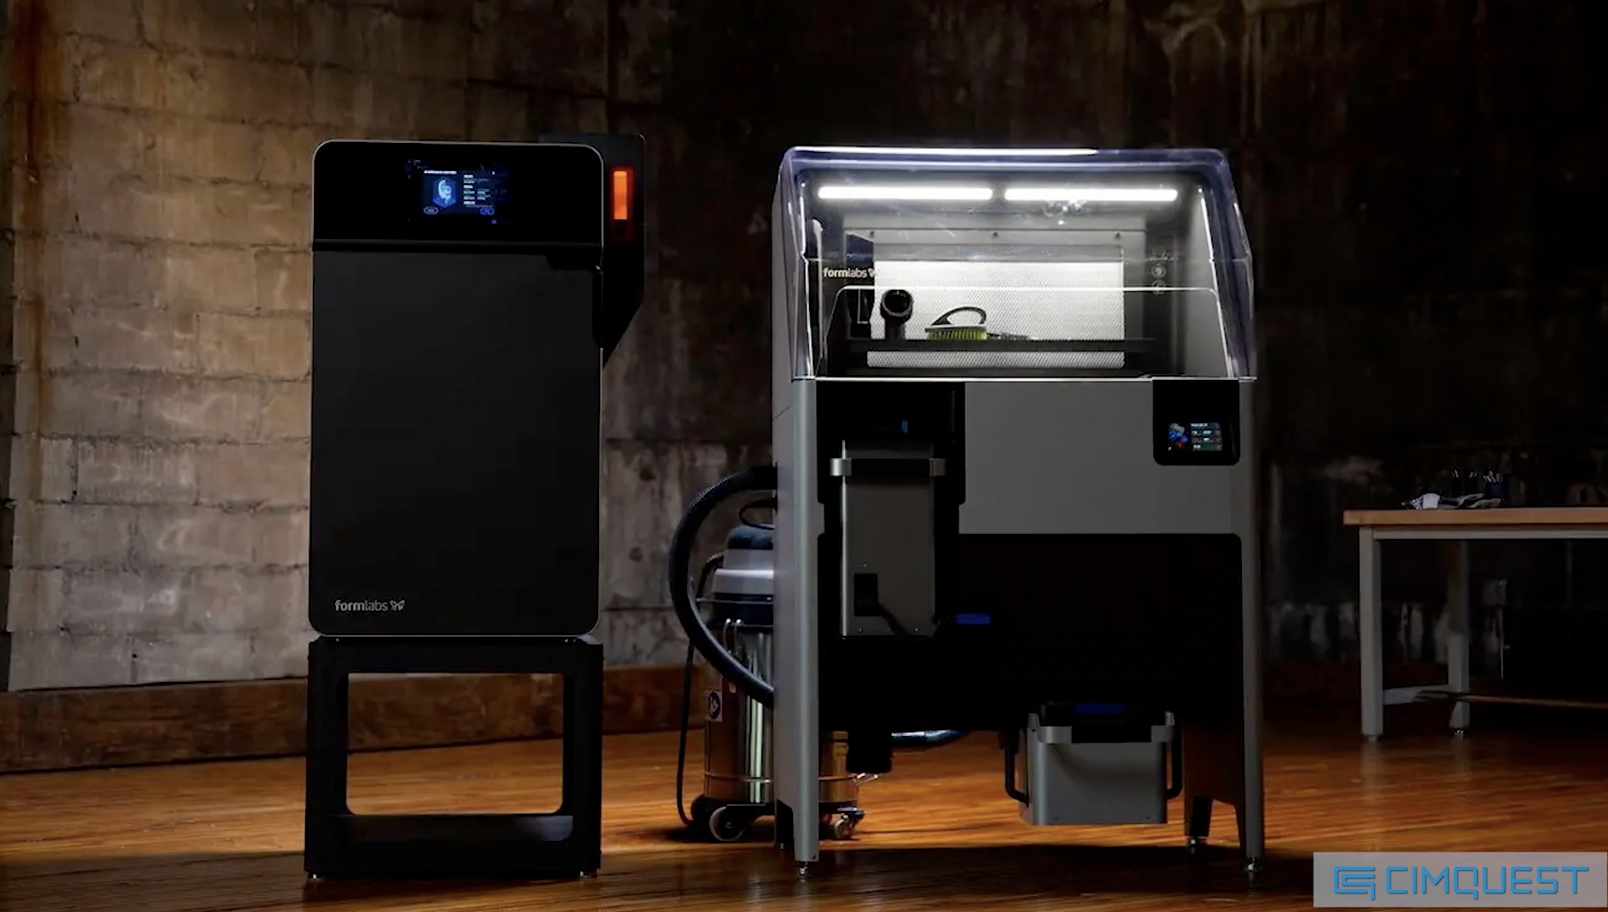
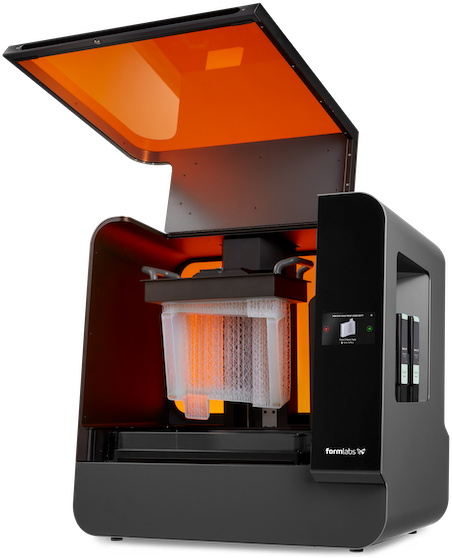
In this blog post, we will explain how easy it is to add a powder-based 3D printer to your prototyping workflow. We will specifically be looking at the Fuse 1 by Formlabs. Since powder-based printers require no support, they allow engineers to take full advantage of generative design and print-in-place components. Although powder-based 3D printing may be intimidating to those used to FDM machines, we’re going to walk you through the entire workflow to show you how simple it is.
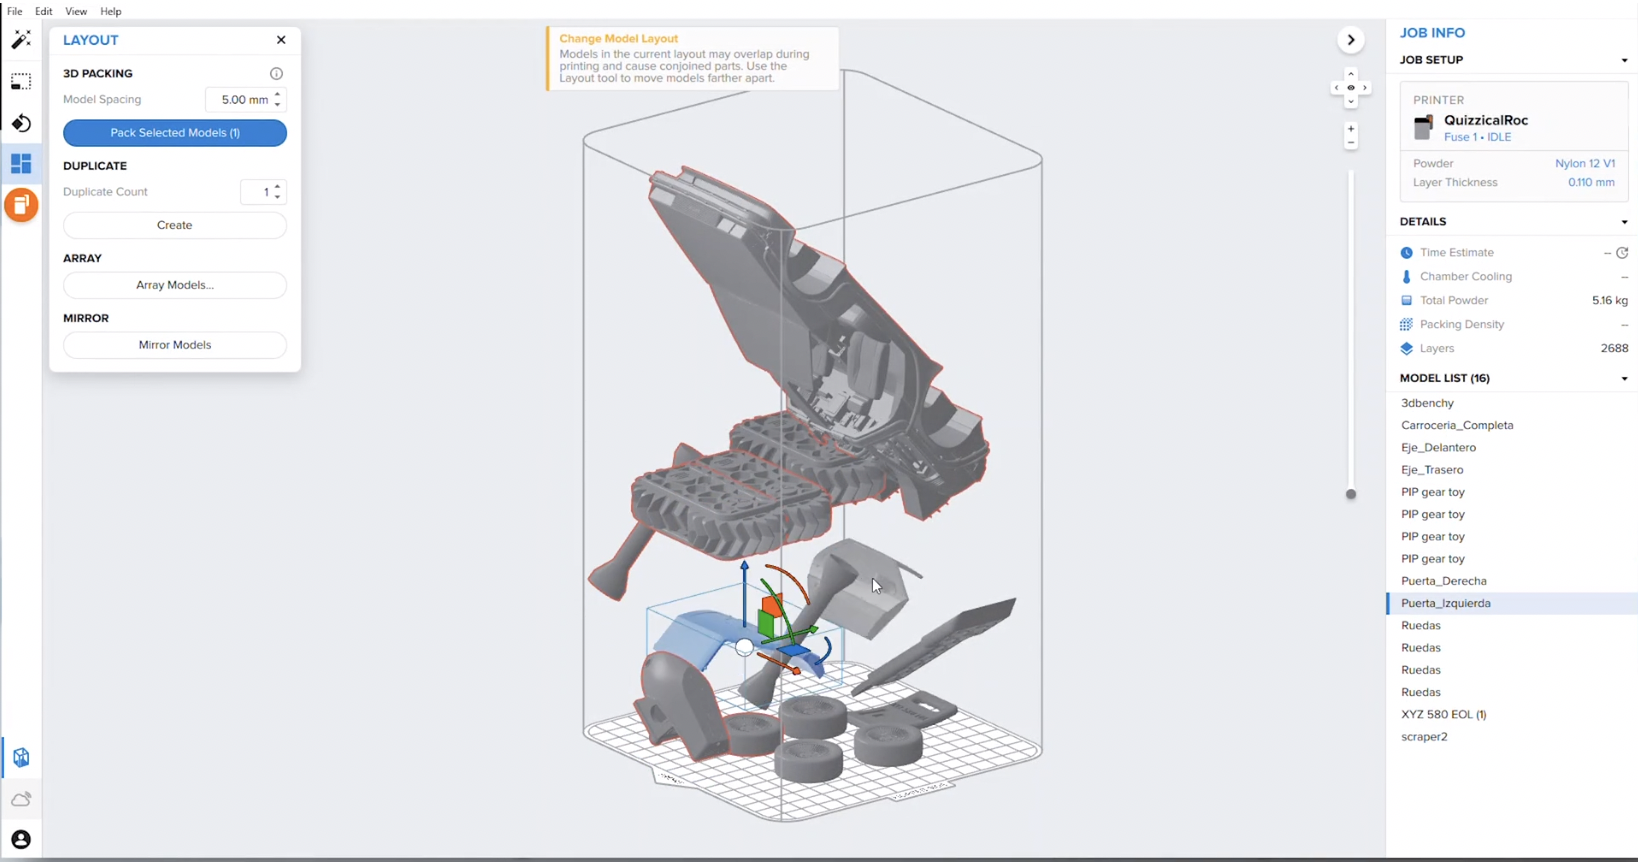
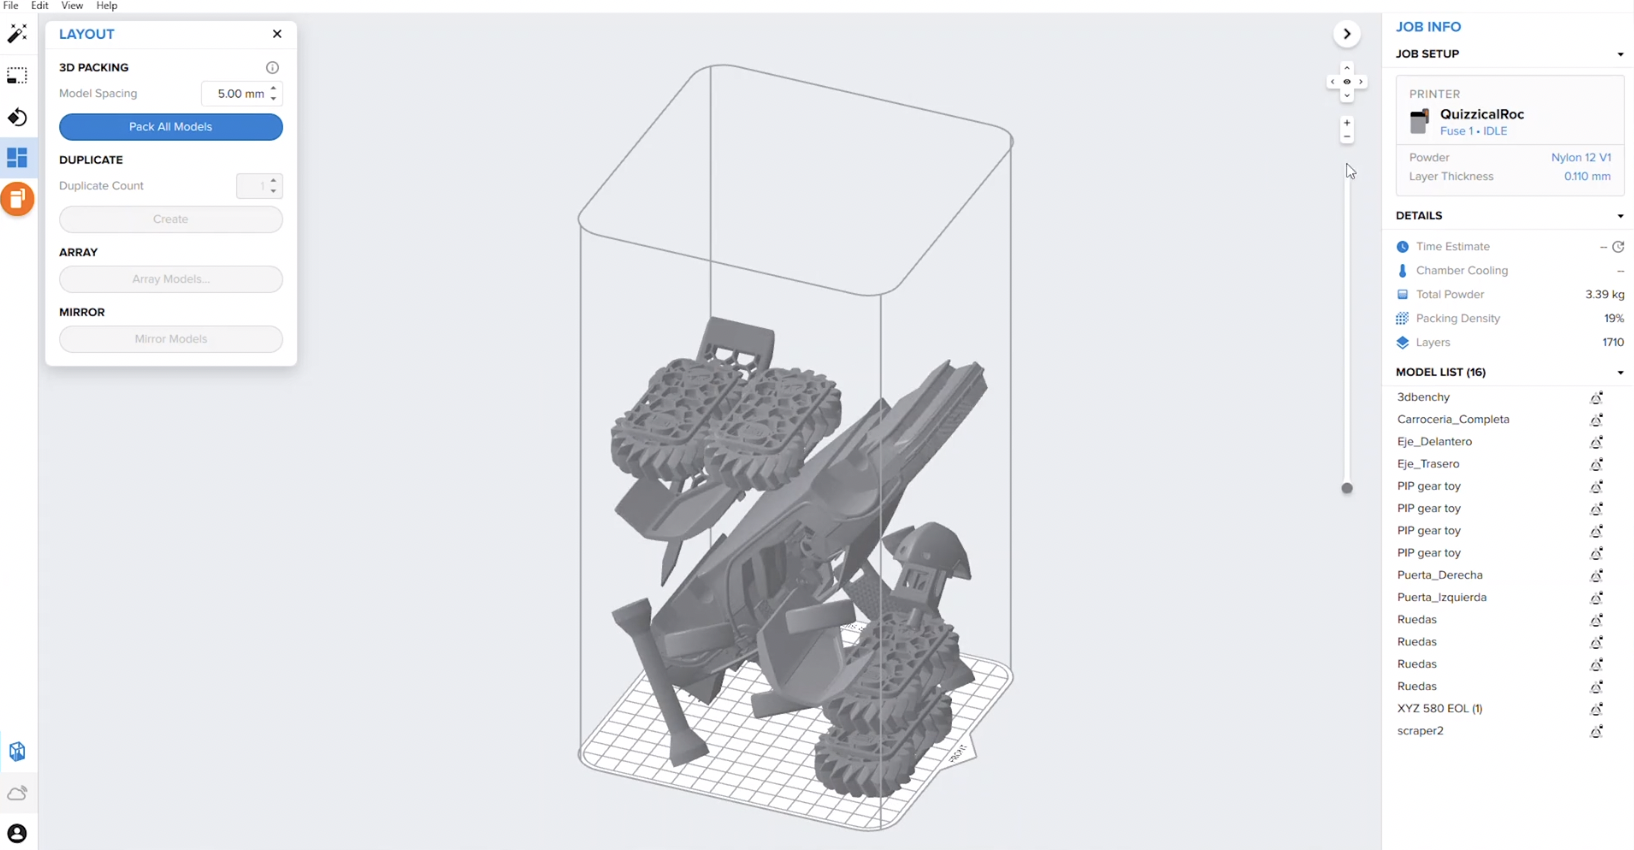
To begin, open PreForm, the file preparation software for Formlabs printers. In this program, you will orient and pack your models into place. Powder-based 3D printers use the Z axis to print multiple models. First, orient your models to reduce the cross-sectional area. Typically, placing the models on a 30º compound angle in the X and Y planes will be enough. PreForm will then take the models and automatically place them into the build volume for printing. Now, you can upload the project and head over to the machine.
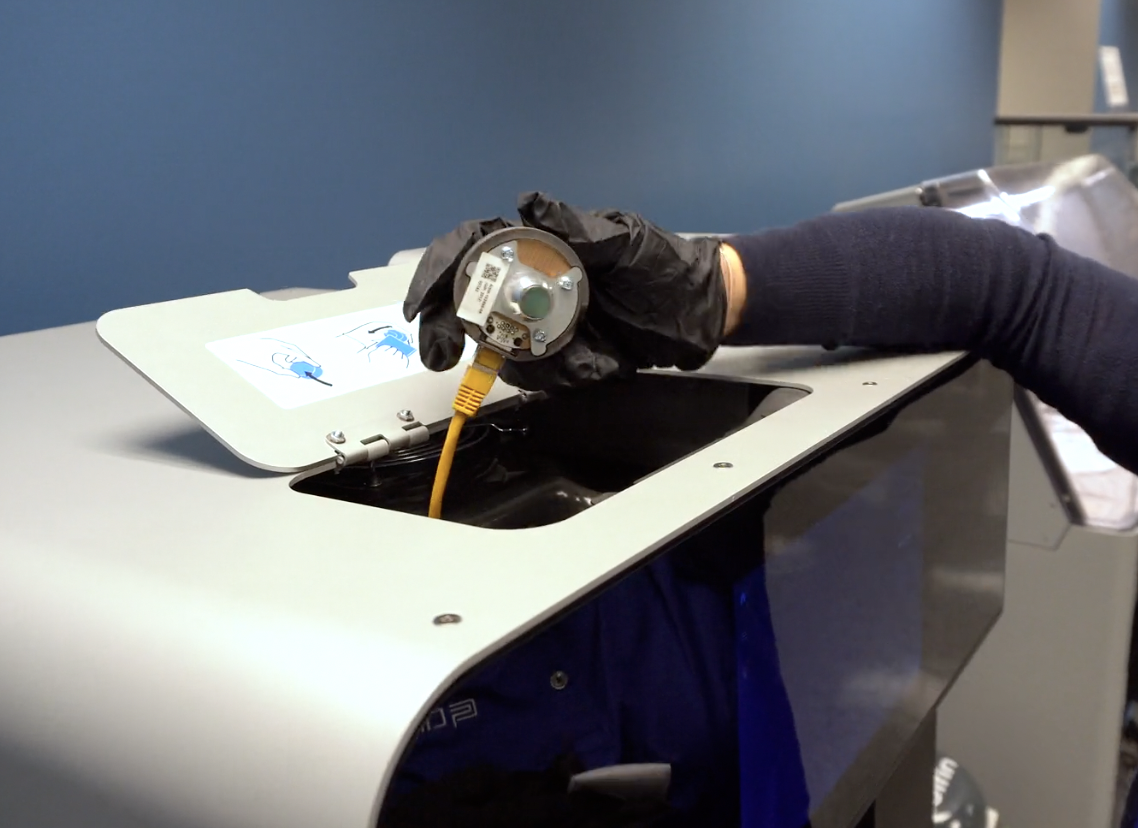
Once at the machine, start by inspecting the optics. The Fuse 1 uses an optical cassette as a shield between the sintered parts and the laser assembly. Due to this, the optical cassette will need to be cleaned between prints to ensure consistency.
To clean this, use isopropyl alcohol or distilled water on the underside of this window. Repeat this on the infrared sensor to ensure the printer accurately reads the temperature of the build surface.
Next, you need to mix your powder. By using a ratio of 70% recycled powder to 30% fresh powder, you can reuse unsintered powder from previous prints, significantly lowering the cost of production.
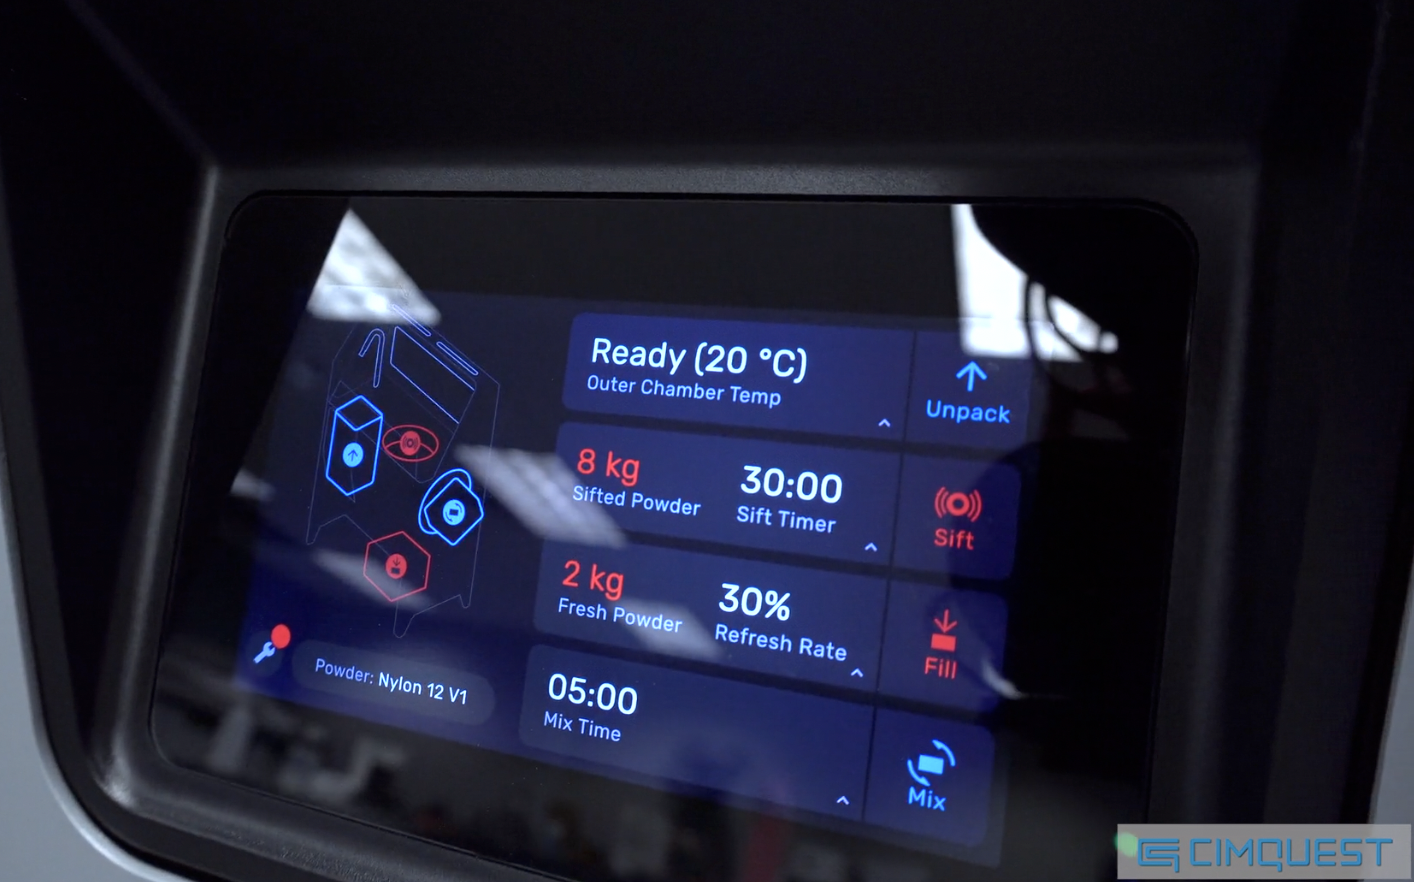
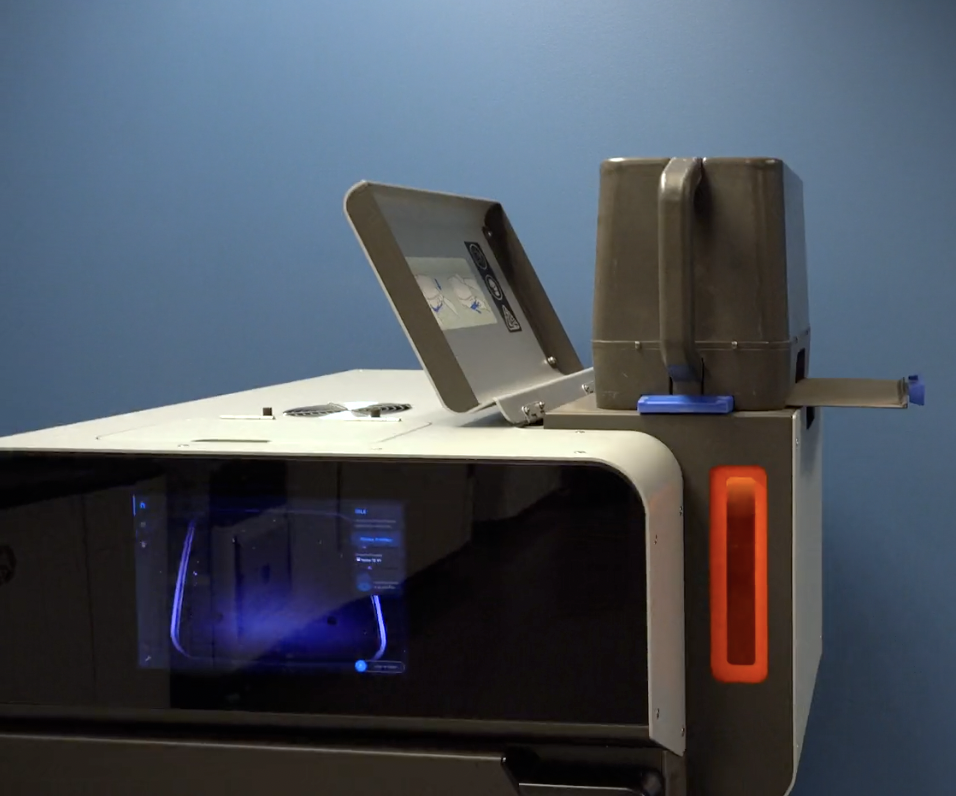
The Fuse Sift machine automatically fills the containers with the proper refresh ratio. Once the powder is mixed, bring it to the Fuse 1 and load it into the hopper. Insert a build chamber and start the print.
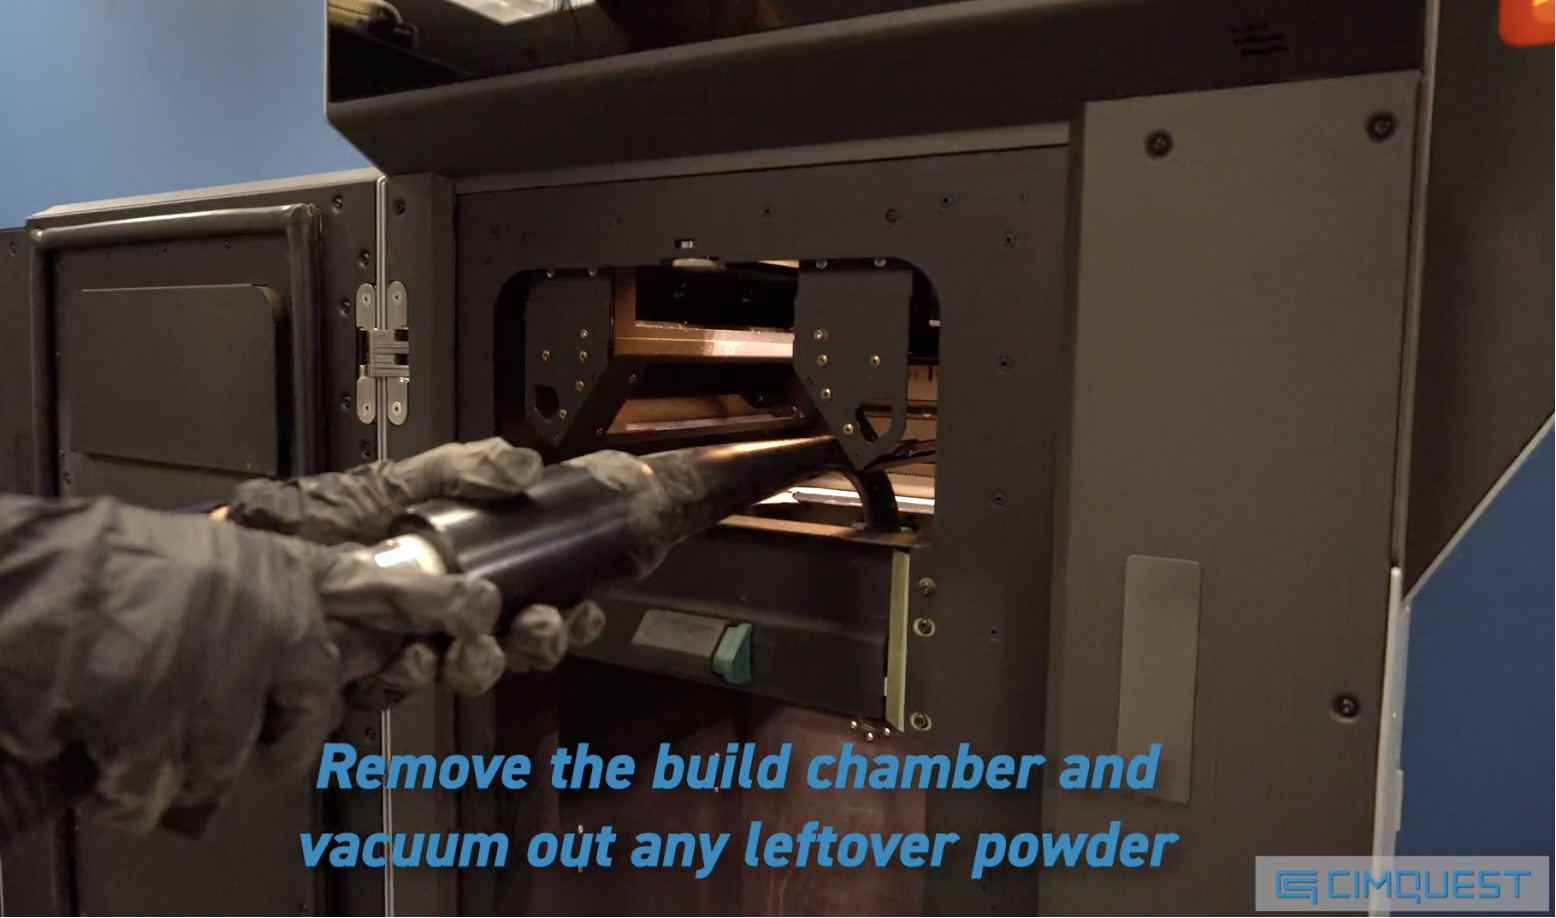
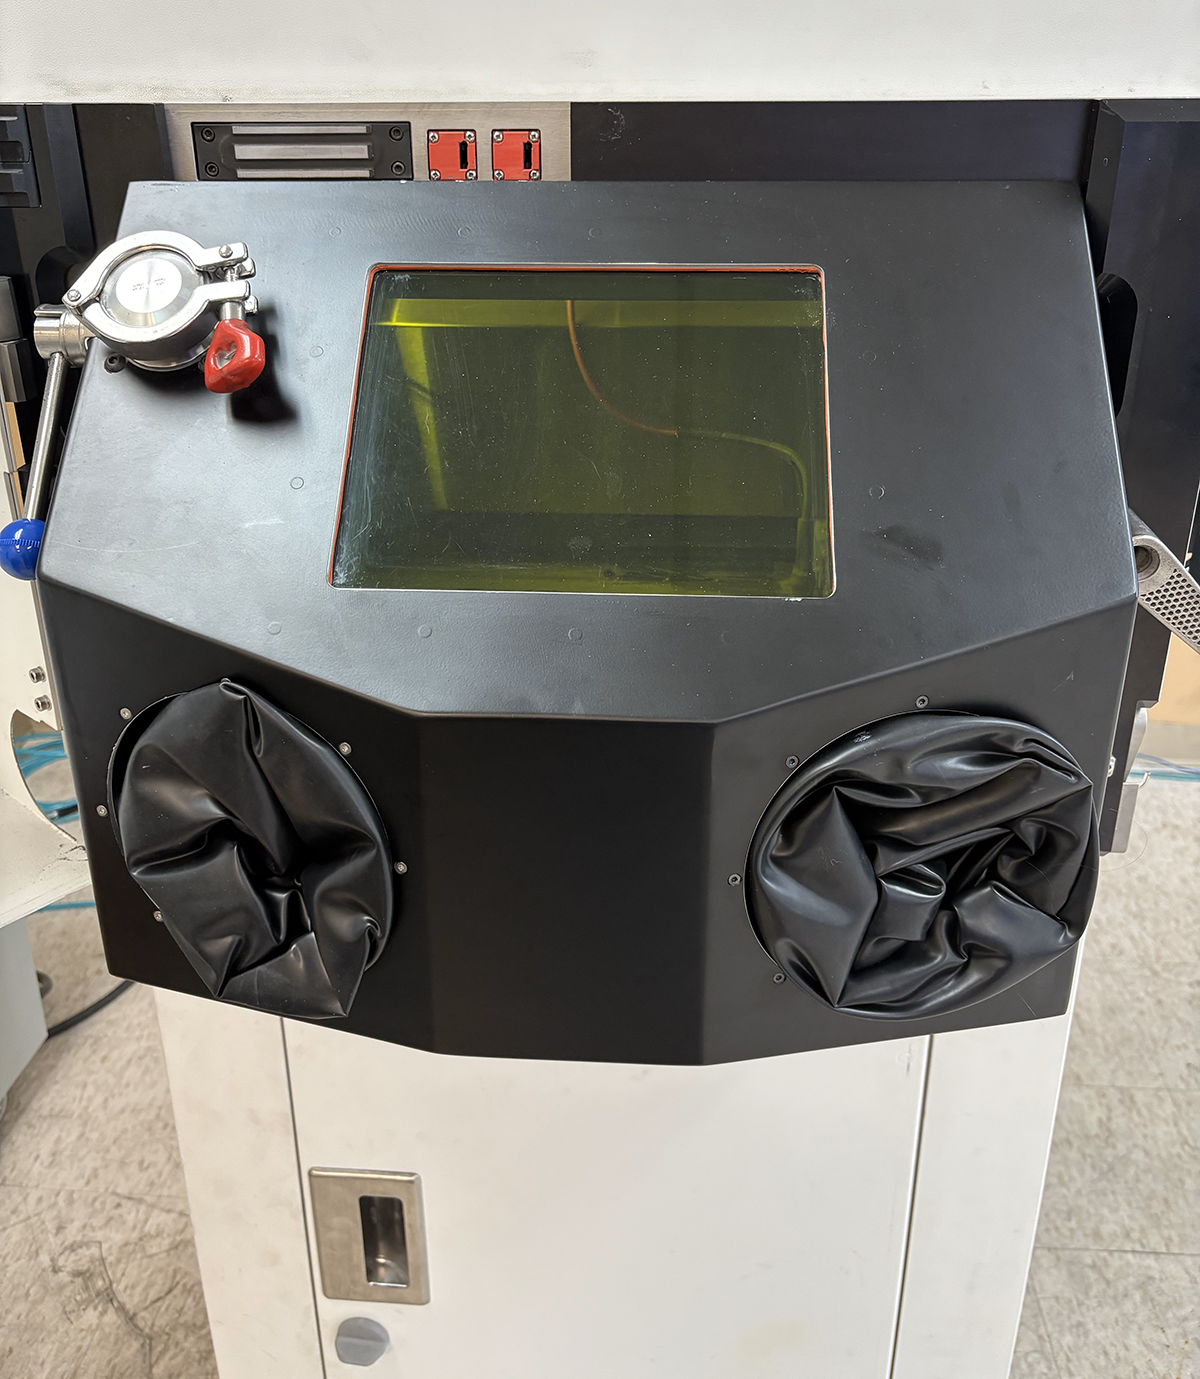
With the print completed, you can unpack and de-powder the parts. Once the build chamber is cool enough to handle, move it from the printer into the Sift. Eject the cake and remove the unsintered powder, pushing it into the sieve for recycling.
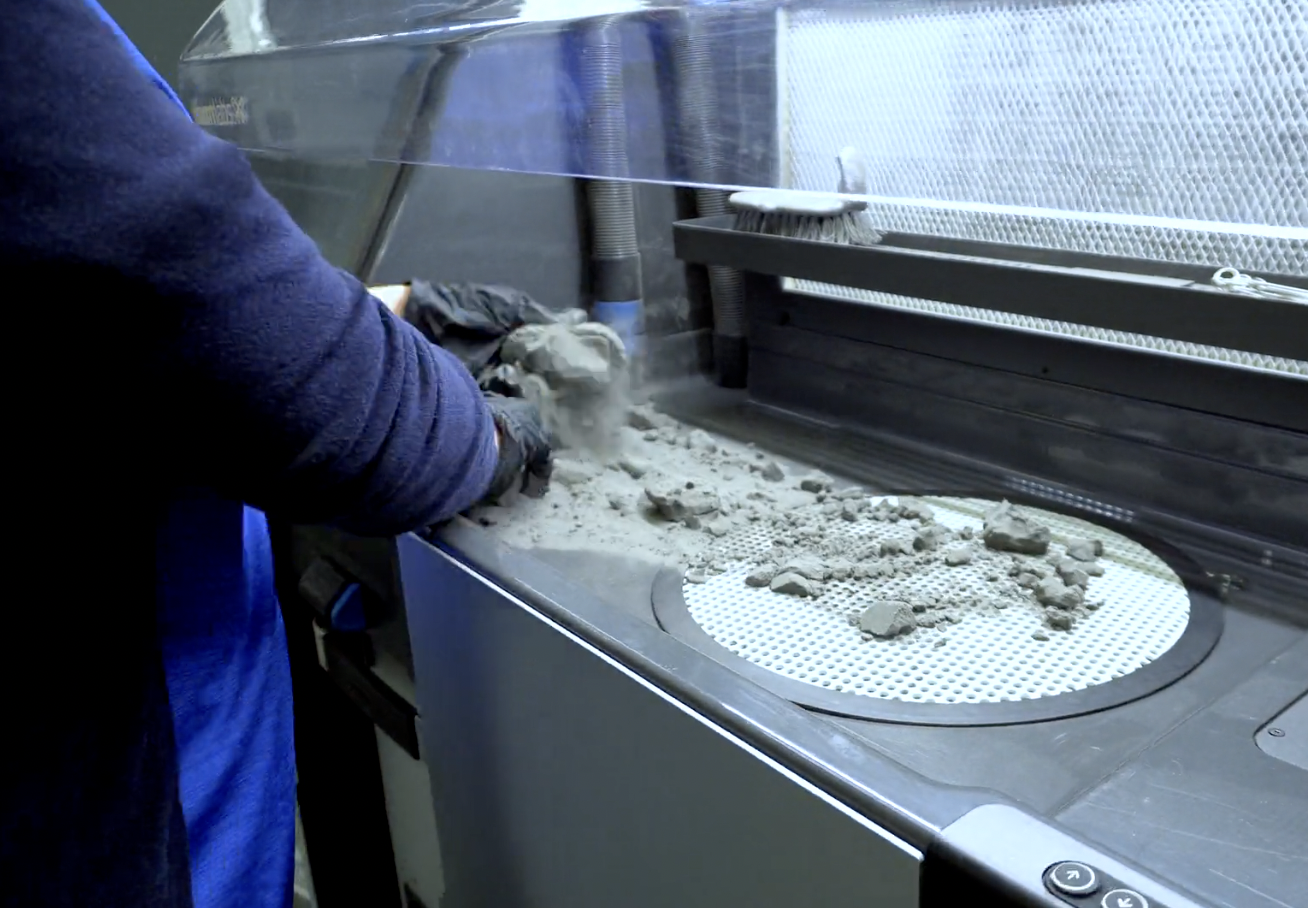
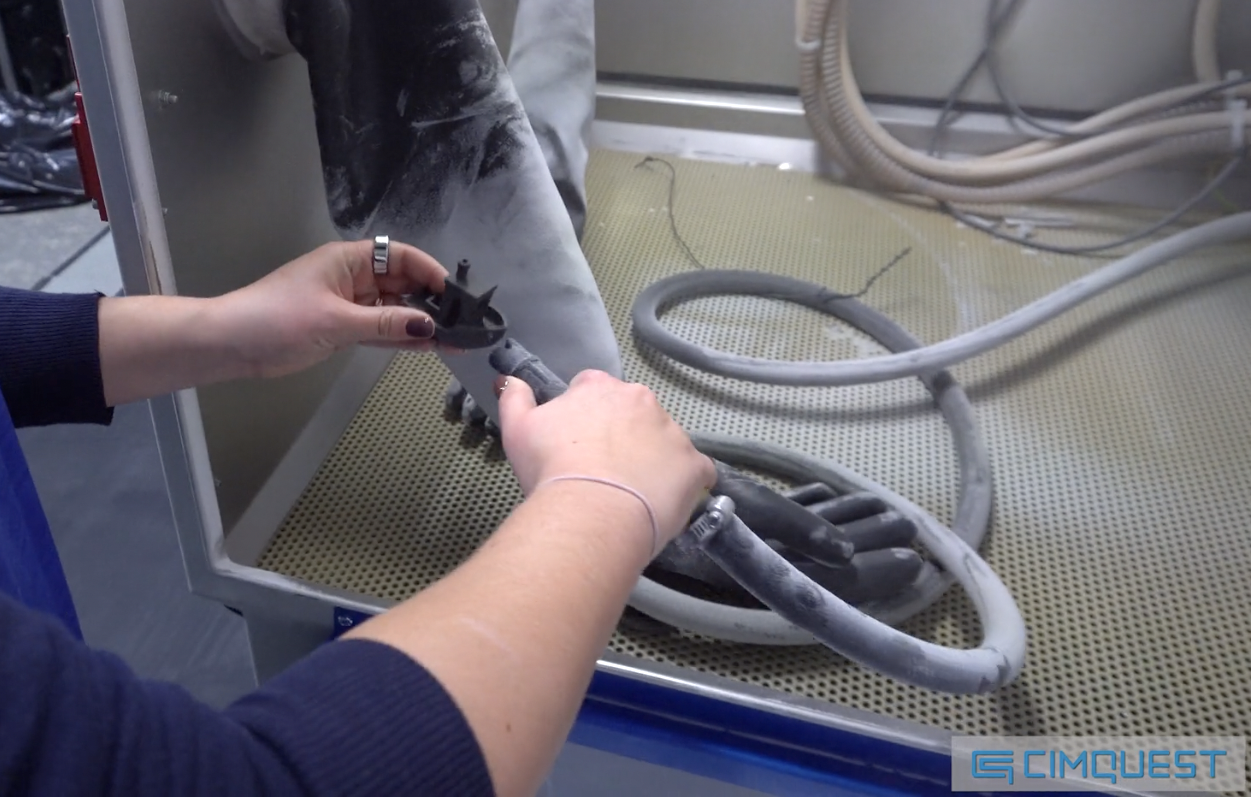
Once your parts are brushed off and removed, we recommend finishing them in a bead blaster. Be sure to clean your work areas for your next print.
As you can see, recent innovations in 3D Printing have brought low-cost SLS machines to the market, giving the user the tools needed for rapid prototyping and small-scale production. Please be sure to sign up for our 2 Minute Tuesday video series to receive tips and tricks like this one in video form every week. More info at the button below.

Leave A Comment