There is new functionality in SolidWorks 2017 that allows you to offset 3D curves on a surface. Offsetting 2D geometry is very efficient. It allows you to quickly grab 2D geometry and create a same shape contour with a specified gap distance. However, when working with 3D sketches containing 3D curves, it’s not as simple. As of SolidWorks 2016, many steps were required to accomplish this task. Now in SolidWorks 2017, it got a whole lot easier.
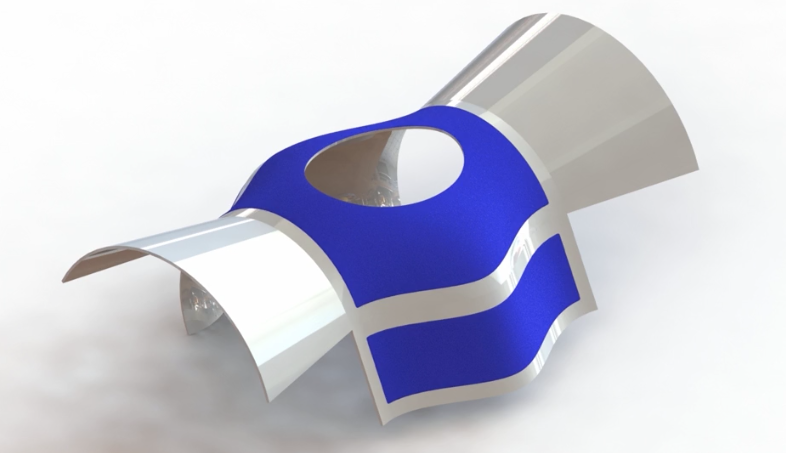
Notice in the example below, we have a surface body that contains 3D curved boundaries.
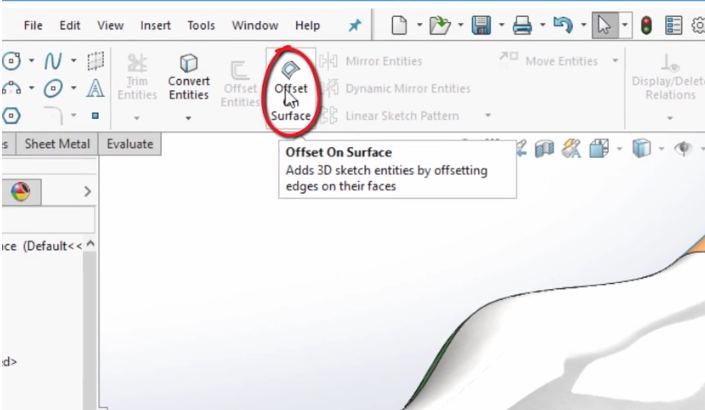
To create the 3D offset, you can simply go to the sketch tab, and click on the Offset on Surface button.
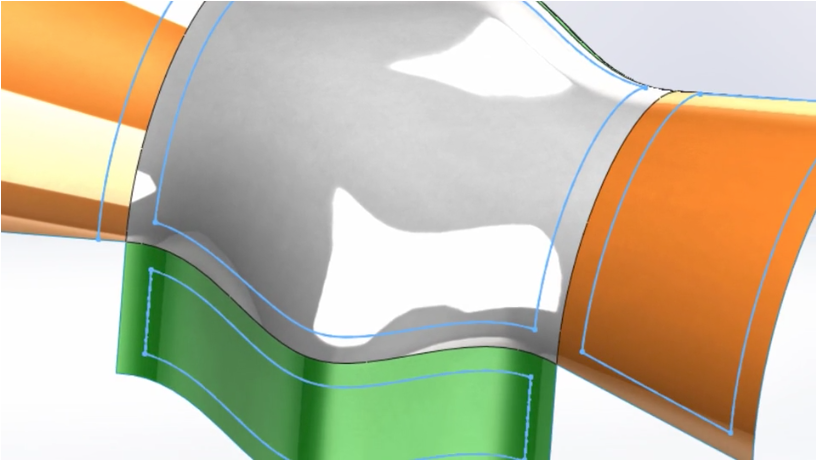
This quickly launches you into a 3D sketch environment. From this point, all you need to do is click directly on the edges, enter your offset value, and choose your offset direction.

If you wanted to choose the boundary on all sides of the face, you can just choose the face itself, and the command will propagate the edges accordingly. This command is ideal to use if you wanted to punch out the center of a 3D surface, or even create the design for an over molding, all the meanwhile keeping a constant offset from the face boundaries.
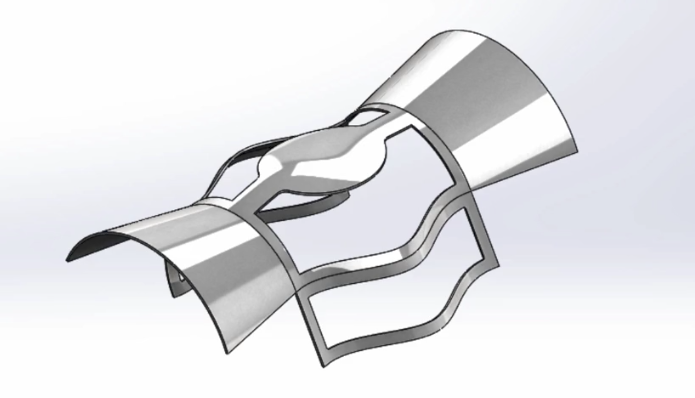
As you can see, SolidWorks 2017 offers you yet another way to simplify the workflow by using the new Offset on Surface command, which will allow you to achieve a 3D offset on a surface, in much fewer steps!
Please be sure to sign up for our 2 Minute Tuesday video series to receive tips and tricks like this one in video form every week. More info at the button below.


Leave A Comment