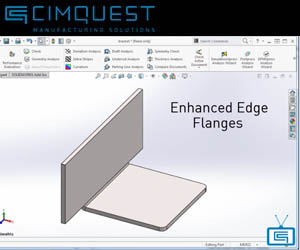

In today’s episode of “What’s New in SolidWorks 2016” I’m going to show you an enhancement to sheet metal flanges that will allow you to create edge flanges that are longer than the edge to which they are attached. In previous versions of SolidWorks, an edge flange feature would default to the length of the edge of the sheet metal part with no options to manipulate the flange length. This is no longer the case. Now, you can drag the edges of the flange preview or input a value for the desired flange length.
Let’s take a look at how it works . . . Open a flat sheet metal part. Go to Insert > Sheet Metal> and select the icon for Edge Flange.

Next, select the edge where you’d like the flange to attach and in the Property Manager, under Flange Length input a value for the length of the flange. In this example we set the length to 40 mm.

Under Flange Parameters, click Edit Flange Profile. In the graphics area, drag each vertical sketch segment so they extend beyond the adjoining sheet metal edge.

In the profile sketch dialog box, click Finish, and see how the edge flange is added to the part.

As you can see, this enhancement will give you total control to create various sizes edge flanges that truly match your design needs.
Be sure to sign up for our 2 Minute Tuesday video series to receive tips and tricks like this one in video form every week. More info at the button below.


Leave A Comment