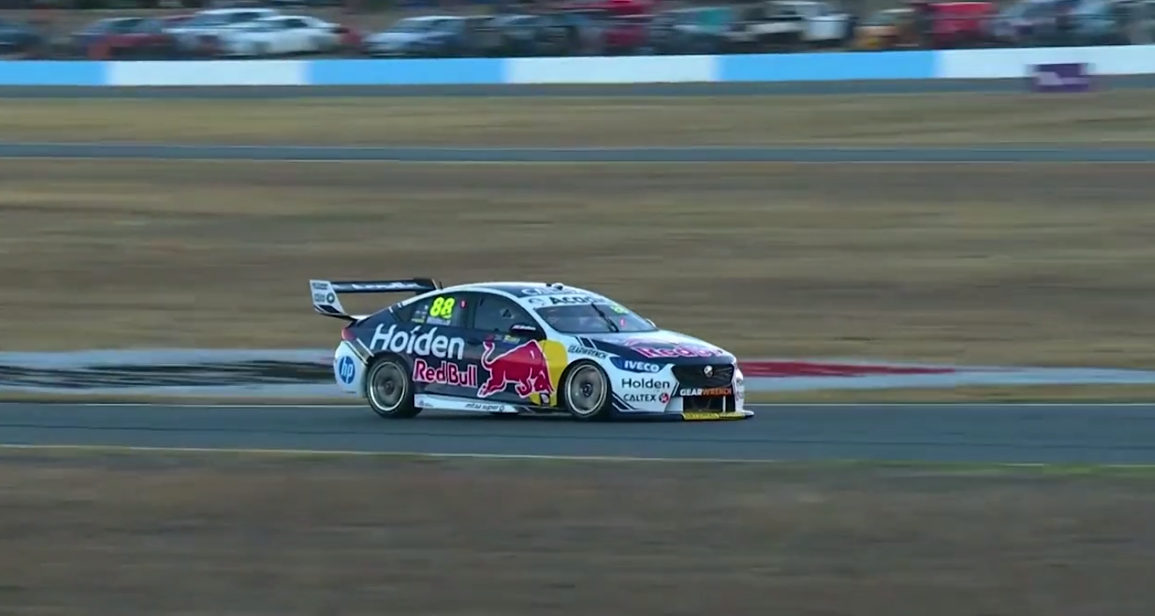
3D Printing for Auto Racing Industry
In Motorsports, engineering teams are always under the gun to improve designs and enhance racing performance. To win races consistently teams must find innovative ways to reduce weight while maintaining the strength necessary to withstand extreme conditions. These conditions include high temperatures, along with the harshness and vibration that come with racing. Triple Eight Race Engineering turned to HP Multi Jet Fusion to print components and tooling for parts. In this first example, they sought out to improve the driver ergonomics of a racecar steering wheel. A racing wheel is an assembly consisting of an armature and grip, the hub and quick-release mechanics, and various switchgear and lights. The champion on this team wanted a grip made from silicone polymer since modern racing gloves feature grips that work well with this material. Making a silicon grip typically requires an aluminum mold made from CNC machining or a mold printed on common FFF technologies. But CNC machining did not meet the budget and time constraints and their existing 3D printer required costly post-processing. Additionally, the project required multiple iterations, which would only boost costs under traditional methods. Using HP 3D Printing, they were able to print a two-part mold to form a soft polyethylene [...]

Welcome Our Latest New Employees
We are continuing to grow our Cimquest team and have hired quite a few new employees. Please help us to welcome the following new hires. Jim Harrison has worked as an Additive Manufacturing (AM) engineer for 30+ years, in aerospace, medical device and consumer products. He started his career in AM in 1988 as part of the SLA-1 Beta Program at Pratt & Whitney, military engines. Jim will be our senior account executive in the Southeast, representing HP Multijet Fusion 3D Printing. If you need help in the Southeast please don’t hesitate to contact Jim at jharrison@cimquest-inc.com. Another recent hire that we would like to introduce is Dustin Krienke. Dustin is from Mountainside, NJ and graduated in 2018 from Rowan University. He joined the Cimquest team in Oct 2019 as the training coordinator. He previously worked with a staffing company as a business development manager. If you're ever at the beach you might see him out in the waves. Please also welcome Tyler McCormack. Tyler recently graduated from Wentworth Institute of Technology as a mechanical engineer, where he was introduced to 3D printing and Cimquest services. His internship took place at the Port Authority of New York and New Jersey [...]
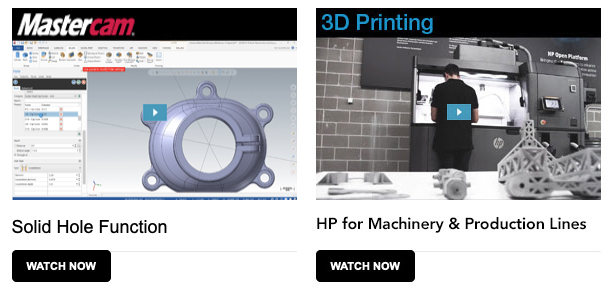
Top 2-Minute Tuesdays Videos of 2019
Did you know that we produce and share one video every week as part of our 2-Minute Tuesdays Video Series? This popular video series is now in its eighth season and it focuses on various topics in the manufacturing industry including Mastercam, a variety of 3D Printers, CAD, Reverse Engineering & Inspection solutions, as well as Customer Spotlights, Tips & Tricks, What’s New, and much more. You can sign up to receive these videos in your inbox every week via the button at the bottom of this article. It's always fun to look back and see which videos were the most popular of the year. In 2019 the two most-watched videos were "Solid Hole Function in Mastercam 2019" and "HP for Machinery & Production Lines." Click on the images below if you would like to watch the videos. More information about 2-Minute Tuesday, including a link to sign up, is just below. Sign up

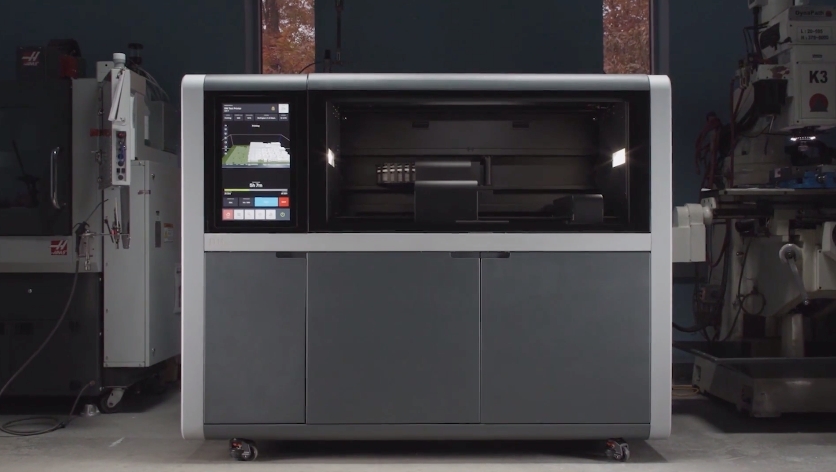
3D Metal Printing for Mass Production
reprint from https://www.nanalyze.com/ While Desktop Metal is known for its office-friendly Studio System for prototyping, no doubt much is riding on the success of the Production System, which Desktop Metal claims is the world’s fastest 3D metal printer. The company goes on to say that the Production System is more than four times faster than any binder jet competitor and offers a 100 times speed improvement over any laser-based system – all at up to 20 times less cost than other 3D metal printers. It can churn through 150 metric tons of metal per year. Production Printer. Credit: Desktop Metal The machine uses two print bars containing more than 32,000 nozzles that work in conjunction with powder spreaders to disperse metal powder and print in a single pass across the build area, jetting up to three billion drops per second. Once the loose powder is removed from the part, it is heated to near the melting point to remove any remaining binder, causing the metal particles to fuse together and the parts to densify in a process known as sintering. Advantages One of the real advantages of 3D metal printing is that manufacturers are no longer shackled to the manufacturing [...]

A Message from Our Founder in this New Year
Wow! Are the 2010s really over? Where did that go? We are entering into a new decade; one that means Cimquest will be turning 30 this coming October! It seems like it all happened in a blink of an eye; however, when I think about all of the changes and technological improvements it seems like 1990 was a long time ago. In fact, here are some of the happenings in 1990 when I founded Cimquest in my basement: The US began Operation Desert Shield with the US and UK sending troops to Kuwait. The US enters a bad recession. (Great time to start a business....) The Simpsons hit TV (sorry no streaming video services back then!) Tim Berners-Lee publishes the first web page on the WWW. The first in-car GPS Navigation System goes on sale from Pioneer. The average cost of a new home $123,000. (Now $383,500 - over 3x) Cost of a gallon of gas $1.34. (Now $2.50 - Not too bad!) Cost for a high-performance CAD PC with 1280 x 1024 graphics and a 21" Monitor $10,000 Microsoft Released Windows 3.0 The movie Total Recall is released. (the first time) The cost (Tuition, Fees, Room & Board) for a 4-year private [...]
A Metal 3D Printer Made for Machine Shops
reprint from thomasnet.com The additive manufacturing industry recently descended upon Frankfurt, Germany for Formnext 2019, to witness the disruptive technology debuting at one of the leading additive manufacturing conferences in the world. Among those making waves is Desktop Metal, which debuted a metal 3d printer binder jetting system designed for machine shops and metal job shops. According to the company, it is the first of its kind. They call it the "Shop System," and it allows for batch production of high-quality metal parts on the shop floor. What was perhaps most impressive was the Shop System's ability to produce various parts with different geometries simultaneously, with no need for multiple setups. According to the company, it can also produce low volume batches of complex parts at a lower price point by eliminating tooling. Desktop Metal says that the Shop System is designed to scale based on the machine shop's size, including the ability to produce hundreds of near-net-shape parts every day. It can print a batch every six to 12 hours. Depending on the model, it moves a little more than 150 pounds of steel per day. The system prints the parts with hand-removable sintering setters, which cut hours of machining off support [...]