
Metrology Minute – Airfoil Analysis Using Control X
Analyzing airfoil shapes is easier than ever using the Control X Airfoil Analysis technology. Upon completion of scanning the airfoil and aligning with the nominal CAD model, the software is able to return dozens of useful parameters, necessary for complete airfoil analysis. Some of the parameters include: Leading and trailing edge radii Leading and trailing edge positions in space Maximum chord height Leading (and trailing) Edge position in space relative to the model origin Axial chord length The leading and trailing edge thicknesses, as well as maximum airfoil thickness across the widest section, may be easily requested using this powerful tool making complete airfoil analysis simple with just a few clicks of the mouse. Additionally, analyzing airfoils often requires identifying points along a section’s periphery and comparing those to the corresponding points from the nominal CAD model. Deploying the Comparison Point function in Control X, this too is handled by just a click or two of the mouse. For any questions or comments, please contact Joel Pollet by clicking below. Contact Joel
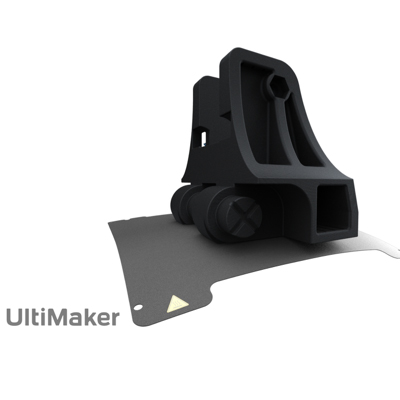
Meet the new UltiMaker S7 3D Printer
Meet the Ultimaker S7 3D printer your gateway to the entire UltiMaker platform. UltiMaker took everything their users loved about the award-wining S5 and made it even better, so it can be trusted to do its job while you do yours. Easy printing. Easy breathing. The integrated air manager filters out 95% of UFP's while also keeping the build chamber carefully regulated. Not only does this increase peace of mind about air quality, but also boosts print quality. Print removal speeds to flex about. The PEI-coated build plate makes for reliable print adhesion and removal. A sensor also assures your build plate will always be in its correct place before printing. Easy setup and monitoring. Start printing quickly with a simple first-time user experience. Run-out and fan bracket sensors will pause your print and notify you if you run out of filament or if there is a clog. Additionally, a 1080p camera is mounted higher to give you a better view. Join UltiMaker on February 7th at 10AM EST for an exclusive first look at the new UltiMaker S7 with a live product demo! Register Here
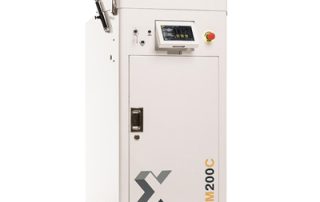
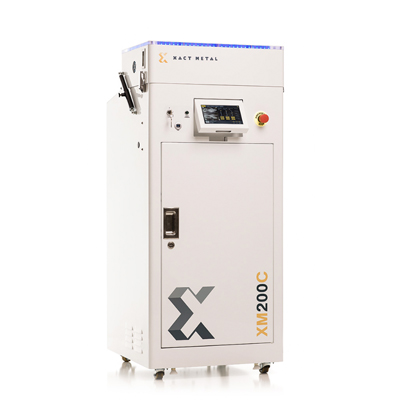
Xact Metal XM200C Demo 3D Printer For Sale
In an effort to keep our 3DP demo equipment updated with the latest cutting-edge technology, we are going to sell our Xact Metal XM200C to make room for an XM200G. The printer will be discounted by 20%. It will also include a year of extended warranty as if it was sold new. All-in for this unit should be less than $117k assuming standard configuration. This represents over $19k in savings compared to the new pricing! If you are interested in taking advantage of this great deal, please contact us today. Contact Us
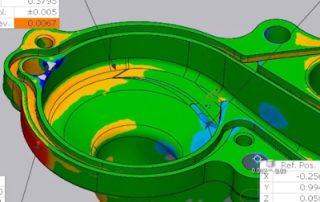
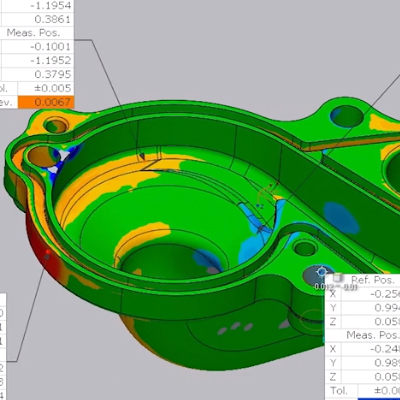
How to Use Control X Comparison Point Analysis
This blog post will show you the Comparison Point Analysis tool which enables a Control X user to click arbitrary or specific point locations on the Reference CAD model and compare them to the corresponding point mapped to the Measured mesh model. This is a very useful comparison tool for identifying the accuracy of random point locations on the manufactured model. The typical method of mapping points is by using the Along Normal vector option, but custom projection directions may be set. Normally the direction is calculated by radiating from the selected point on the Ref model and projecting normal until the vector hits the Measured model. The length of the vector is actually the Deviation of that point location. The length is displayed in the text boxes you see on the screen from Reference to Measured. In this example, we can select locations on the model. However, by using the top point selection option, the points to compare can be specific and represented in a text or ASCII file. This is imported using the Pick Points selection option. Let’s consider this water pump housing and suppose we wish to analyze random points where the color map shows significant deviation. It is always [...]
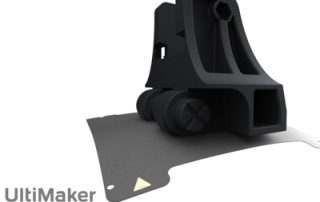
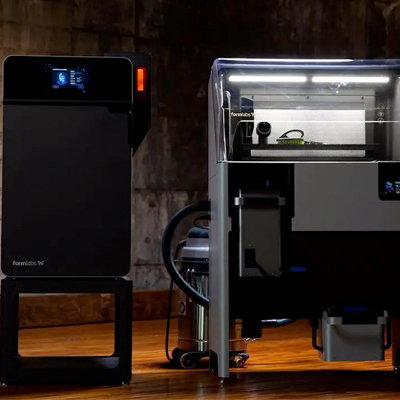
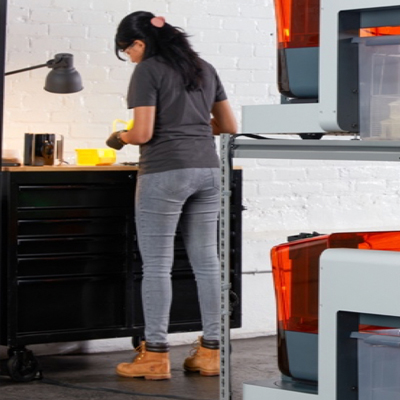
Fuse 1 3D Printing Workflow
In this blog post, we will explain how easy it is to add a powder-based 3D printer to your prototyping workflow. We will specifically be looking at the Fuse 1 by Formlabs. Since powder-based printers require no support, they allow engineers to take full advantage of generative design and print-in-place components. Although powder-based 3D printing may be intimidating to those used to FDM machines, we’re going to walk you through the entire workflow to show you how simple it is. To begin, open PreForm, the file preparation software for Formlabs printers. In this program, you will orient and pack your models into place. Powder-based 3D printers use the Z axis to print multiple models. First, orient your models to reduce the cross-sectional area. Typically, placing the models on a 30º compound angle in the X and Y planes will be enough. PreForm will then take the models and automatically place them into the build volume for printing. Now, you can upload the project and head over to the machine. Once at the machine, start by inspecting the optics. The Fuse 1 uses an optical cassette as a shield between the sintered parts and the laser assembly. Due to this, the optical cassette will [...]

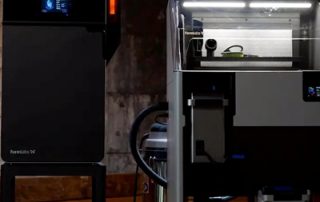
Formlabs is Bringing Automation to SLA Printing
Introducing the Formlabs Automation Ecosystem Our friends at Formlabs are introducing their new Automation Ecosystem to further advance desktop 3D Printing and help bring new ideas to life faster than ever with the Form Auto, the Fleet Control and the High Volume Resin System. The Automation Ecosystem achieves 24/7 part production without operator intervention, enabling high throughput 3D Printing at scale. Reach new levels of productivity and lower cost per part without increasing the complexity of running a fleet of 3D printers. With Formlabs Automation Ecosystem, production doesn’t have to ever stop. Form Auto: Instantly automate any new or existing Form 3/B/+ 3D printer with a hardware extension that will automatically remove finished parts and start the next print for back-to-back production. Fleet Control: Simplify multi-printer management with a suite of new, advanced features in Dashboard including centralized queue management and automatic printer assignment. High Volume Resin System: Continuously print on a Formlabs SLA printer for five times longer with the seamless delivery of 5L of resin through a pumping system. Attend the live webinar on January 25, 2023 at 11:000 ET to learn more. Register Here