Leverage and Import Organic Shapes into CAD Series
https://cimquesttv.wistia.com/medias/afdpt9niiu?embedType=iframe&videoFoam=true&videoWidth=640 Being able to leverage and import organic shapes into CAD means that the creative design ideas that you can produce are limitless. 3D Scanning is what creates the bridge between those two worlds. Photos used credited to: MDCI Perfumes: https://imgur.com/a/9mqIK Joe Olsen and the ErgoJoystick: http://www.newmobility.com/2014/09/stories-of-invention/ Star Wars ANOVOS Helmet: https://www.anovos.com/products/star-wars-the-force-awakens-first-order-tie-fighter-pilot-helmet-premier-line-accessory Leverage and Import Organic Shapes into CAD - Part 2 https://cimquesttv.wistia.com/medias/6j9ebjvayg?embedType=iframe&videoFoam=true&videoWidth=640 In part 2 of Leverage and Import Organic Shapes into CAD we dive deeper and explain the process of capturing organic shapes, processing the data, and converting it into a fully editable CAD file.

AMUG Reveals Recipients of its 3D Printing Scholarships
The Additive Manufacturing Users Group (AMUG) has revealed the recipients of its 3D printing scholarships. According to Brett Charlton, chair of the AMUG Scholarship Committee, these scholarships recognize a passion for additive manufacturing through a student and an educator. “Dr. Zhou and Ms. Sears perfectly reflect what our scholarships seek to reward,” stated Charlton. Victoria Sears, a student at the University of Michigan (UM) pursuing a master’s degree in bioengineering. Photo via AMUG. Among the scholarships awarded was The Guy E. Bourdeau Scholarship is supported by Cimquest. This scholarship has been gifted to Victoria Sears, a student at the University of Michigan (UM) pursuing a master’s degree in bioengineering. The Guy E. Bourdeau Scholarship is also allocated annually, however, it is given to a college student for their contribution in additive manufacturing in education and professional development. Sears’ research is based on bioinks for additive manufacturing, with an aim of optimizing its bioprintability and regenerative properties. This research stemmed from Sears’ time working in as an intern 3D Systems and Ford Motor Company. During this time, Sears learned to compound her own filaments as well as post-processing techniques to improve color and surface finish of powder-bed-fusion parts. “The scholarship will not [...]
Cimco DNC Max
Today’s blog post will take an in-depth look at Cimco DNC Max, which addresses all communications’ issues between your software and your CNC machine. If you work with CNC equipment, you know that transferring part programs to machines is an essential step in the machining process. Older machines have serial or RS-232 ports, enabling data transfer, but these provide no structure with regards to where operators are pulling programs from and which are the most current programs. With flash cards or USBs, the same lack of control exists in terms of ensuring data integrity and that the correct program is being delivered. Most modern machines feature an Ethernet port, enabling connectivity to your company’s network for G-Code file transfer, but this type of connection still offers only minimal structure. This is where Cimco’s DNC Max comes in. It is a comprehensive system, capable of addressing all communications’ issues and concerns. For Ethernet-based controls, DNC Max provides a structure whereby operators may only view and download files in directories specifically assigned to their machines. That same type of control would hold true for controllers with serial ports. By deploying such control, you can be assured you are downloading the latest and greatest part programs [...]
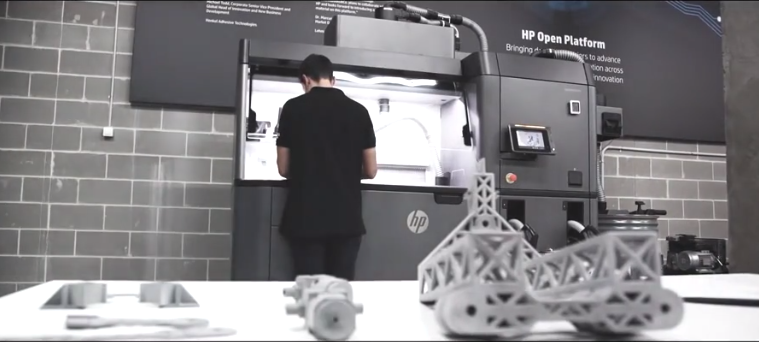
HP 3D Printing for Machinery and Production Lines
Let’s take a closer look at the HP 3D printing and their Multi Jet Fusion for machinery and production line components. Factories utilize machines of all shapes and sizes. These machines are highly specialized and consist of custom components made in small volumes. As industries strive to add more value to their customers, manufacturers are under pressure to reduce costs associated with machinery. HP Multi Jet Fusion offers a solution for producing optimized machine components, and at greater speeds and lower costs than conventional methods. Through greater speed with HP’s platform, production line downtime is reduced. In-house, on-demand production of multiple designs in parallel can also increase production line flexibility. Complex geometries made possible through 3D printing will enable lighter parts with enhanced performance. This is thanks to lattice structures and generative design. Moreover, HP plastic parts are lighter than aluminum or steel, providing a myriad of benefits. These unique, non-standard parts allow for customized setups adapted to each machine and floor plan dimension. The benefits of speed and design freedom all affect the ultimate cost. 3D printing can help reduce inventory and transportation costs through just-in-time production. The reduction in material and minimized downtime of operations contribute greatly to these savings. As you [...]
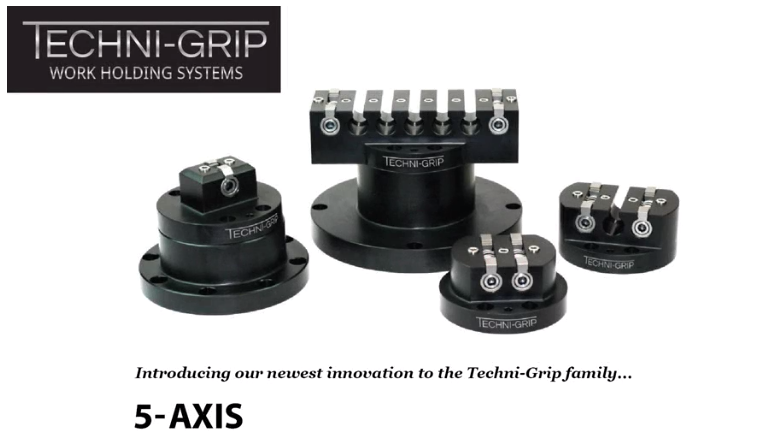
Techni-Grip Product Review
Today we are going to do a quick review of Techni-Grip Work Holding’s 5-axis 6” round top fixture. Techni-grip Work Holding was borne directly from their manufacturing floor to solve many challenges like repeatability, standardization, simple setup and increased access to all sides of the workpiece. The patented design is easy to clean between part changes and the simple dovetail clamping hardware allows for fast setups since there are no jaws, parallels or spreaders to adjust or set. It requires only a .125” stock to hold workpieces. The first step is to prepare the dovetail and the location holes. Next, you need to align the part onto the fixture locating pins and tighten the dovetail clamps. You only need 15-20 ft/lbs of torque to secure the part. We have found the fixture very repeatable - after 10 cycles of removing and re-clamping the same part, it was consistently repeating within .0003” The fixture bodies are made of hard anodize 6061-T651 Aluminum. The clamp bodies heat treated 15-5 stainless steel and the locating pins are non-heat treated 15-5 stainless steel all giving long life and rigidity. In the photo below, we are mounted in a Hurco VM10Ui 5-axis mill using Mastercam Opti-Rough toolpaths [...]
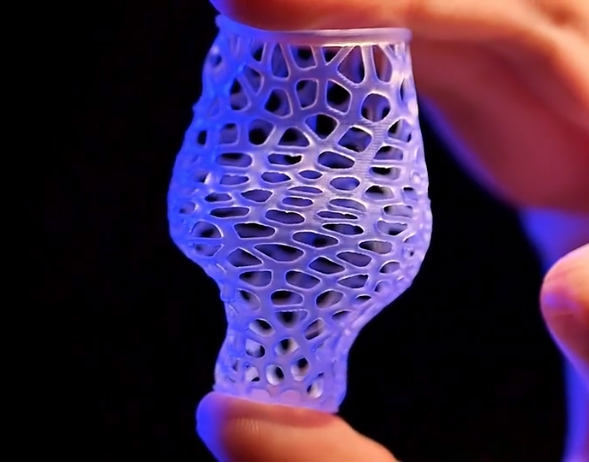
Exploring the New Formlabs Elastic Resin
Formlabs recently announced their latest material – Elastic Resin and this article will take a closer look at it. Soft silicone and urethane parts are typically produced through moldmaking. These materials must be both highly elastic and strong. 3D printing them was once only possible on expensive industrial machine, but with Elastic Resin, companies can now simulate molded silicone, making it possible to print soft, resilient prototypes right on the desktop. Elastic resin is Formlabs' most pliable material with a shore durometer of 50A and an Elongation of 160%. Due to its high elongation excellent tear strength, parts printed with Elastic resin will bend, stretch, compress, and hold up to repeated cycles without tearing. Some key applications include wearables and consumer goods, robotics, and special effects props. It is also translucent, making it ideal for medical visual simulation and internal channels. With the addition of this material, engineers now have a larger range of durometer options. Elastic is great for softer parts that need to stretch over something or will be deformed repeatedly. While Formlabs' Flexible Resin can also be used for harder parts that won't undergo repeated loading, for example grips, handles, and overmolds. Wearables and robotics companies are using Elastic to [...]