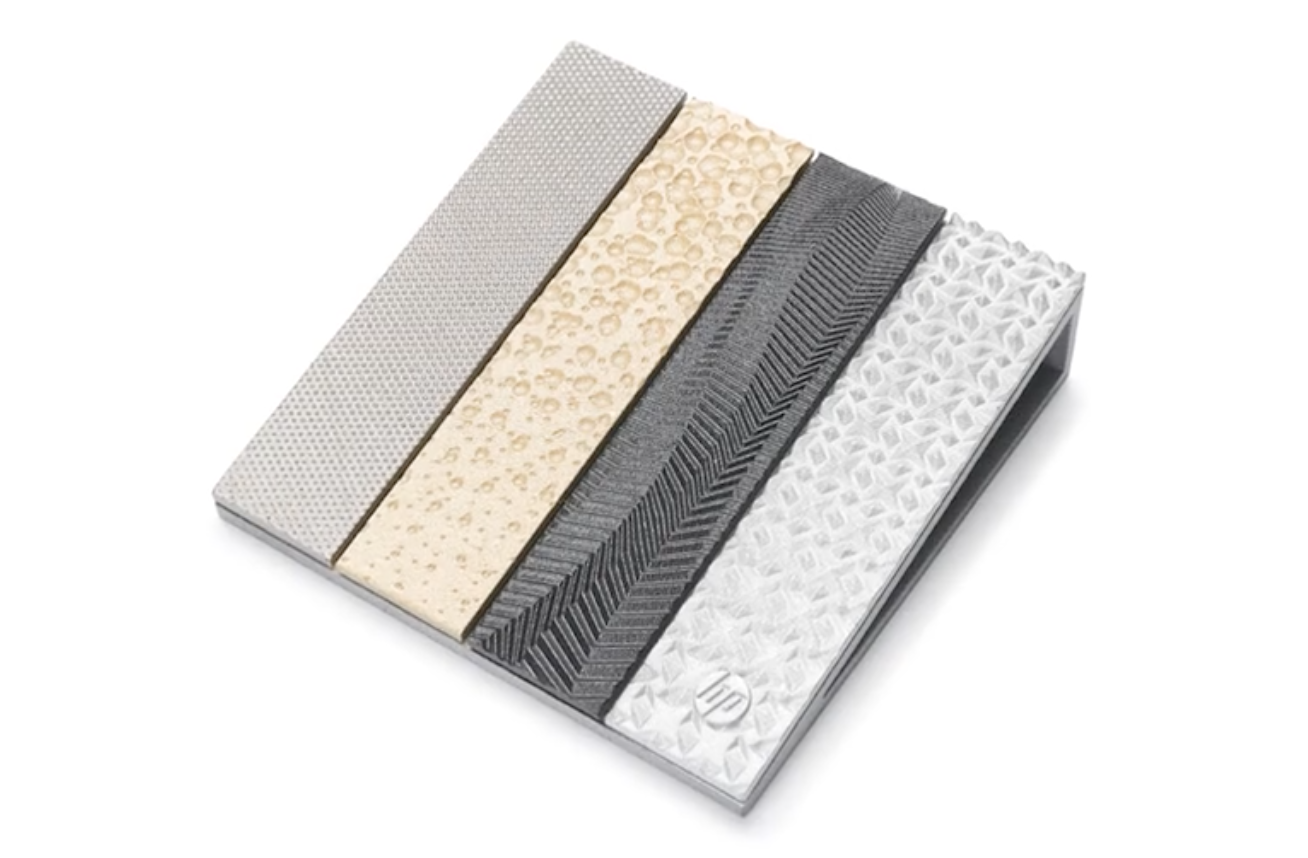
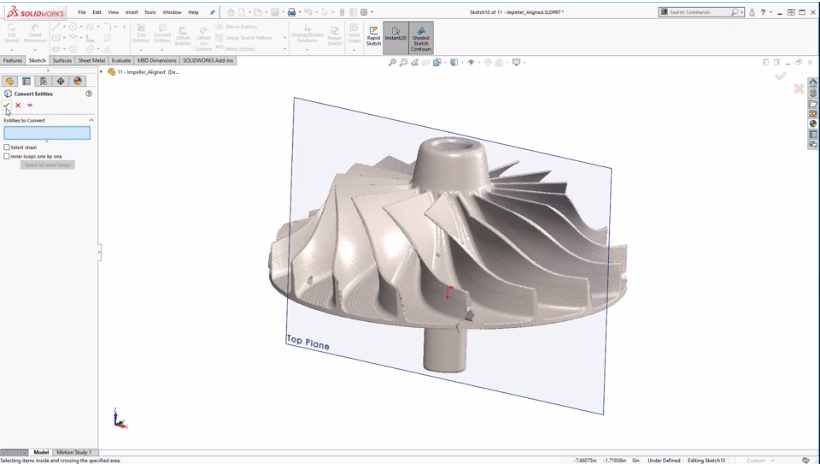
Have you ever found yourself having to create some type of texturing to your 3D models, whether it be dimples, knurls, bumps like the image below?
A straightforward way to accomplish this is to create the planes, sketches and features that will give you that type of shape, then use some type of pattern to complete the 3D texture over the complete surface.
Although that works, SolidWorks has come up with a quicker way to accomplish the same task. The tool is called Solidworks 3D Textures, and it works in a two-step process.
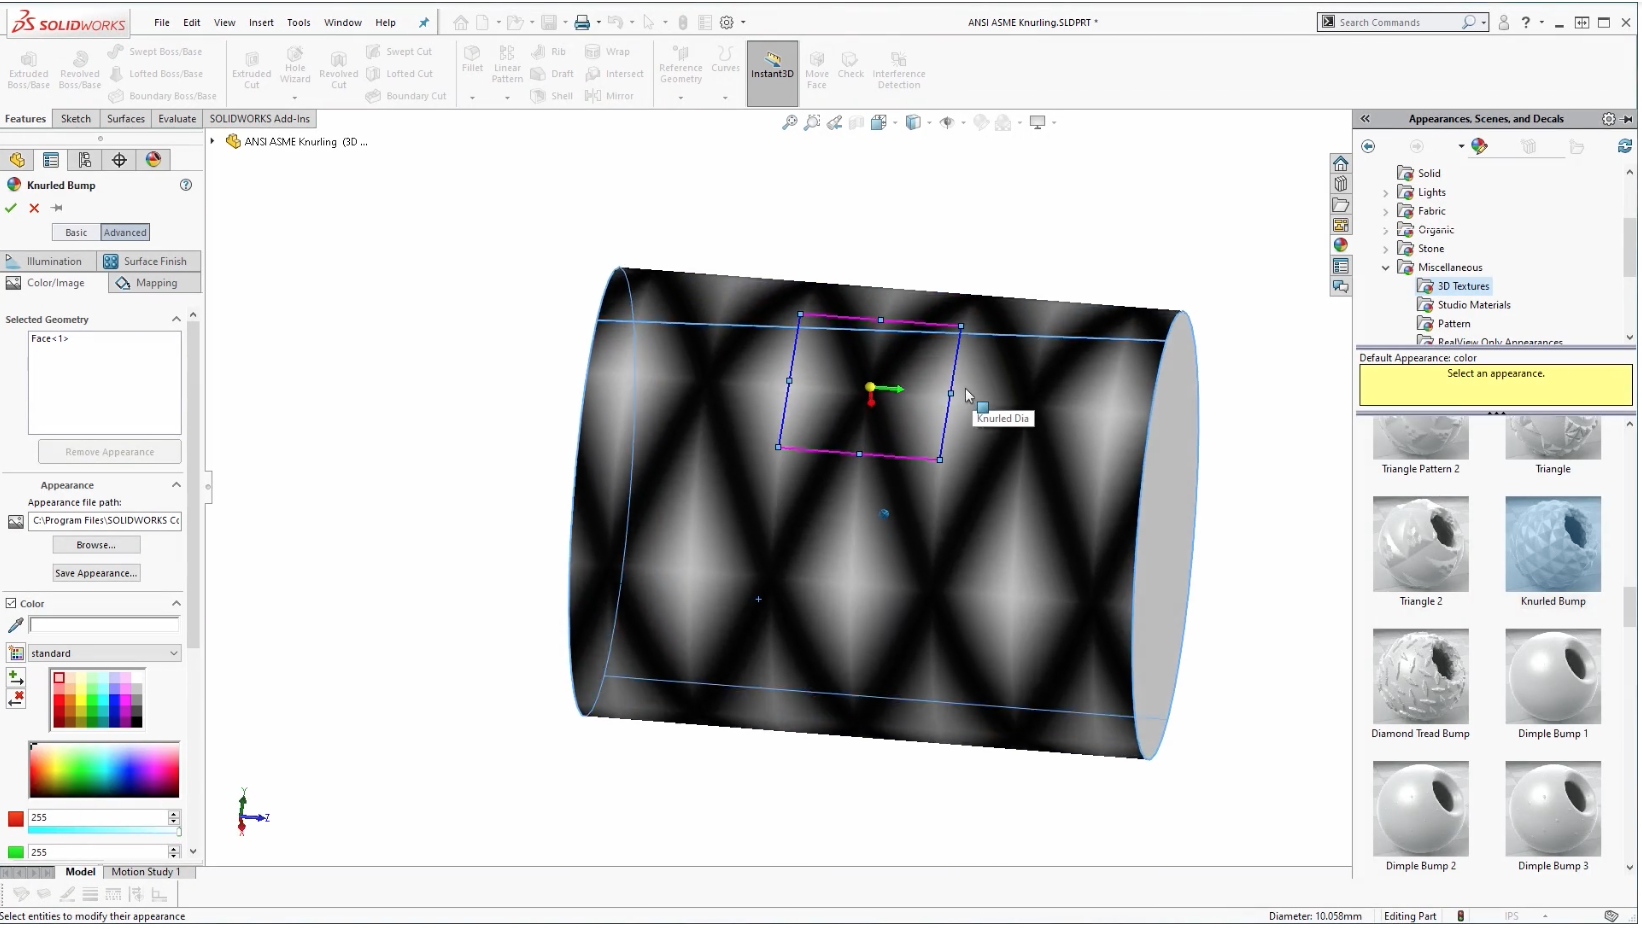
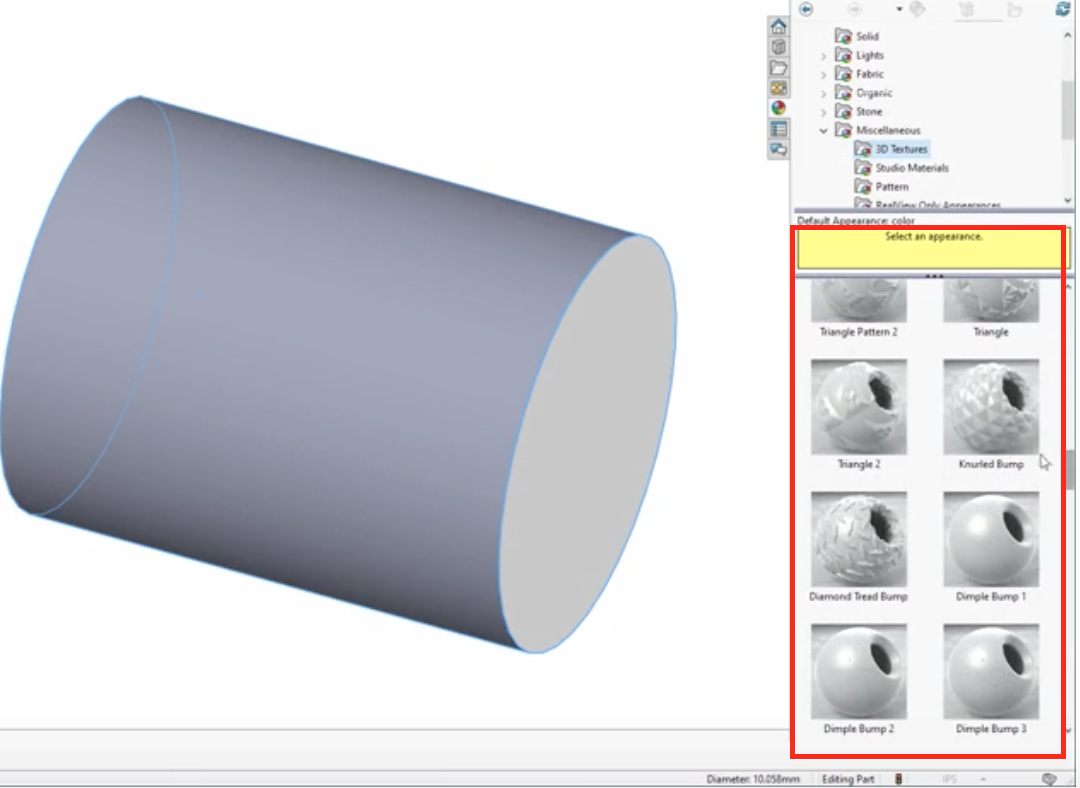
First, you map a textural appearance to a model using texture mapping functionality.
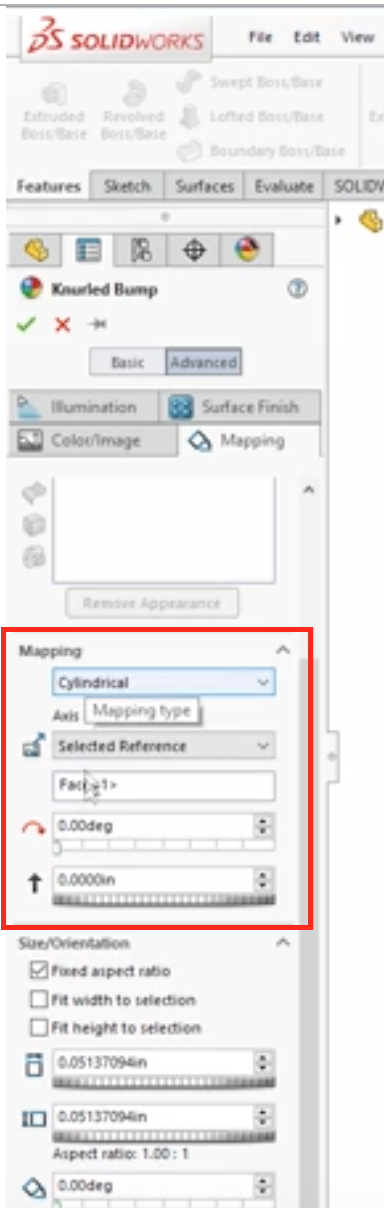
In the mapping tab, you are able to modify the mapping settings, as well as the size and orientation.
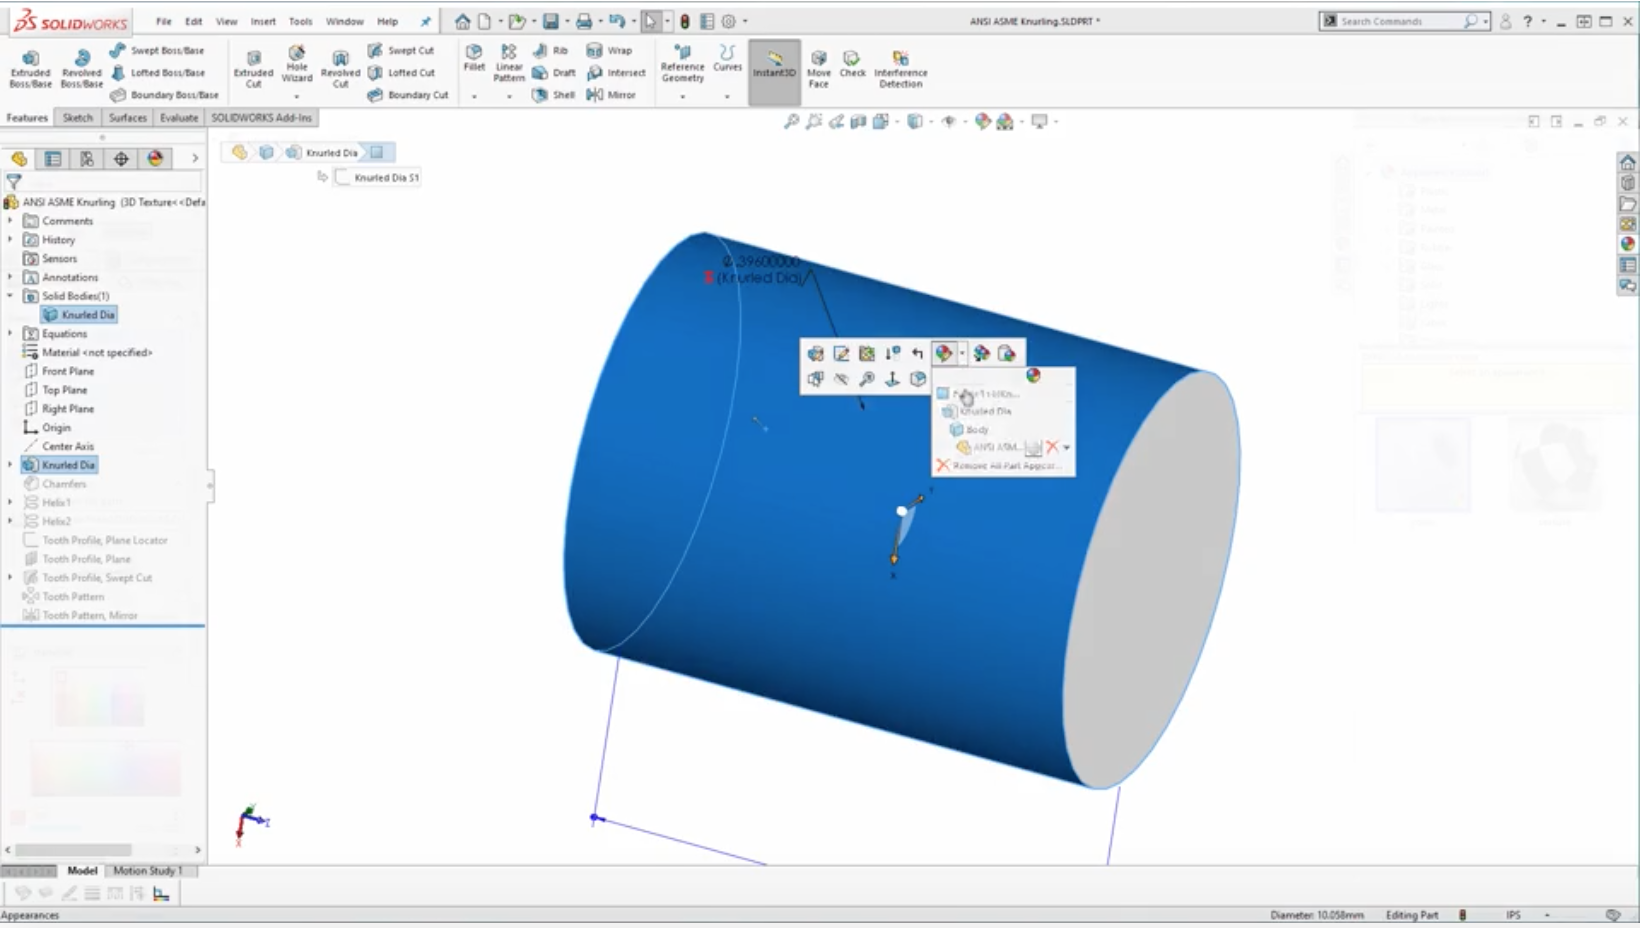
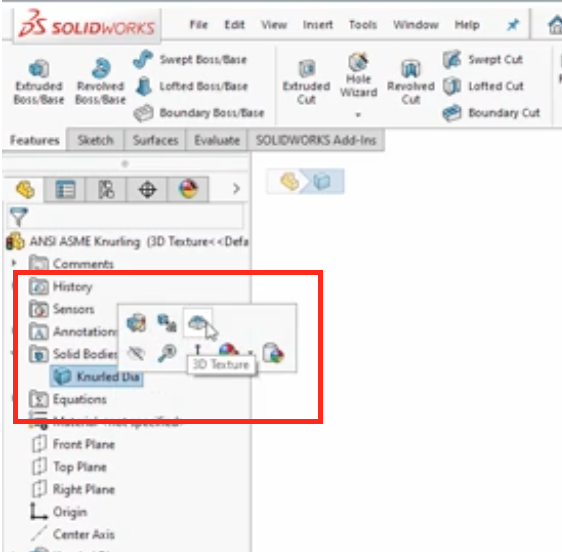
The second step involves using the 3D Texture tool to define the geometry for the textural appearance and create the 3D texture feature.
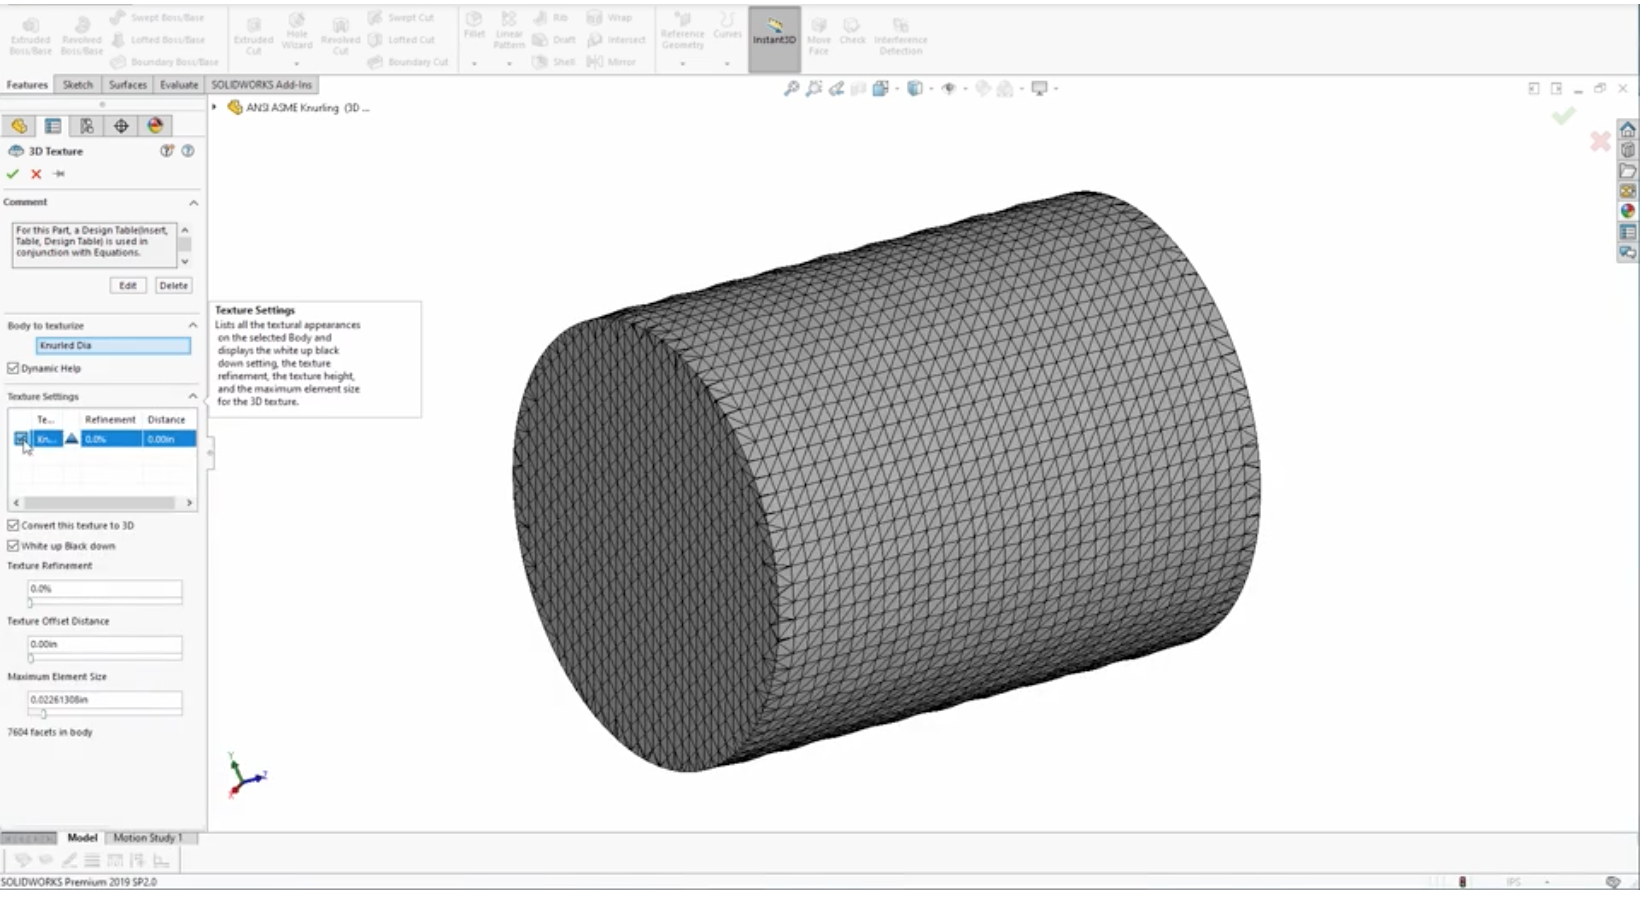
In the property manager, you are able to define things like Texture Refinement, Texture Offset Distance, and Maximum Element size.
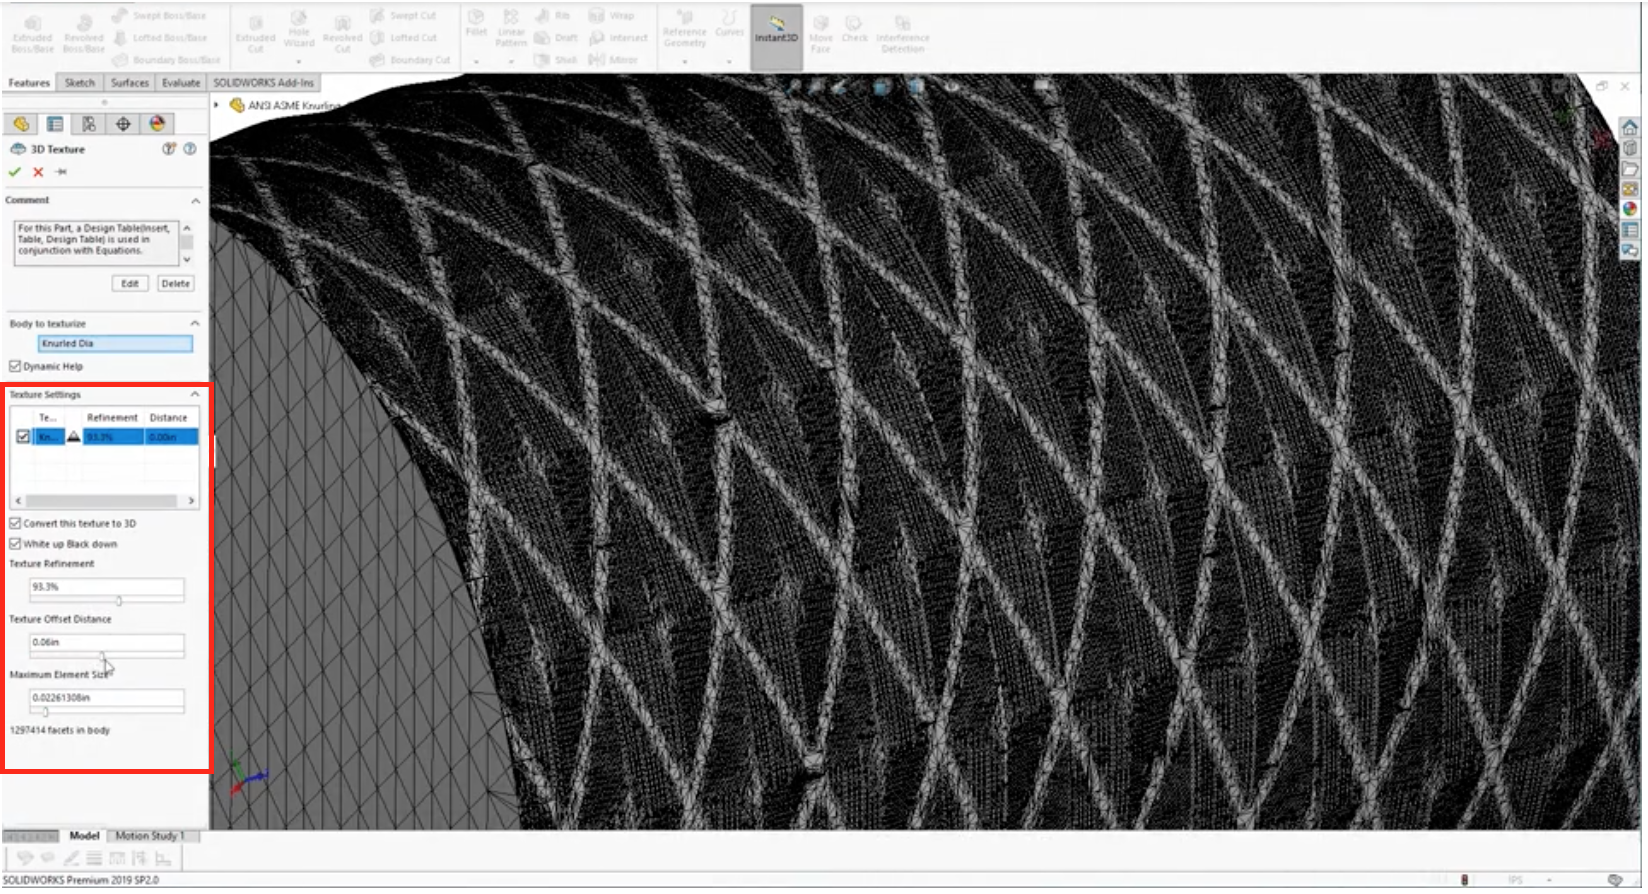
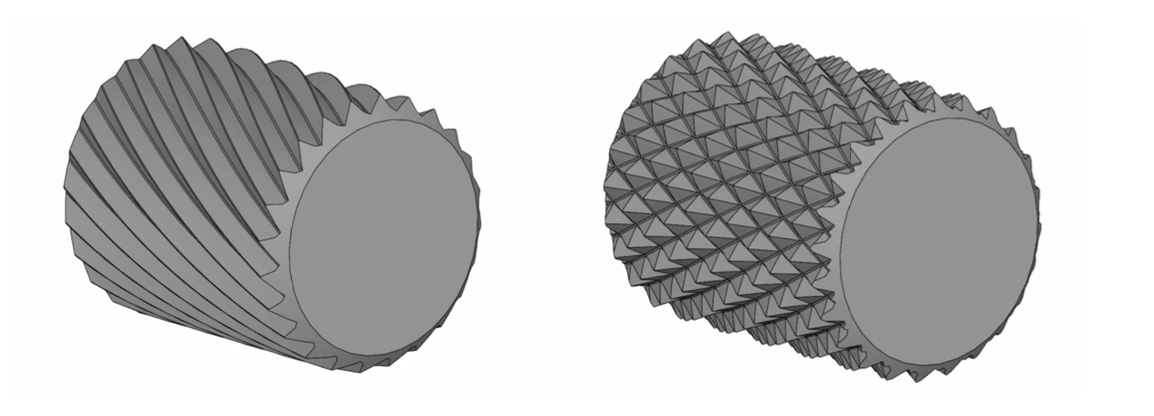
Click the green checkmark, and the 3D texture has been created for you!

As you can see, SolidWorks continues to give you tools that can quickly and efficiently help you create complex 3D textures, in 2 simple steps. Please be sure to sign up for our 2 Minute Tuesday video series to receive tips and tricks like this one in video form every week. More info at the button below.

Leave A Comment