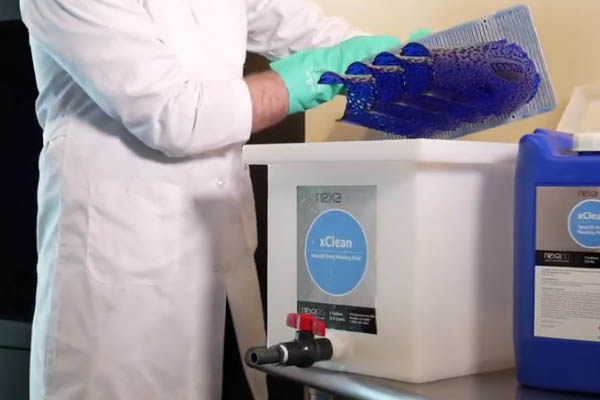
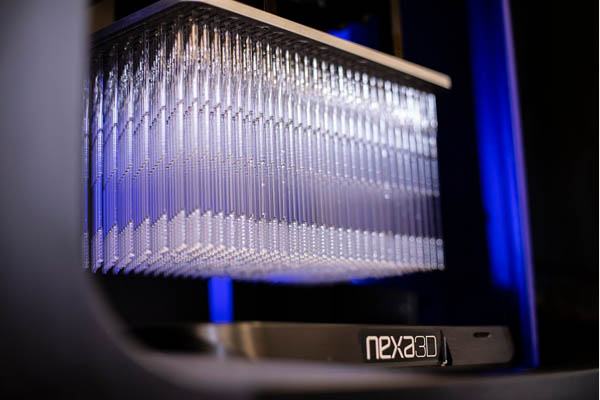
Nexa3D xCLEAN Cleaning Solvent for All Resin-based 3D Printers
Nexa3D delivers highly effective eco-friendly cleaning solvent xCLEAN for all resin-based 3D Printers Nexa3D, the maker of ultra-fast stereolithography production 3D printers, recently announced the immediate commercial availability of xCLEAN, an effective and environmentally friendly washing solvent that is designed to work consistently with most photopolymer 3D printers and resin systems available on the market. xCLEAN has three times the saturation limit of IPA, meaning less waste and fewer changeovers for additive manufacturers. xCLEAN is safer to handle than other cleaning solvents and does not require any special storage or adherence to shipping regulations typically associated with post-processing photopolymeric parts. Compatible with most cleaning systems on the market, xCLEAN is made from smaller molecules than TPM or DPM, eliminating the greasy residue that is typically associated with these alternatives. xCLEAN can be easily recycled and recovered with a vacuum-assist solvent distillation unit, and it is compatible with most automated washing units on the market today including closed-loop systems. xCLEAN is not cleared for use when cleaning parts printed from biocompatible resins, and customers are advised to closely follow wash recommendations to preserve the material’s biocompatibility. Unique Features Sustainable: Lasts 3X longer than isopropyl alcohol with less waste and fewer changeovers Effective: Eliminates the [...]
How To Choose Your First 3D Scanner – Part 2
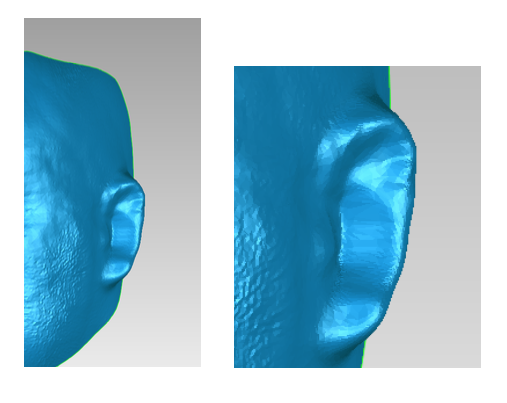
Metrology Minute – How do I choose the first scanner for my company? – Part 2 After considering part size and perhaps cost, you’ve narrowed down the field somewhat. The next thing to consider is the application itself. Setting novelty uses aside, the five most common uses for scanning are: Metrology Reverse Engineering 3D Printing Asset creation for a Web Page Virtual Reality / Augmented Reality or video game assets Metrology Reverse Engineering 3D Printing Web Content Virtual Reality or video game assets Since most Cimquest customers are more heavily involved with the first three, that’s where we’ll focus our discussions. Accuracy is particularly important, especially when it comes to metrology. To ensure appropriate accuracy for metrology, reverse engineering, or 3D Printing you will want to ensure the scanner manufacturer publishes its accuracy. In fact, for metrology, the accuracy of the scanner should really surpass your most stringent accuracy requirements by 10x. For example, for part accuracy manufactured requirements of +/-.010” your scanner’s accuracy should be able to achieve +/-.001”. Next, consider the scanner’s resolution. Resolution is often confused with accuracy but it is actually very different. It is the scanner’s ability to capture fine detail. One can consider resolution as the density [...]
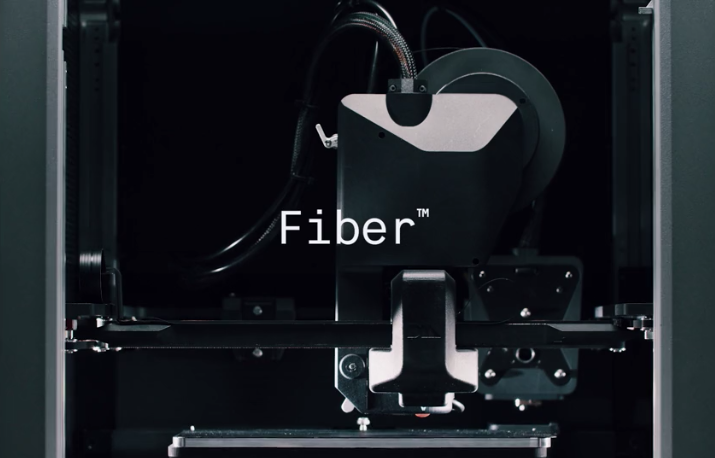
Desktop Metal Fiber 3D Printing
Let’s take a look at the new Desktop Metal Fiber 3D printing system. The Fiber system brings continuous fiber 3D printing to the desktop of engineers and designers. Composites are commonly used in performance automotive, aerospace, and many other industries (consumer goods, and machine design). Composites are great for parts that require the strength and stiffness of metal but at a fraction of the weight. Traditional Automated Fiber Placement (AFP) processes are only suitable for large scale parts and require million-dollar systems. And while manual methods do exist, these can be labor-intensive with expensive tooling. Desktop Metal was able to scale down AFP and make it accessible via 3D Printing. They did this through a new process called micro automated fiber placement. During the μAFP process, one Fiber™ printhead deposits a continuous fiber tape along critical load paths to build dense reinforced sections while a second printhead extrudes chopped fiber filament to build a high-resolution exterior shell. The materials used to make the resulting parts are two times stronger than steel at one-fifth the weight (up to 2,500 MPa tensile strength and <1.5 g/cc). Through this unique process, users can print parts with properties comparable to metal, with some properties even exceeding those [...]
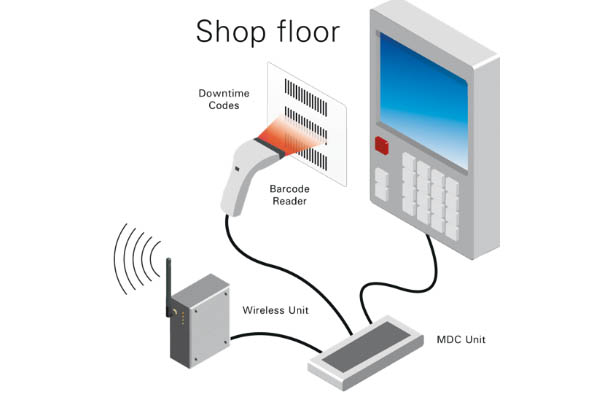
Real Time Machine Data Collection for Machine Shops
Decades ago, Distributed Numerical Control or DNC consisted of serial cables run from a computer system to a very expensive, proprietary DNC serial hub. Proprietary shop floor boxes were often times used to initiate the transfer of files. All this for the sole purpose of downloading and uploading G-Code programs to CNC machines. So what’s different today? One of the biggest changes is the shift from very expensive, proprietary hardware to open systems with commercially available, inexpensive hardware. Many modern-day CNC machines now support communications through Ethernet, allowing far greater distances from machine to computer plus an exponentially faster transfer rate, not to mention the support of much larger program transfer without the need to drip-feed. In fact, many shops, whether owning ethernet-based machines, serial machines or a combination of both are transferring files wirelessly through the use of special boxes located on or near each CNC control. So what’s next? What else can revolutionize DNC? What are the latest advances in DNC technology that extend beyond the traditional transferring of files? Machine Data Collection, or MDC, offers shop owners the ability to capture information electronically, automatically and in real-time with little to no human interaction, primarily through a combination of software pushing [...]
Nexa3D and Henkel Launch New Medical-grade Polymer 3D Printing Material
reprint from https://3dprintingindustry.com/ California-based SLA 3D printer manufacturer Nexa3D and global chemical company Henkel have launched a new polymer for 3D printing called xMED412. The polypropylene (PP)-like material combines enhanced strength properties with the biocompatibility of medical-grade materials, potentially making it well-suited to producing medical devices. What’s more, the high-impact, durable plastic has also been tested and cleared by the U.S. Food and Drug Administration (FDA) for use within clinical environments. As a result, the polymer could be used for manufacturing products such as orthotics guides and braces, or even to print nasal testing swabs for COVID-19. “We are thrilled to bring this product to market in collaboration with Nexa3D,” said Ken Kisner, Henkel’s Head of Innovation for 3D printing. “We developed and tested with Nexa3D’s NXE400 3D printer a multitude of approved workflows designed to unleash the full potential of xMED412’s outstanding physical properties and biocompatibility.” “WE ARE PLEASED THAT NASOPHARYNGEAL SWABS MANUFACTURED WITH XMED412 ON THE NXE400, IN ACCORDANCE WITH OUR PUBLISHED PROCEDURES, HAVE ALREADY BEEN CLEARED THROUGH CLINICAL TRIALS AND ARE IN COMPLIANCE.” Henkel and Nexa3D’s ongoing 3D printing partnership While Nexa3D is better known for its stereolithography (SLA) machines, Henkel has a strong recent track record of developing new [...]

Deviation Analysis in Design X
Let’s take a look at the basics behind Deviation Analysis in Design X. This is an essential tool for reverse engineering and will ensure that you get the most out of your 3D scans. In Geomagic Design X, Deviation Analysis tells us how far off our derived CAD model is from our scan. There are typically three sources of error when scanning a part: There could be a slight error in the actual manufacturing of the part, whether it was machined, molded, welded, or made in some other fashion. The second error could be that the part is worn or used. There could also be an error from the actual scanner. When reverse engineering, it is important to consider if you want to reverse engineer to your design intent, or simply reverse engineer as is. For example, the scanned cylinders' diameter may show up as 1.999827 inches. But in most cases, you would typically want to correct the specifications to 2 inches. In this gas valve example below the derived solid model was created from a scanned mesh. You can navigate to the Deviation for body tool. Everything you see in green is within +-4 thousandths of an inch of the scan. The [...]