
Rize 3D Printer – End of Year Promotions for Education
Rize Announces New Educational Q4 Promotion Rize has announced two end of year promotions exclusively for the education market to purchase the Rize One or the xRize full color printer. Interested? Call us for details - 866-277-8778. This promotion ends on December 24th, call today! More Info on xRize More Info on Rize One

Grow Your Capabilities with the Form 3
FDM/FFF and SLA printers both have similar, often complementary features. Many businesses use both machines alongside one another, which can mean the best of both worlds; low-cost rapid prototyping coupled with high quality, functional parts for a wider range of applications. If your business has an FDM/FFF machine, you're eligible to receive up to $400 off the Form 3 or Form 3L Low Force Stereolithography (LFS) 3D Printers. Just click the button below to verify ownership of your printer in order to earn either $400 off the Form 3 or Form 3L 3D printer or a free liter of Draft Resin. This is a limited time offer. For more details and to verify your printer, just click the button below. More Details
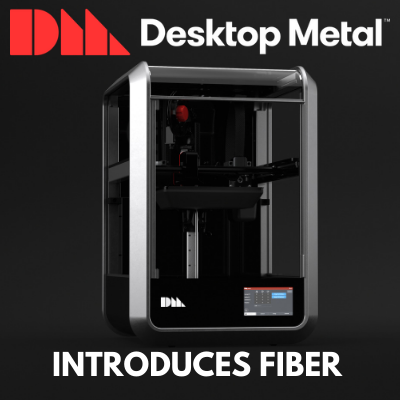
Desktop Metal Introduces Fiber
https://cimquesttv.wistia.com/medias/9sbptd22ef?embedType=async&videoFoam=true&videoWidth=640 Introducing Fiber Introducing Fiber, the first 3D printer with AFP continuous carbon fiber reinforcement using high temperature resistant PEEK and PEKK, designed to deliver industrial fiber performance on the desktop Introducing Fiber™. Starting at $3,495. Combining continuous fiber tape with industry-proven composites, Fiber™ makes it possible for every engineer to create parts with unrivaled strength and lightness, all from their desktop. Desktop Metal, the company committed to making 3D printing accessible to engineers and manufacturers, announces the world’s first desktop 3D printer to fabricate high resolution parts with industrial grade continuous fiber composite materials used in automated fiber placement (AFP)processes. Based on a new process called micro automated fiber replacement (μAFP), users can now print parts with a superior level of strength and stiffness, and in a broad range of materials, that traditionally required million dollar AFP systems.This affordable new platform produces parts using materials that are two times stronger than steel at one-fifth the weight. Fiber printers feature one of the largest build envelopes of any continuous fiber desktop printer and are designed to be arranged in print farm configurations of 6 or 10 printers.“For the first time, Fiber printers combine the material properties of high [...]
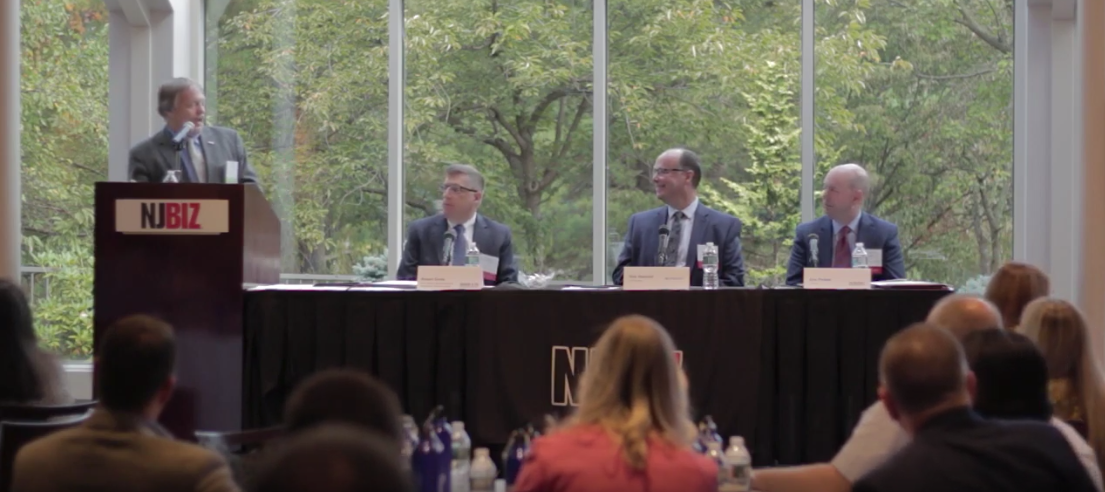
NJBIZ Manufacturing Panel
New Jersey manufacturers are struggling to find enough skilled employees even though the industry pays an average salary of $90,000 annually in the Garden State. This and other ideas recently emerged at an NJBIZ panel discussion on manufacturing. Cimquest's founder and CEO, Rob Hassold took part in this panel discussion. To hear more about it, please click the video link below.
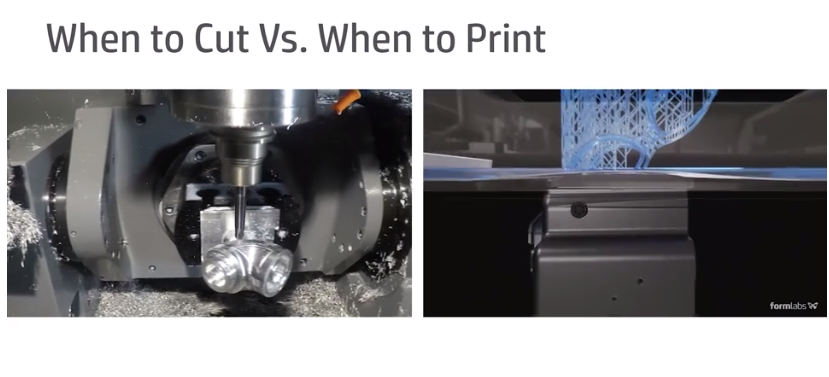
Additive vs Subtractive Manufacturing
Additive manufacturing builds parts by adding material layer by layer, while subtractive removes material to create parts. Although these approaches have different benefits and can serve different purposes, they are often used in conjunction with one another due to their overlapping range of applications. In subtractive manufacturing, the most popular being CNC machining, you'll typically start with solid blocks of materials that are shaped through cutting, boring, drilling, and grinding. These processes rely on a virtual CAD model to serve as input for the fabrication tool. There are many types of subtractive processes, depending on the materials and parts being shaped. Subtractive manufacturing processes are typically used to create parts for prototyping, manufacturing tooling, and end-use parts. There's also a variety of material and processing methods. Like subtractive, additive also relies on a CAD model. Depending on the technology, the 3D printer deposits material, selectively melts and fuses powder, or cures liquid photopolymer materials to create parts. The 3D printed parts often require some form of cleaning and finishing to achieve their final properties and appearance. Additive manufacturing is ideal for a range of applications, including prototyping, manufacturing tooling, short-run production and casting patterns. But technologies released in recent years have made it [...]
Year End Tax Savings
You may have attended the recent Xpand3D event and learned all about how the latest manufacturing products can greatly improve your business. But even after practical benefits have been proven, the approval of larger purchases can still sometimes be difficult due to the big price tag. We understand this issue and would like to inform you of an available option to reduce your costs and help make your new technology purchase a reality. Under Section 179, businesses are able to deduct upwards of $1 million on purchase costs of a maximum of $2.5 million, for equipment purchased and delivered no later than December 31st, 2019. Section 179 is aimed specifically at general business equipment, including HP and Desktop Metal. Curious how much you can save with Section 179 on your own purchase? View the 2019 Section 179 Tax Deduction Calculator via the link below to get an estimated lowered cost of equipment based on your tax bracket. Additional information can be found at Section179.org. This deduction is easy to receive and can greatly help your bottom line by lowering the amount you pay, all you need to do is buy (or finance/lease) the equipment, and use a special IRS form to submit. Keep [...]