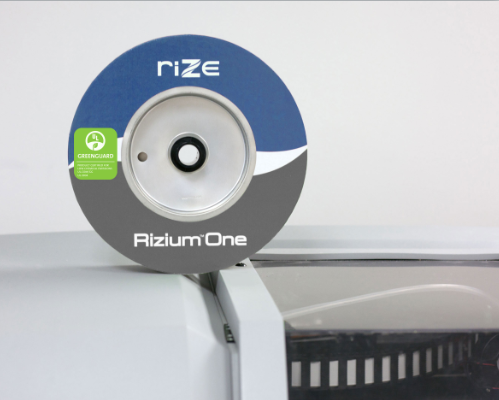
RIZE ONE Certified with UL 2904 GREENGUARD
The RIZE ONE is now the world's first industrial 3D printer certified with UL 2904 GREENGUARD. RIZE One is the first and only 3D printer to be certified for health and environment safety under the stringent UL 2904 standards. 3D printers are known to emit up to 200 VOCs and ultrafine particles that can impact users' health and create long term liabilities for companies. Users can now implement the trusted RIZE printers and scale it from engineering all the way to the production floor with no facility changes. The certification includes not only the print process but also the post processing. USP Class VI Certified RIZIUM ONE Material Parts 3D printed with RIZIUM ONE filament and inks conform to USP Class VI specifications for plastics. Class VI specifications designate material as safe for use in manufacturing medical devices. Pharmaceutical, medical device, food & beverage companies can use the trusted parts from RIZE for applications from functional prototyping to end-use parts. Come check out the RIZE ONE printer in person at our Xpand3D manufacturing event next week Oct 15-17 at our headquarters in Branchburg, NJ. Find out more details on the event by clicking the button below. More Info
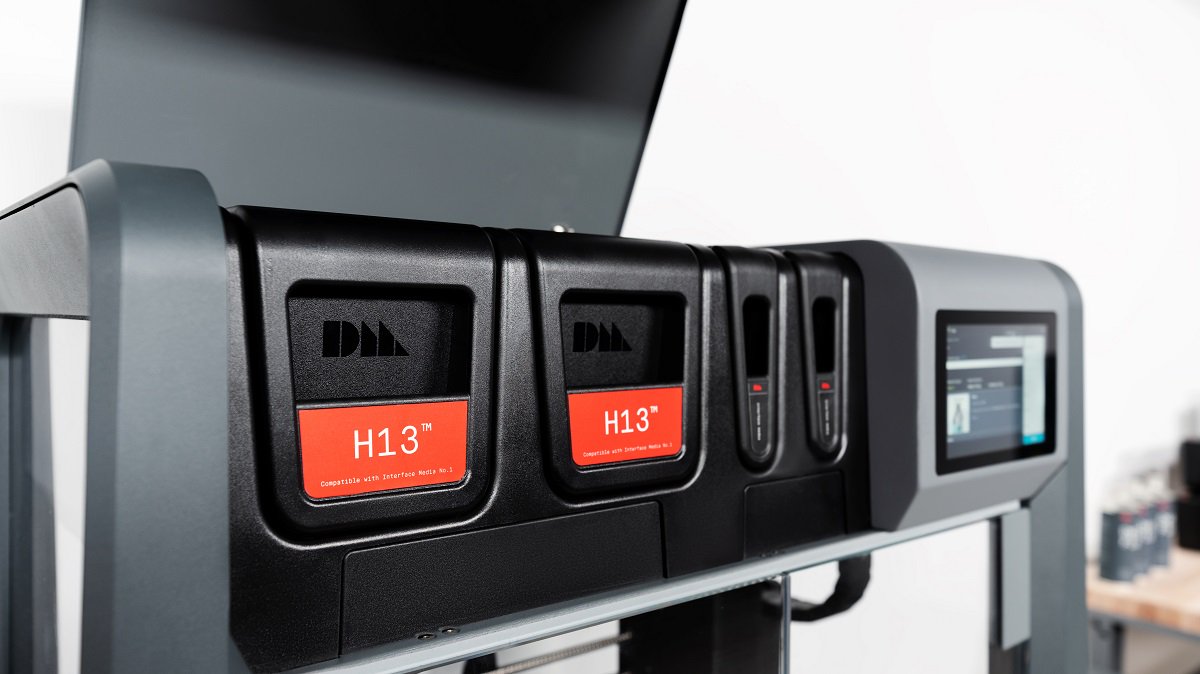
Desktop Metal Introduces a New Material – H13 Tool Steel
Characterized by its exceptional hot hardness, abrasion resistance, and stability in heat treatment, H13 is a tool steel widely used in both hot and cold work applications. Tool steel refers to a variety of carbon and alloy steels that are particularly well suited for toolmaking. Their suitability comes from their distinctive hardness, resistance to deformation, and their ability to hold a cutting edge at elevated temperatures. As a result, tool steels are well suited to shape other materials. H13 is a chromium molybdenum hot work steel well known for its exceptional hot hardness and abrasion resistance, making it ideal for a variety of hot work applications. H13 can also be used in cold work applications thanks to its general hardness and toughness. Mold inserts Extrusion dies Forging dies Sheet metal tooling Stamping tools H13’s high hardness and toughness make it particularly difficult to machine and often requires specialty holders, cutting tools, low feed rates and conditions. Due to these challenges, H13 parts can be both time consuming and expensive to fabricate. By applying the BMD process to H13, teams can quickly fabricate H13 tools—potentially featuring complex geometries that would otherwise be unachievable or prohibitively difficult through machining (e.g., molds with conformal cooling channels). [...]
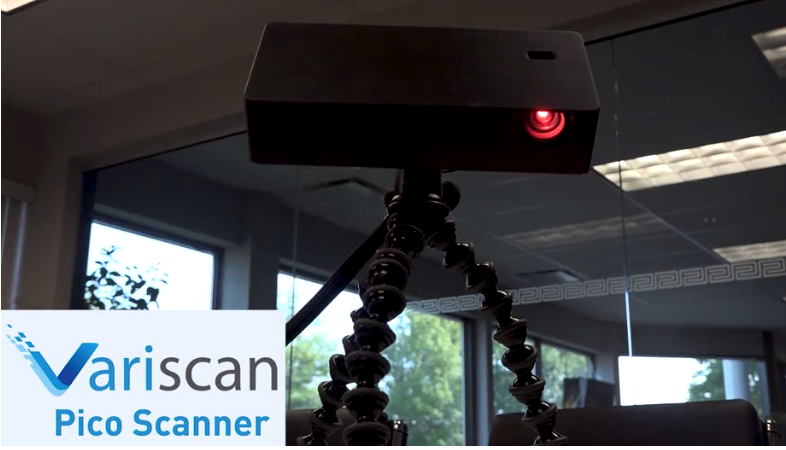
Variscan Pico 3D Scanner
This article will introduce you to the Variscan Pico 3D Scanner from Cimquest. The Variscan Pico is a stationary, light-based scanner, capable of changing light sources from structured white light to red, green or blue light to optimize the acquisition of different colors and textures as well as achieve full-color scanning. A 10-12-minute calibration process is required to ensure excellent accuracy, resolution, and repeatability for virtually any scanning requirement, whether it be for 3D Printing, rev. engineering, metrology applications, or for AR/VR projects. Touting a +/-.0007" accuracy and a resolution with a point spacing of .002" for a single scan, the Pico can scan parts with extreme accuracy and enough resolution to capture very tiny features, such as very small holes and crisp part edges. One of the most compelling aspects of all Variscan scanners is in their ability to set up multiple exposures, enabling the capture of parts and assemblies requiring multiple exposure settings without the need to spray the part. All Variscan scanners are powered by AEOS, a powerful software application that is fully integrated with each Variscan model. AEOS handles all of the 'heavy lifting' for scanning process before sending the scan to another application for further processing. The Variscan [...]
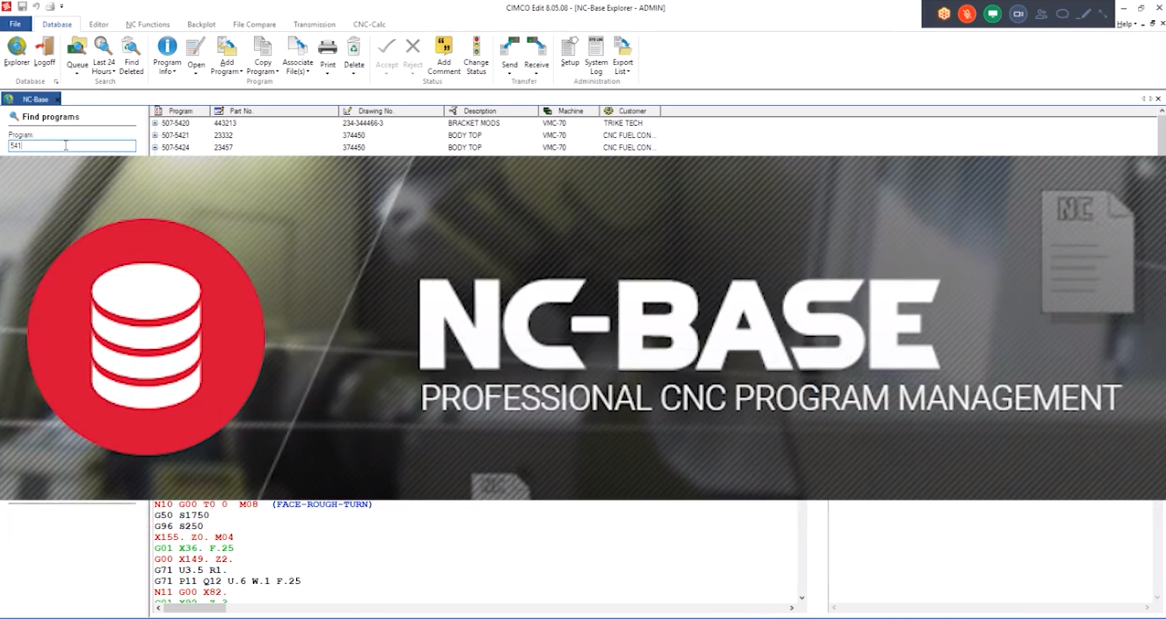
Machine Shop Automation with Cimco NC Base
Cimco's NC Base is the next step in machine shop automation to complement the powerful DNC Max software. NC Base is a CNC program management tool that enables you to manage your part programs as well as any associated documents related to a particular program. NC Base provides a highly integrated part program search tool that enables complex queries to ensure the correct documents and correct part program version or revision are selected for production. Shop personnel can no longer accidentally grab the wrong shop documentation or worse, the wrong part program as all related data is stored and linked together in this powerful database-driven tool. A SQL relational database is the underlying backbone of NC Base, although a user doesn't need to have any database programming experience to master NC Base. The user interface integrates NC Base into the very popular Cimco Editor seamlessly. So all of the NC Base functionality is accessed through perhaps the most common G-Code Editor in our industry today, and the end user setup is simply checkboxes and dropbox selections. NC Base enables you to send part programs to the shop floor, along with any necessary and related documentation, such as tool lists, pictures or even videos [...]
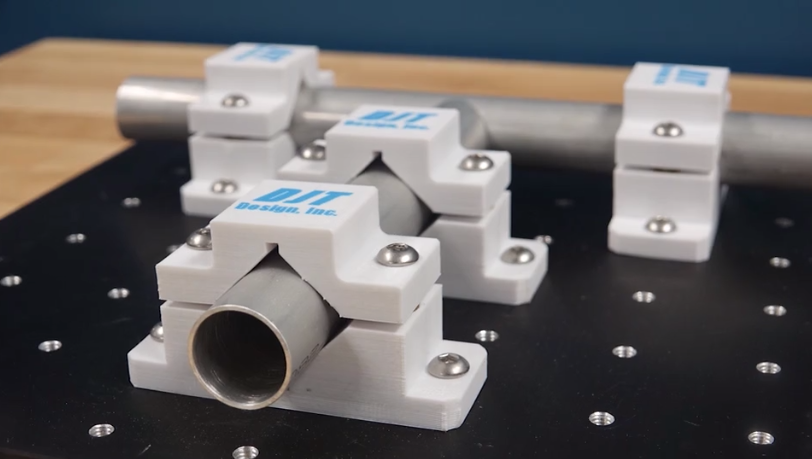
RIZE 3D Printing for Production Tooling
In today's global marketplace, manufacturers are under great pressure to speed up production and increase efficiencies. To accomplish this, they must develop innovative prototypes and manufacture small-batch spare parts, all while cutting costs and adhering to strict plant safety standards. Inventory management is also an important component, as this can drastically drive down costs. With RIZE 3D Printing, companies can produce custom tooling, fixtures & jigs, and replacement parts all on-demand. In our first case, PSMI had the challenge of making replacement parts when the original manufacturer was out of business. Small batch parts were too costly to outsource and complex parts can't be made easily with traditional methods. Using 3D scanning and RIZE, they were able to reverse engineer legacy parts and then 3D print them. Some of their parts include tool holders, silicone molds, pulleys, and even work holdings. In the next case, HMS Industries needed fixtures for CMM Inspections. While aluminum fixtures were always effective, they needed a faster & more affordable way to build them. Using Rize's proprietary, industrial-grade thermoplastic called Rizium One, they were able to print complex geometries and use marking ink to 'tattoo' the parts with instructional text. This resulted in a cost savings of $1,000 [...]
New 3D Scanning Products and Services
Cimquest now offers new 3D scanning products and services from Shining 3D and Variscan. We made this exciting reveal at ADS 2019 and you can watch the recap video below. Read on for more details of these two new products. Variscan Based on white light fringe pattern projection, the Variscan scanner models are our industrial, high accuracy, easy to use solution for those seeking to employ the power of 3D scanning for their applications. With a bright high-resolution light source, these scanners offer true value for the novice or the advanced user for almost any application. *Accurate up to +/- 0.0001" in a controlled environment Shining3D is specialized in providing a comprehensive solution for 3D digitizing technology. These ultra-portable handheld scanners provide flexible and convenient scanning, with high accuracy and stability. They are applicable to a wide range of operating environments and a variety of measured objects. *Accurate up to +/- 0.001" Watch the new scanning product in action by clicking the button below. More Info