3D Scanning, Reverse Engineering & Inspection
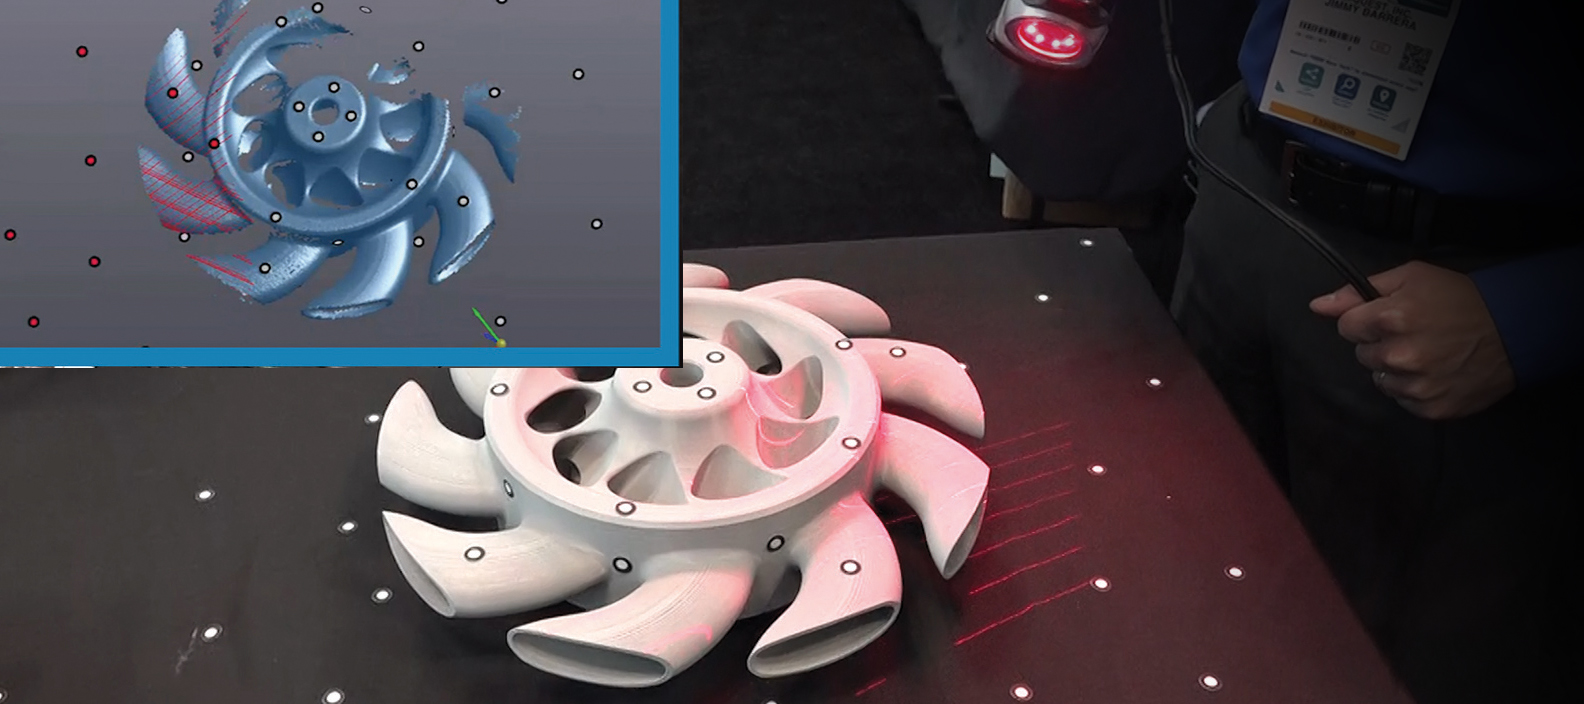
Cimquest has the experienced staff to perform 3D Scanning tasks by using 3D scanning for reverse engineering, quality inspection, design, prototyping, digital restoration, digital archiving, visualization, analysis and duplication.
Create and Access Manufacturing Data
3D scanning enables you to create and access data that can then be used in the manufacturing process to help you measure parts, create CAD data, make parts fit, improve quality, and more.
3D scanning is generally the first step in reverse engineering complex parts. The main goal of reverse engineering is to create a 3D CAD model for use in the customer’s CAD system. Point clouds can then be triangulated into a polygon mesh, or STL file which can then be suitable for 3D printing, reverse engineering and/or quality inspection.
3D Scanning Services – prototypes@cimquest-inc.com
An assortment of structured light and laser scanners to handle any scanning project
- Return closed, manifold scans.
- Perform reverse engineering services into a variety of native CAD and Neutral or kernel files.
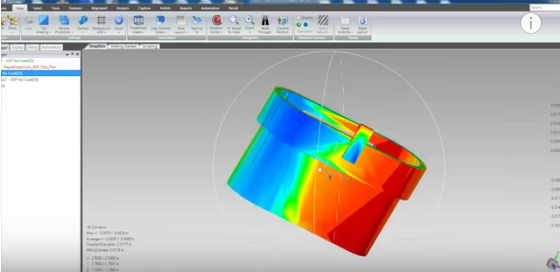
- Perform inspection services, comparing scan to a nominal CAD model.
- Scan for model creation for import into FEA products like Ansys, Cosmos, Moldex3D, etc.
- Scan to 3D Print
- Scan to CNC machine – Convert scans into solid or surface models, suitable for CNC toolpath generation.
- Scan for Web Assets – Creation of scans, suitable for Web design, video game design, AR/VR.
- IRIS Destructive Scanner – Accuracy of +/-.0005” – Plastic part is destroyed during process but we can capture all internal features. Intended for first article injection mold cavity inspection.
Complete this form for further information
Some of the products used by our Scanning Services Team
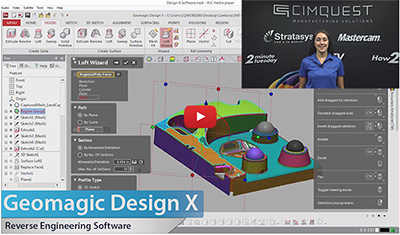
DesignX
- Create a feature-rich history-based native CAD model by“best-fitting” sketches and features to the scanned data
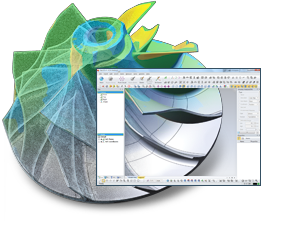
- Produce a neutral-format solid or surface model (e.g. Parasolid, Acis, STEP, IGES, STL, etc.)
 Wrap
Wrap
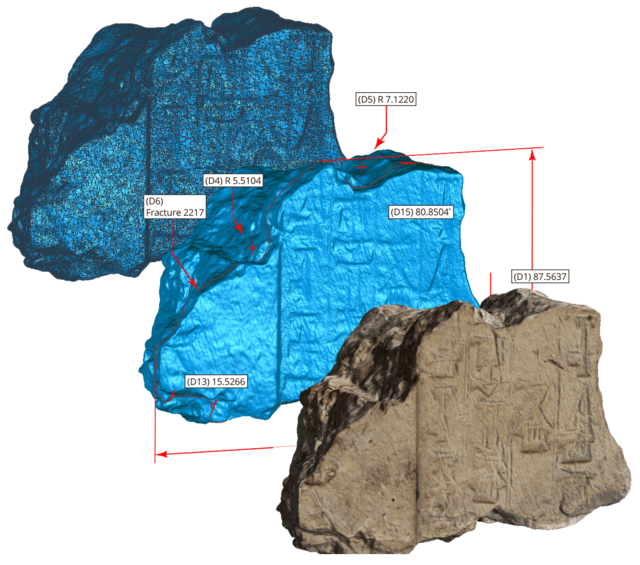
- Quickly create 3D polygonal and surface models from point cloud data
- Produce a neutral-format, non-history based solid or surface model to be used in downstream engineering, manufacturing, art, etc.
- Easy-to-use tools that will allow you to clean up, edit, enhance and improve the quality of the polygonal mesh
Control
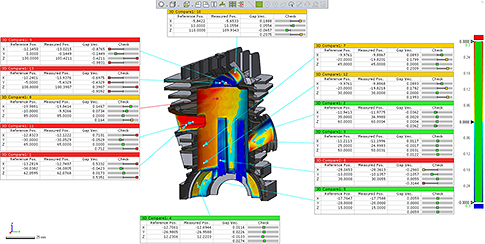
- Superimpose and align our inspection scan (“Test”) to your CAD file (“Reference”), and produce visual results of your tolerance deviations.
- Produce date and time stamped PDF inspection reports.
Verisurf
Connect to a metrology device and perform real-time feature/model based inspection Program and operate your CMM from within Verisurf with automated tools Re-engineer CAD surfaces, or use mixed modeling to blend STL meshes, surfaces and solids in one design Produce date and time stamped inspection reports
Spec.Check
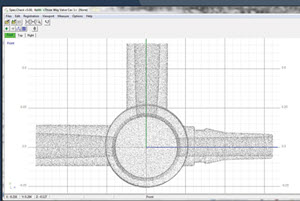
Analyzes point clouds and produces dimensional results in a first article inspection report, AS9102 format.
3D Iris
Cimquest owned patented technology that scans internal and external features of plastic parts, holding tolerances of .0005”.Note: The only other technology with similar capabilities is a C.T. Scan
