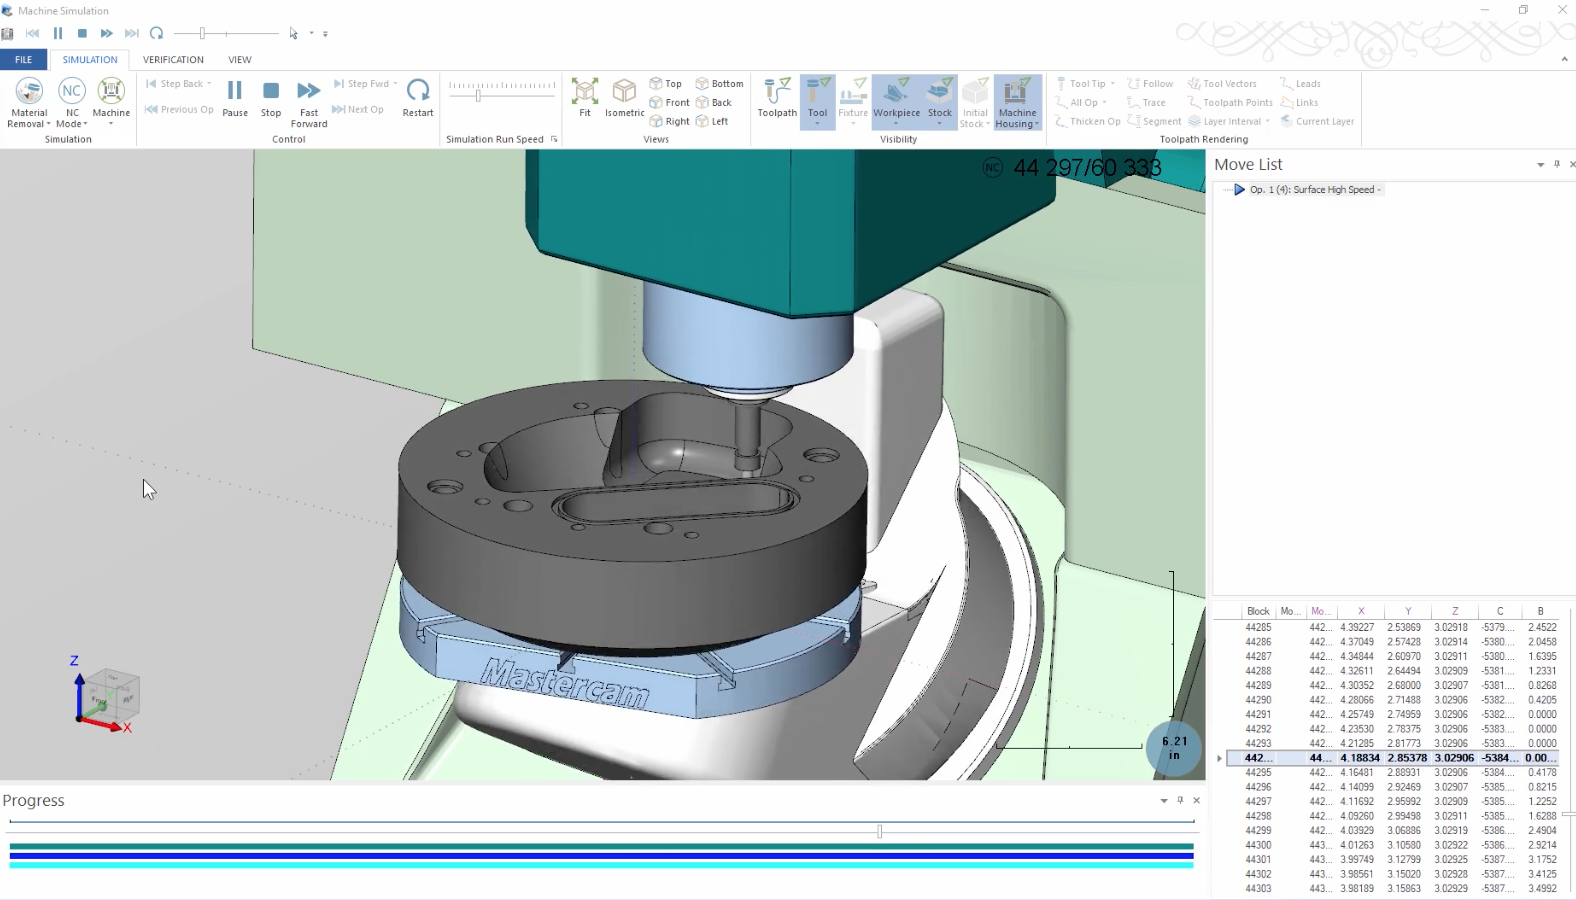
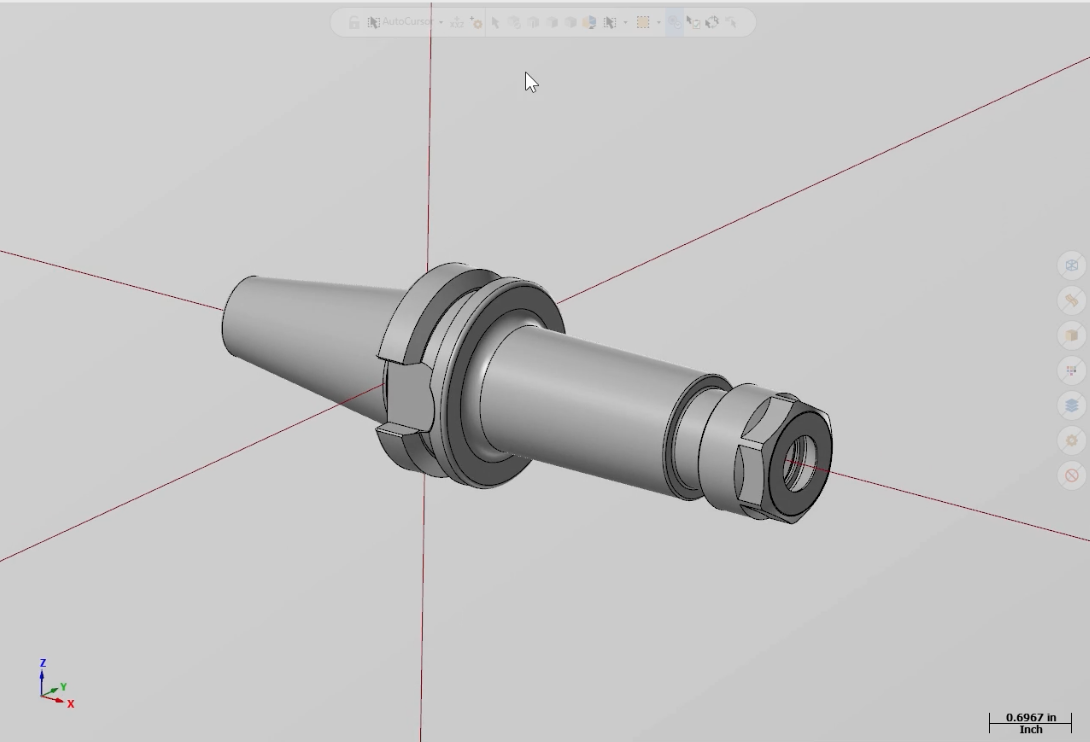
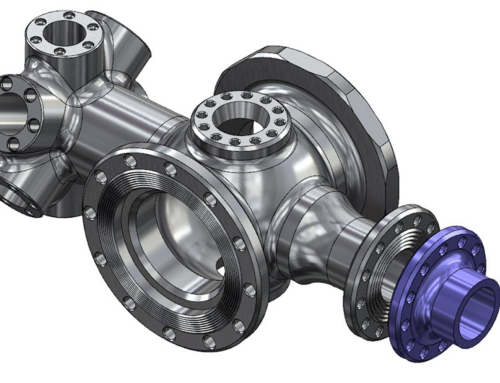
Mastercam 2020 allows you to use a tooling manufacturer’s solid STEP files to define toolholders. To do this, start by opening the original STEP file downloaded from the tooling supplier and, with this geometry, reposition the holder so that it will rotate around Mastercam’s Z-axis relative to the top tool construction plane. Use the Dynamic Transform utility to do this.
Now select both solid models and anchor the gnomon at the center of the bottom face of the holder.
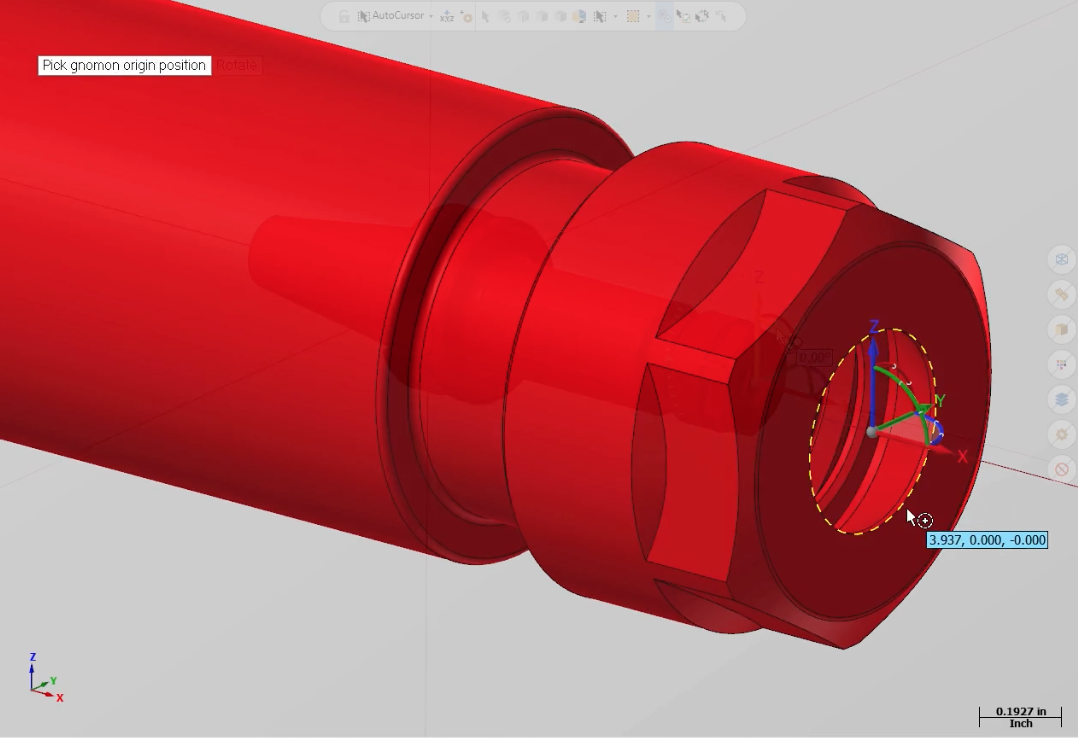
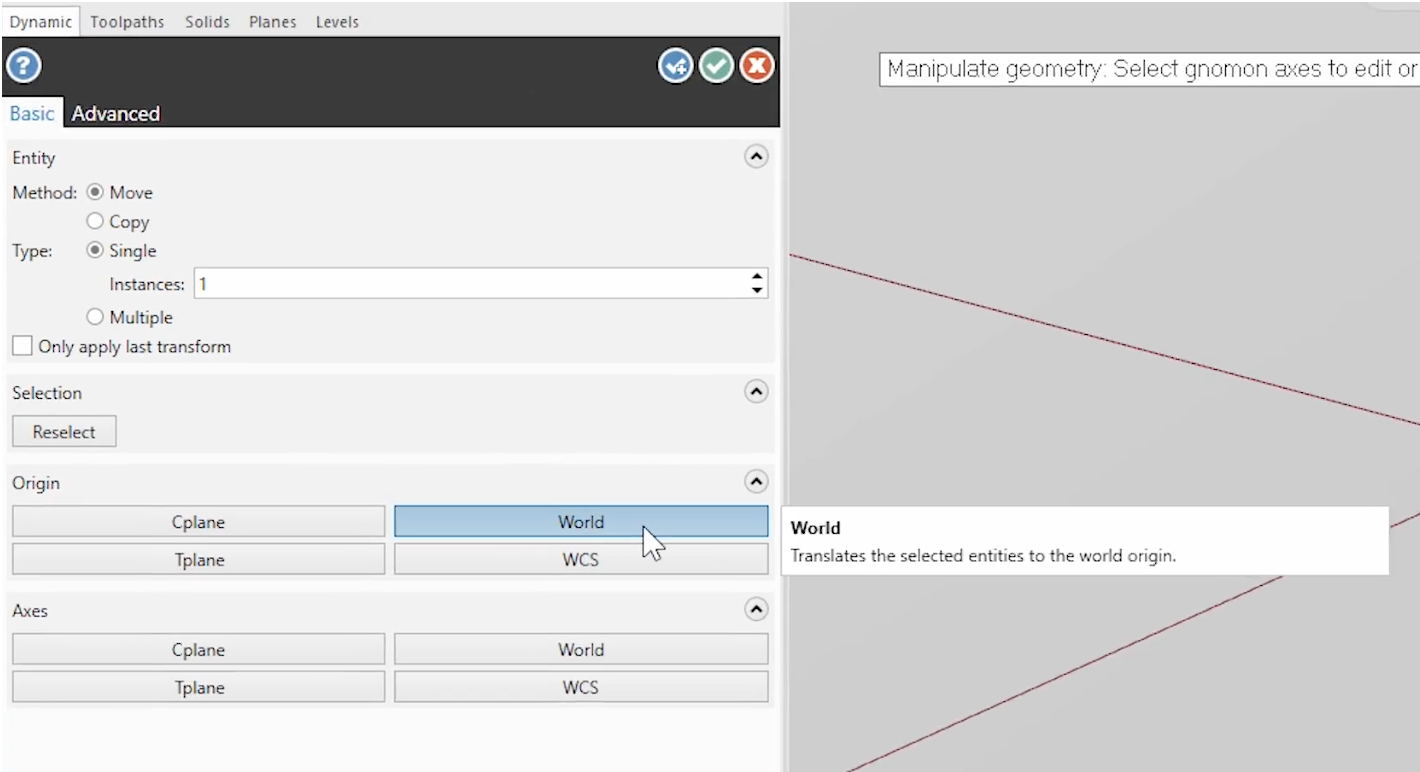
Rotate the model 90 degrees and then send it to Mastercam’s world origin.
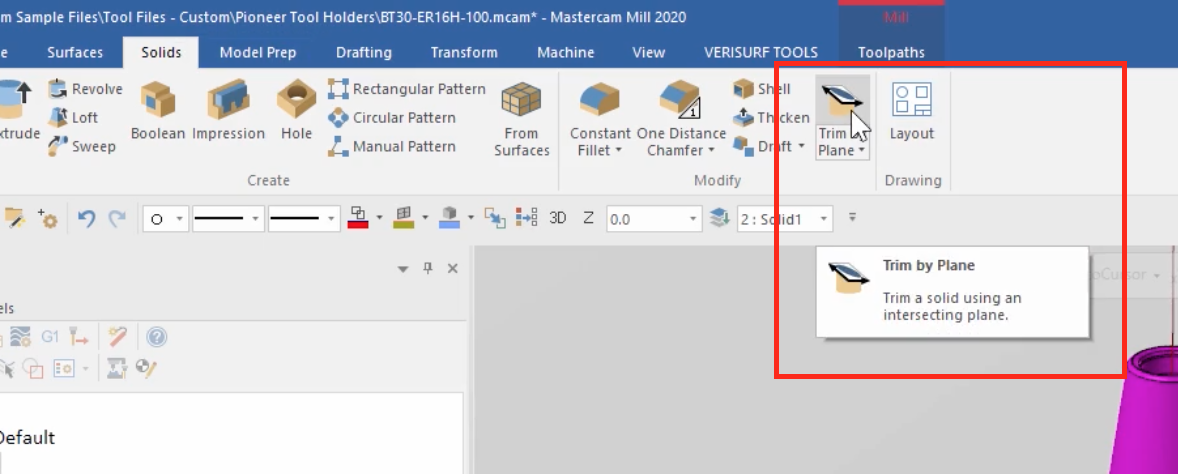
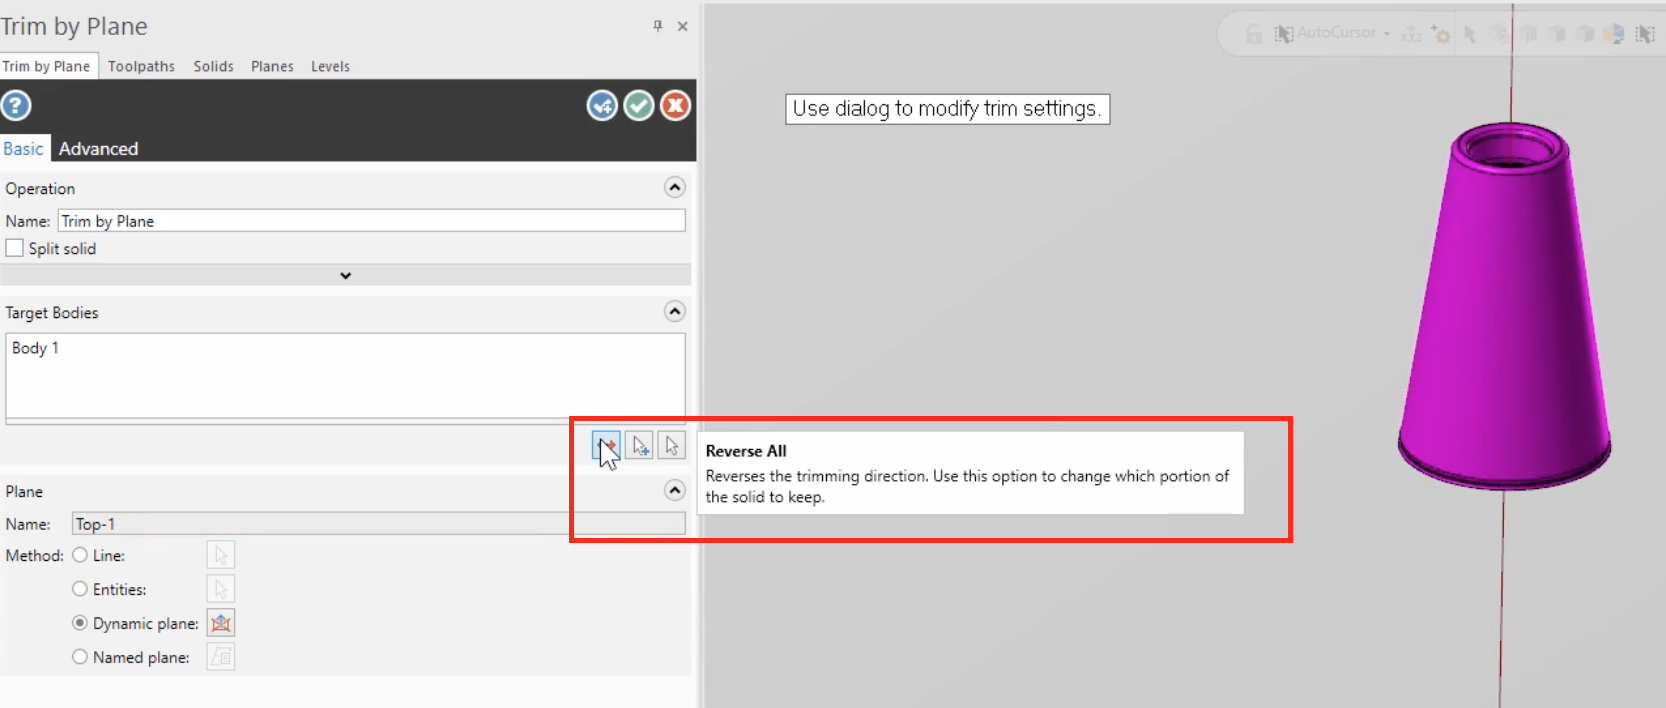
The next edit requires removing the spindle taper. You can use the Solid Trim by Plane utility for that.
If the solid gets trimmed in the wrong direction, you can use the reverse icon to flip the direction.
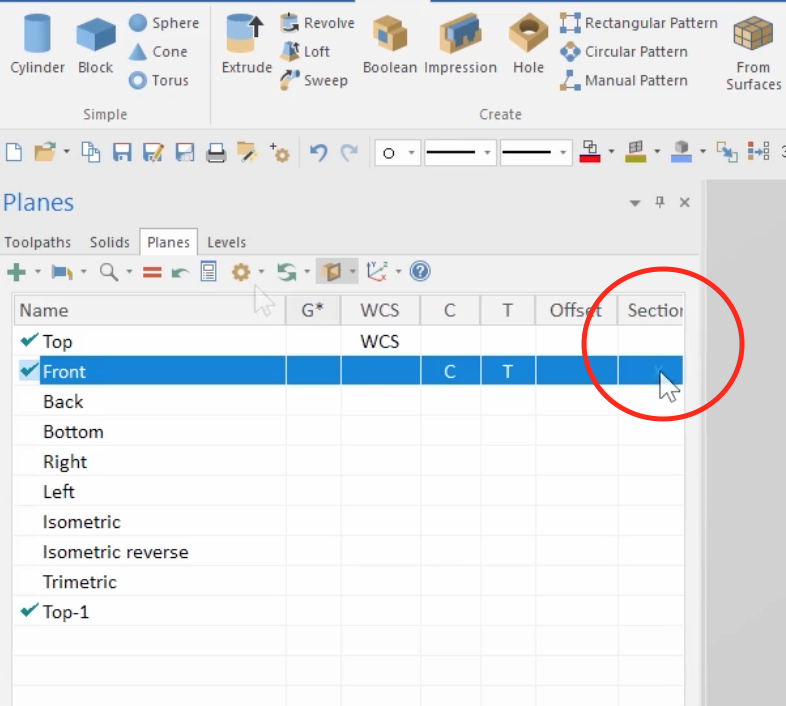
You will need to remove any hidden undercuts from the solid models and one method to reveal these undercuts is to use section view. Open the Planes Manager and activate Section View in Mastercam’s front view.
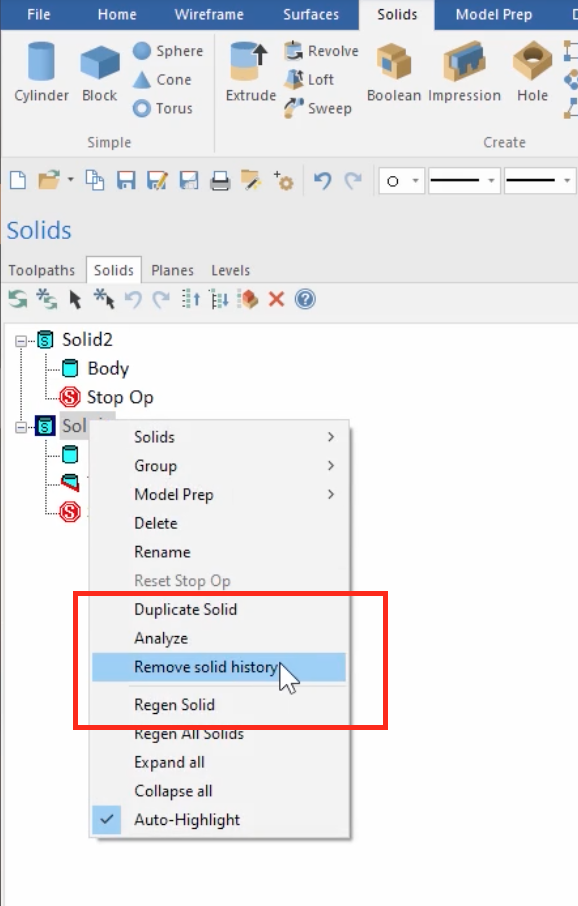
Make certain to remove the history from the solid models.
Open the Modify Feature function in the Model Prep utilities and set the operation to Remove.
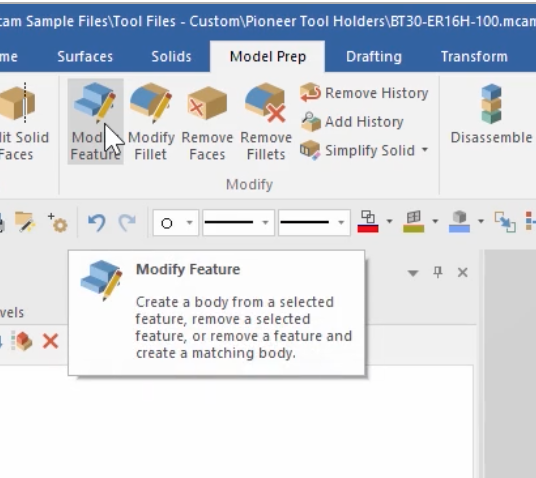
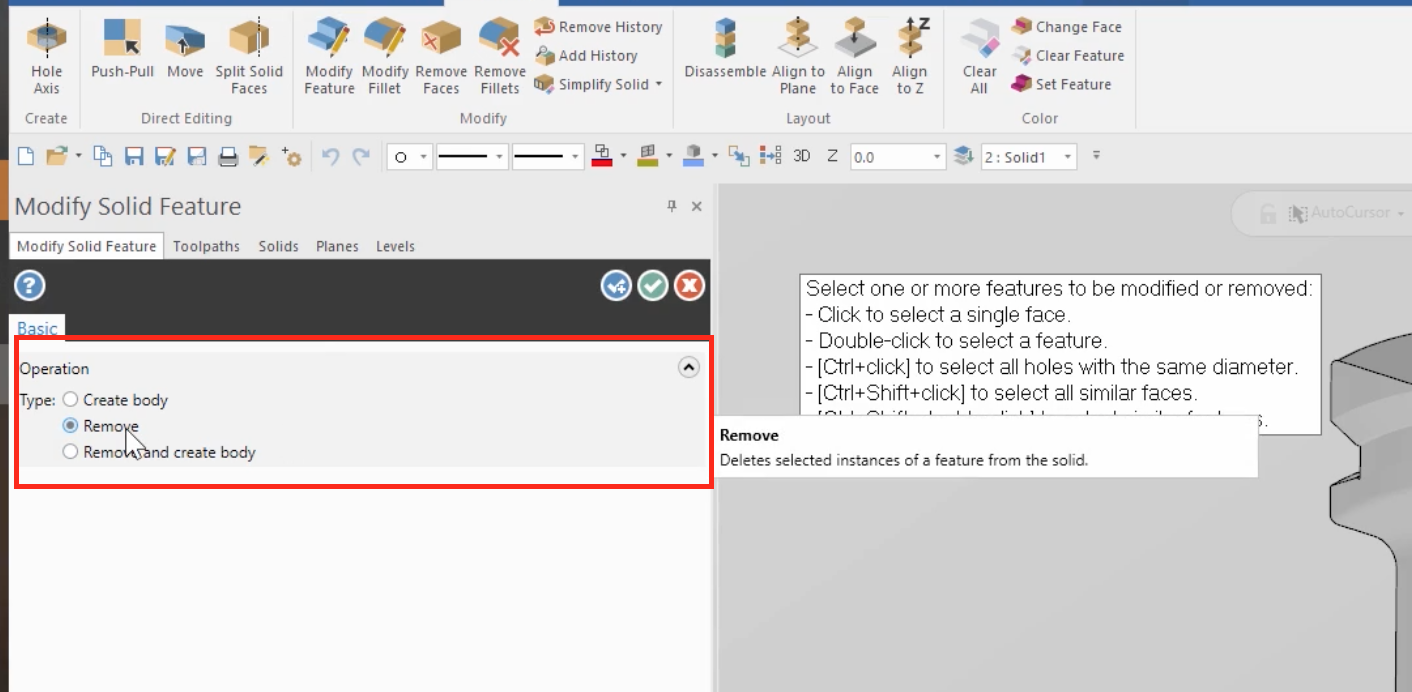
Now double-click on the feature to select it then apply.
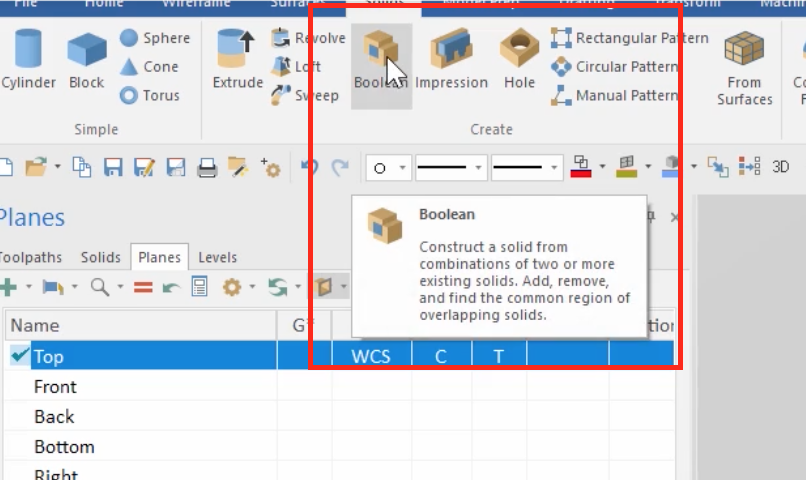
Lastly, you can use the Solid Bullion to combine the two solids into one. Just select the target body first, then the tool body, and select OK to join the two solid models.

Now you can use File Save As to create an edited version of the STEP file.
Please be sure to sign up for our 2 Minute Tuesday video series to receive tips and tricks like this one in video form every week. More info at the button below.

Leave A Comment