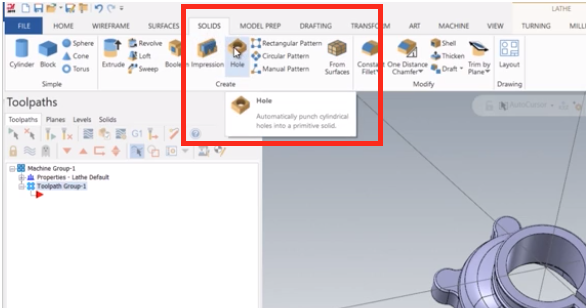
The Mastercam 2019 Solid Hole function is one of the latest enhancements in Mastercam and can be found on the Solids Ribbon. Creating solid holes in previous versions of Mastercam required the use of helper construction geometry like points, arcs, and circles. In Mastercam 2019, this limitation has been eliminated and improves the overall speed and ease of use when creating holes. The process is streamlined, allowing you to select either a reference plane or face and use your AutoCursor options to easily new hole features.
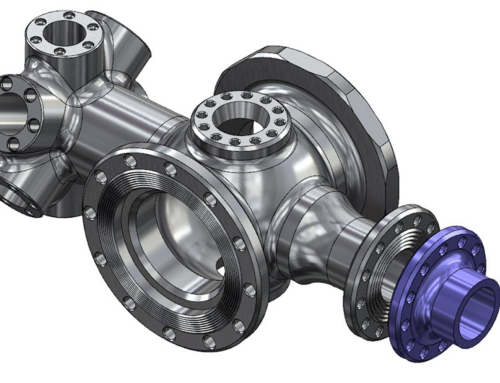
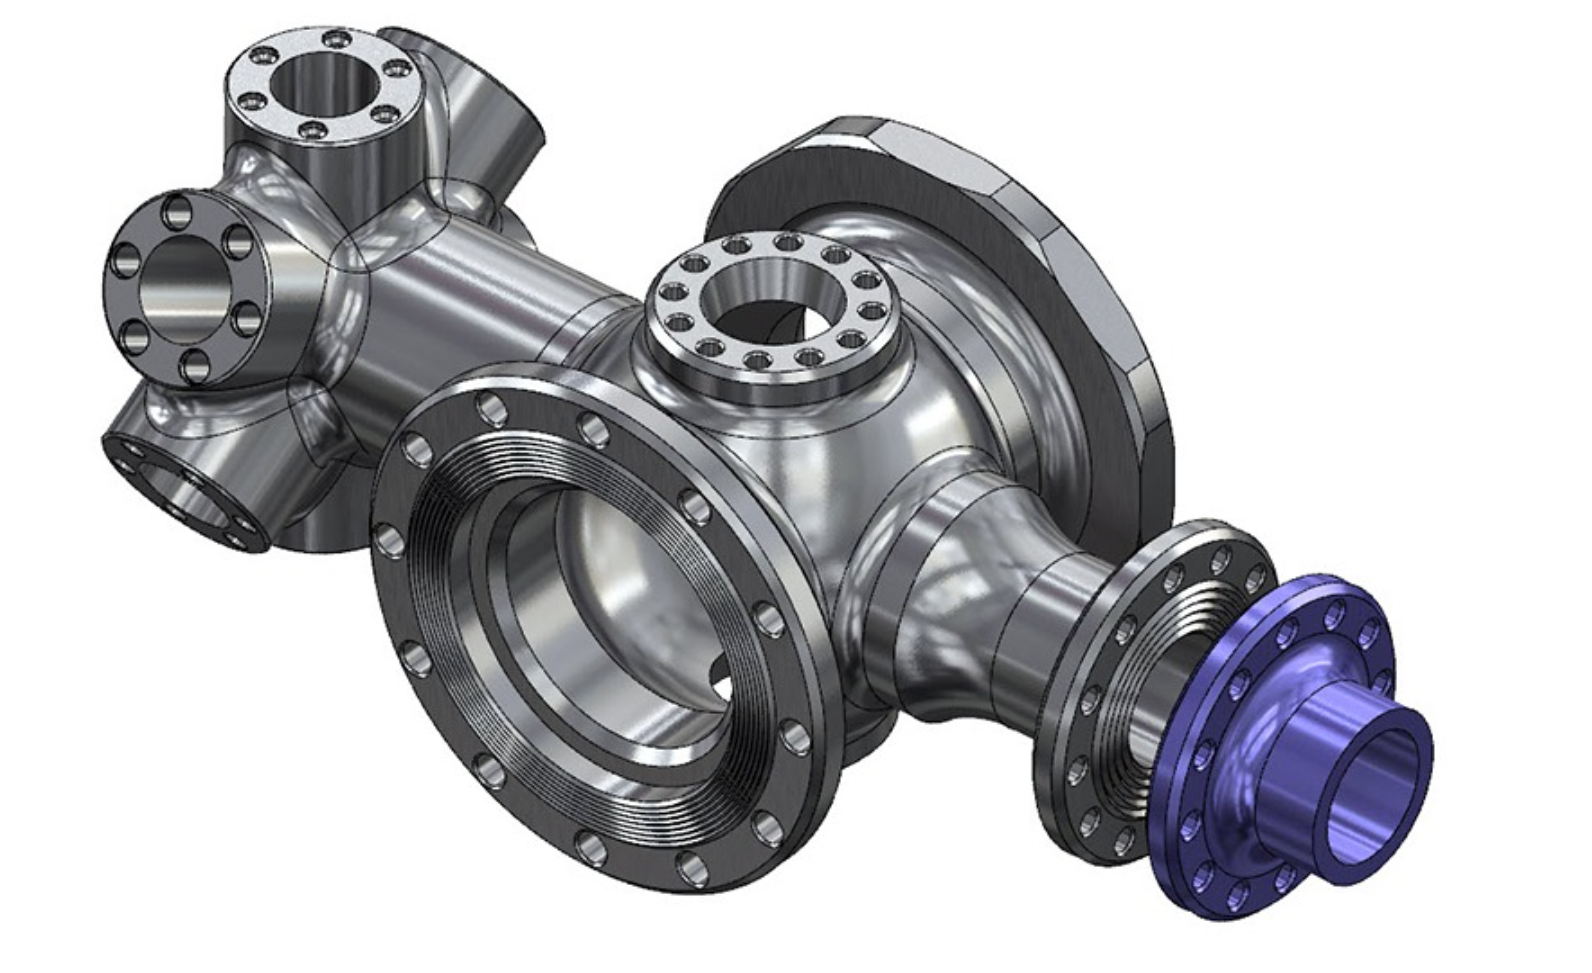
Let’s look at a part file below, which is orientated for some turning work.
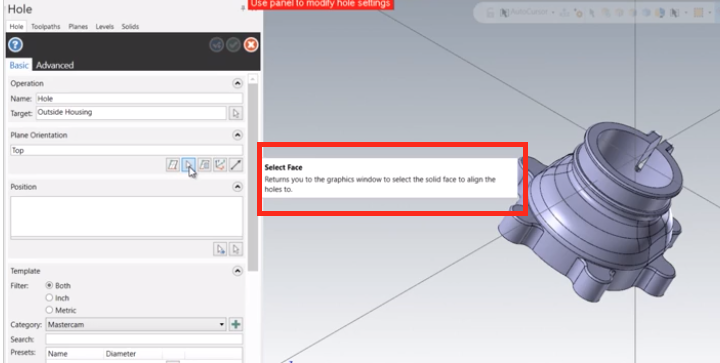
We want to be able to create some holes in the solid model that we can use for toolpathing later on. We would first go into the Solids tab, followed by the Hole icon.
Since the part is not orientated in the top plane, we would need to use the Select Face option and click on the face of one of the mounting holes.
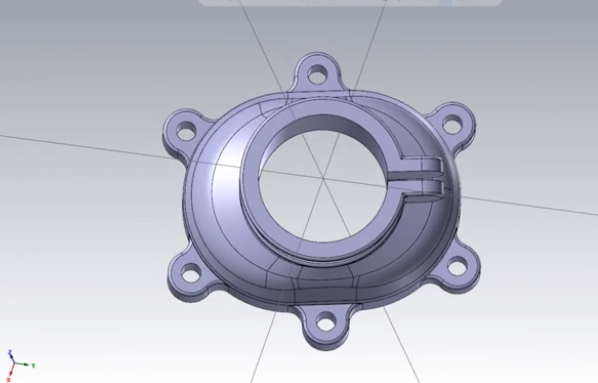
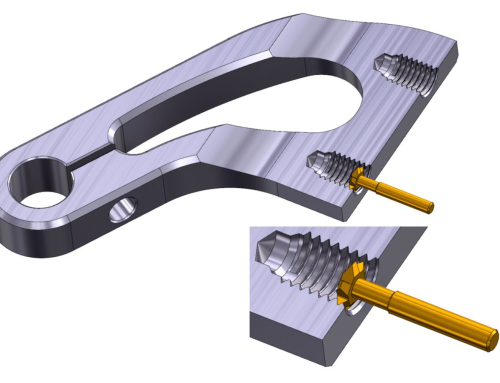
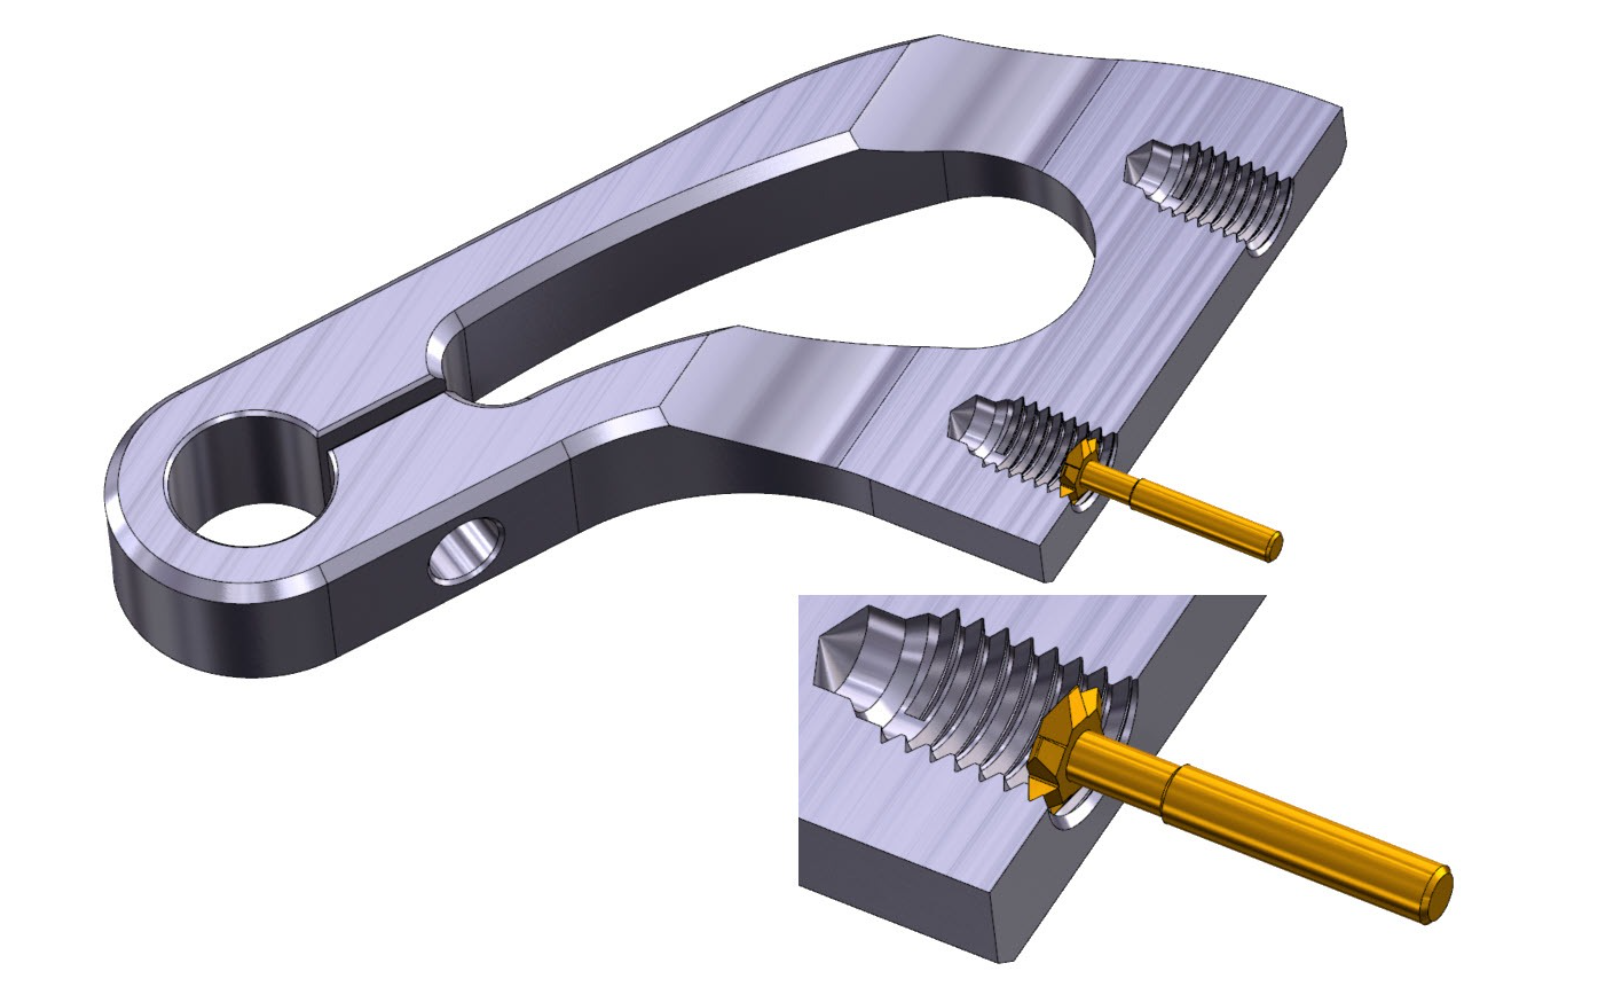
Next, we can use the Autocursor options to select the Arc Center and turn on the locking option to go around and select all of the solid edges.

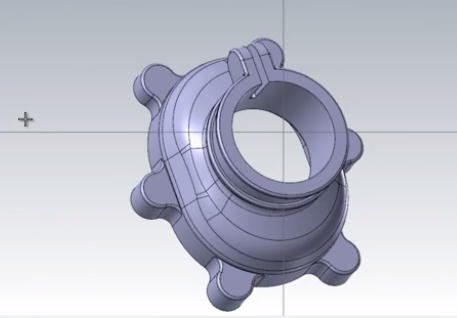
Once we finalize our selection we can see Mastercam quickly updates the model, showing the addition of these new mounting holes.
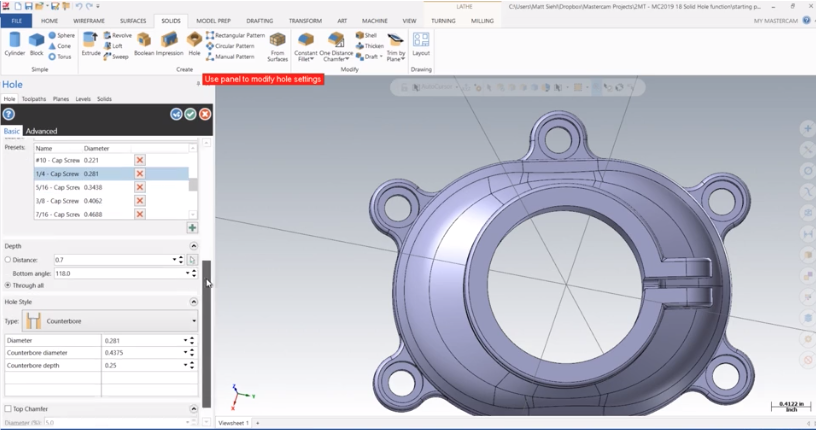
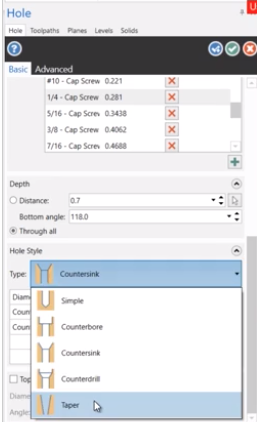
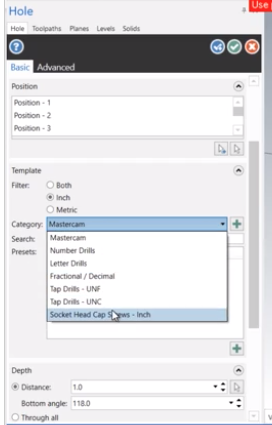
Now there are two options to customize these holes. We can use Mastercam’s template, which is customizable and select the tap size or socket head cap that we are going to use . . .
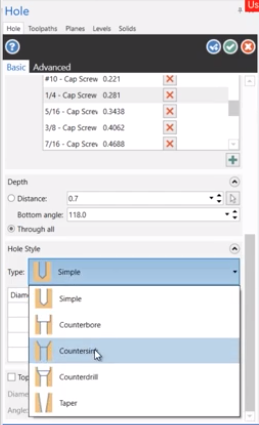
or we can enter in our own Hole Style and diameters for each feature.
As you can see, using the new enhanced Solid Hole selection is faster and more efficient than ever before. No more need for helper geometry to create our holes. In just a few simple clicks we now have new holes created in our model.
Please be sure to sign up for our 2 Minute Tuesday video series to receive tips and tricks like this one in video form every week. More info at the button below.

Leave A Comment