Did you know that you can export your lathe tool assemblies from Machining Cloud and turn them into 3D Tools in Mastercam? Well, you can and this article will show you how to do it.
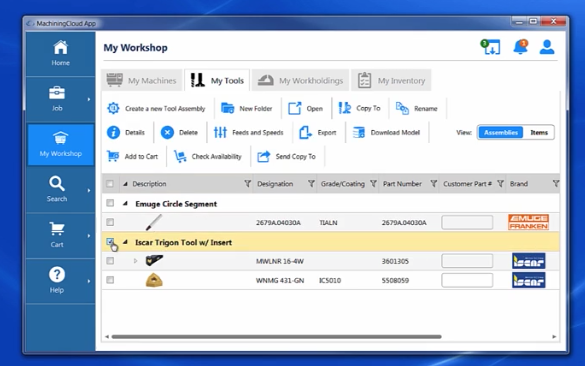
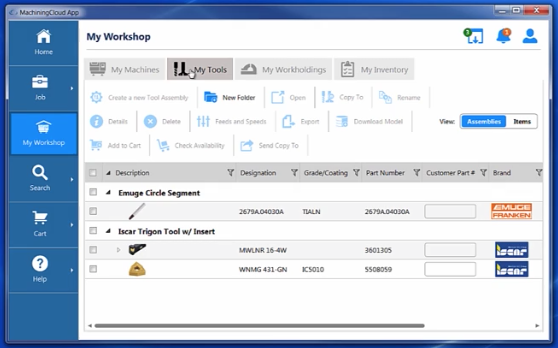
First, go into the Machining Cloud app and then into the My Workshop section. From here, select the My Tools tab up at the top. In here you will be able to find all of your tool assemblies that you have created.
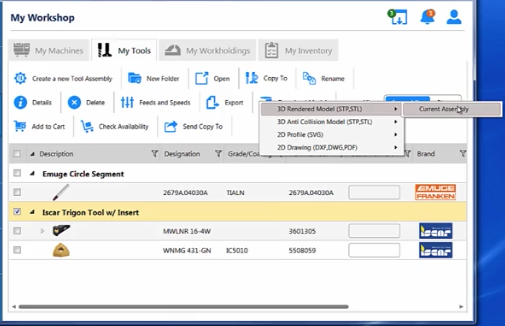
Once you find the tool that you want to create in Mastercam, just select it and go to the Download Model option, then select the 3D Rendered Model selection.
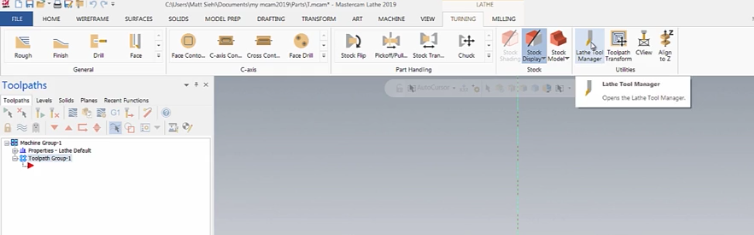
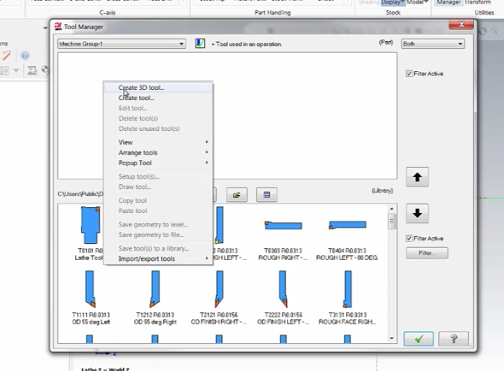
Next, go into Mastercam and launch the Lathe package. From here, click on the Turning tab at the top and then into the Lathe Tool Manager.
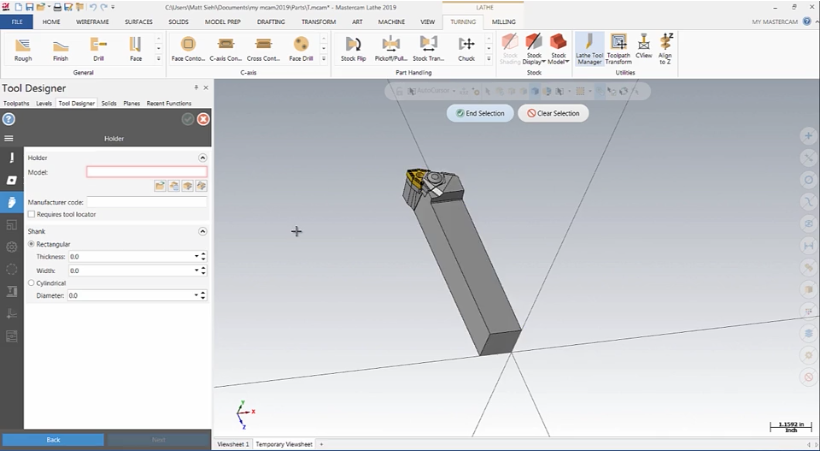
Now you can right-click and select the Create 3D Tool option. This will now launch the new 3D Lathe Tool Manager and allow you to import your STP Models into the software.
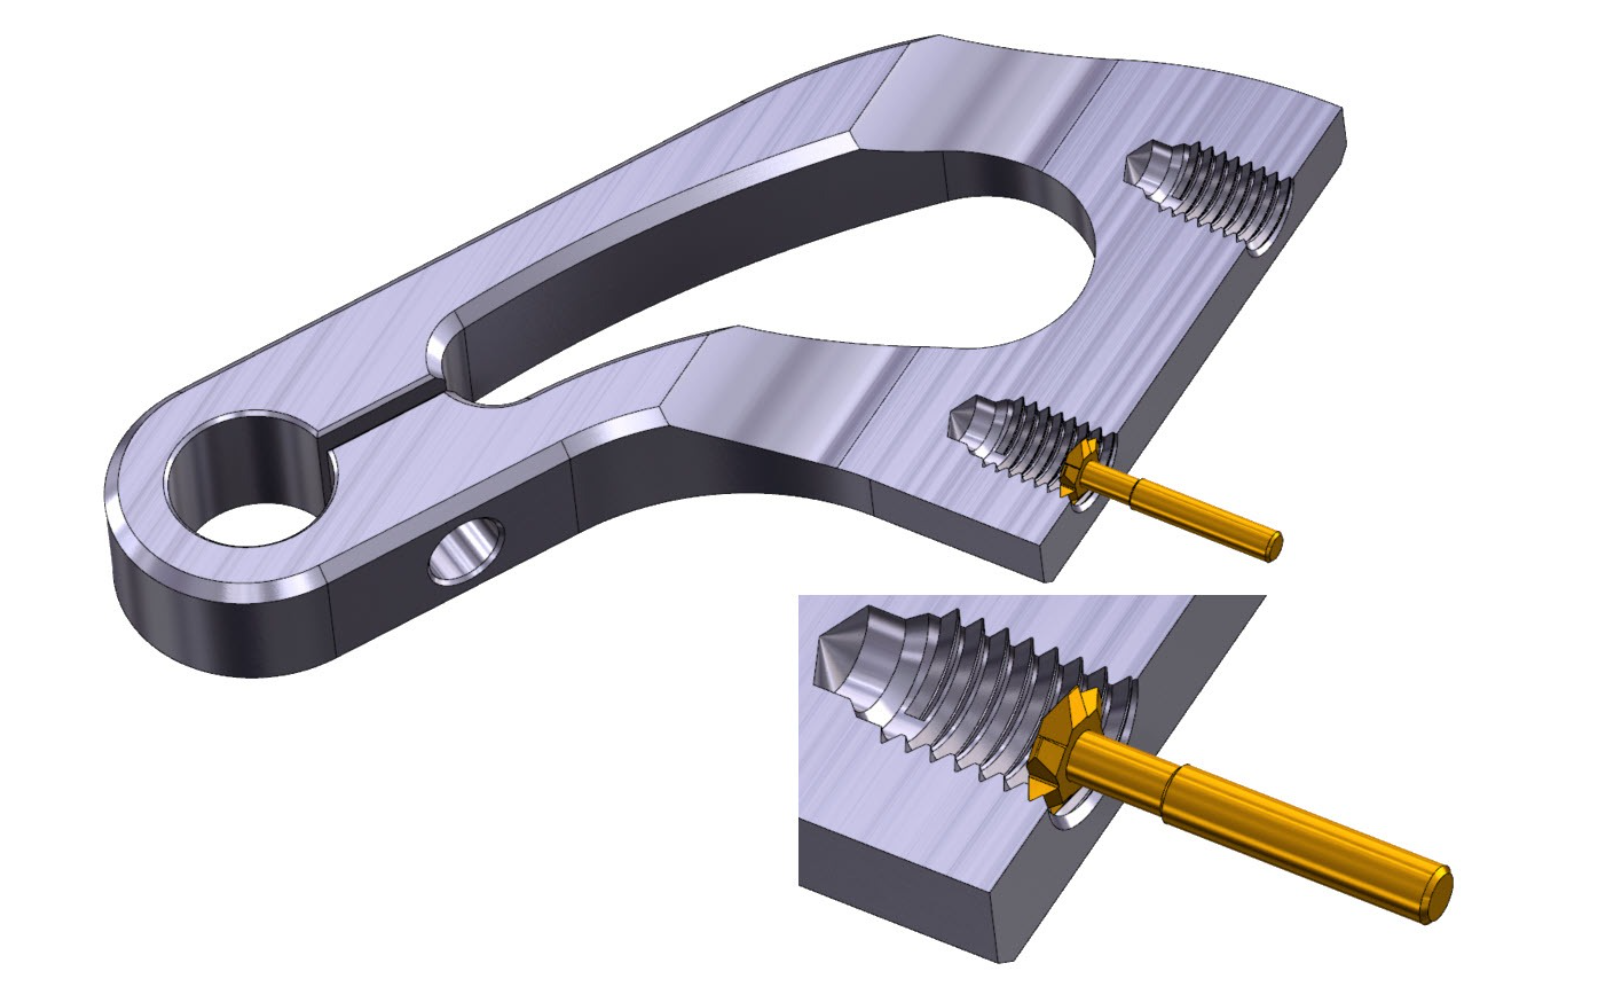
After going through the handful of steps of importing your insert and holder you will get a true rendering of your tool.
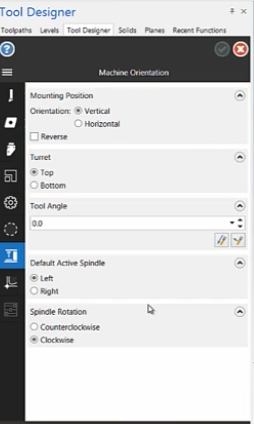
In this new tool design manager, you can set the orientation of the tool in the turret, which spindle is active, spindle rotation, cutting direction, default feedrates and more options that were available in the original 2D Lathe Tool Creation Manager.
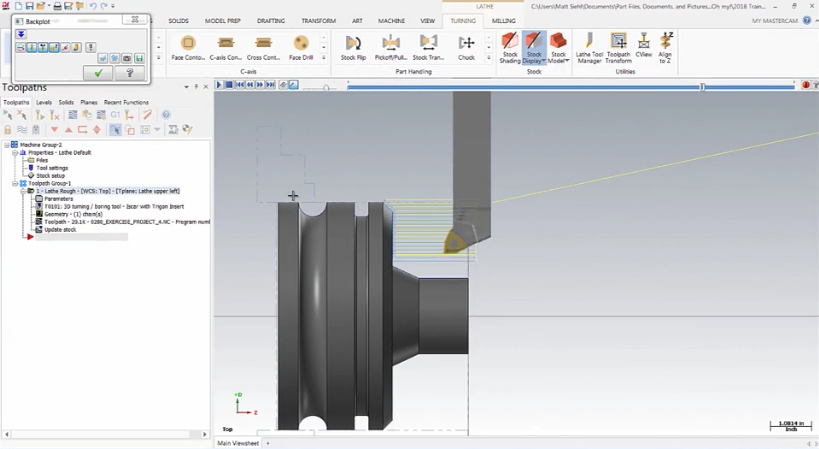
Once you have finished, you will have a fully rendered tool to use in Backplot or Verify.
As you can see, being able to create 3D Lathe tools in Mastercam 2019 just got even more powerful with the option of downloading the tool assemblies as STEP models straight from the Machining Cloud app. Please be sure to sign up for our 2 Minute Tuesday video series to receive tips and tricks like this one in video form every week. More info at the button below.
Leave A Comment