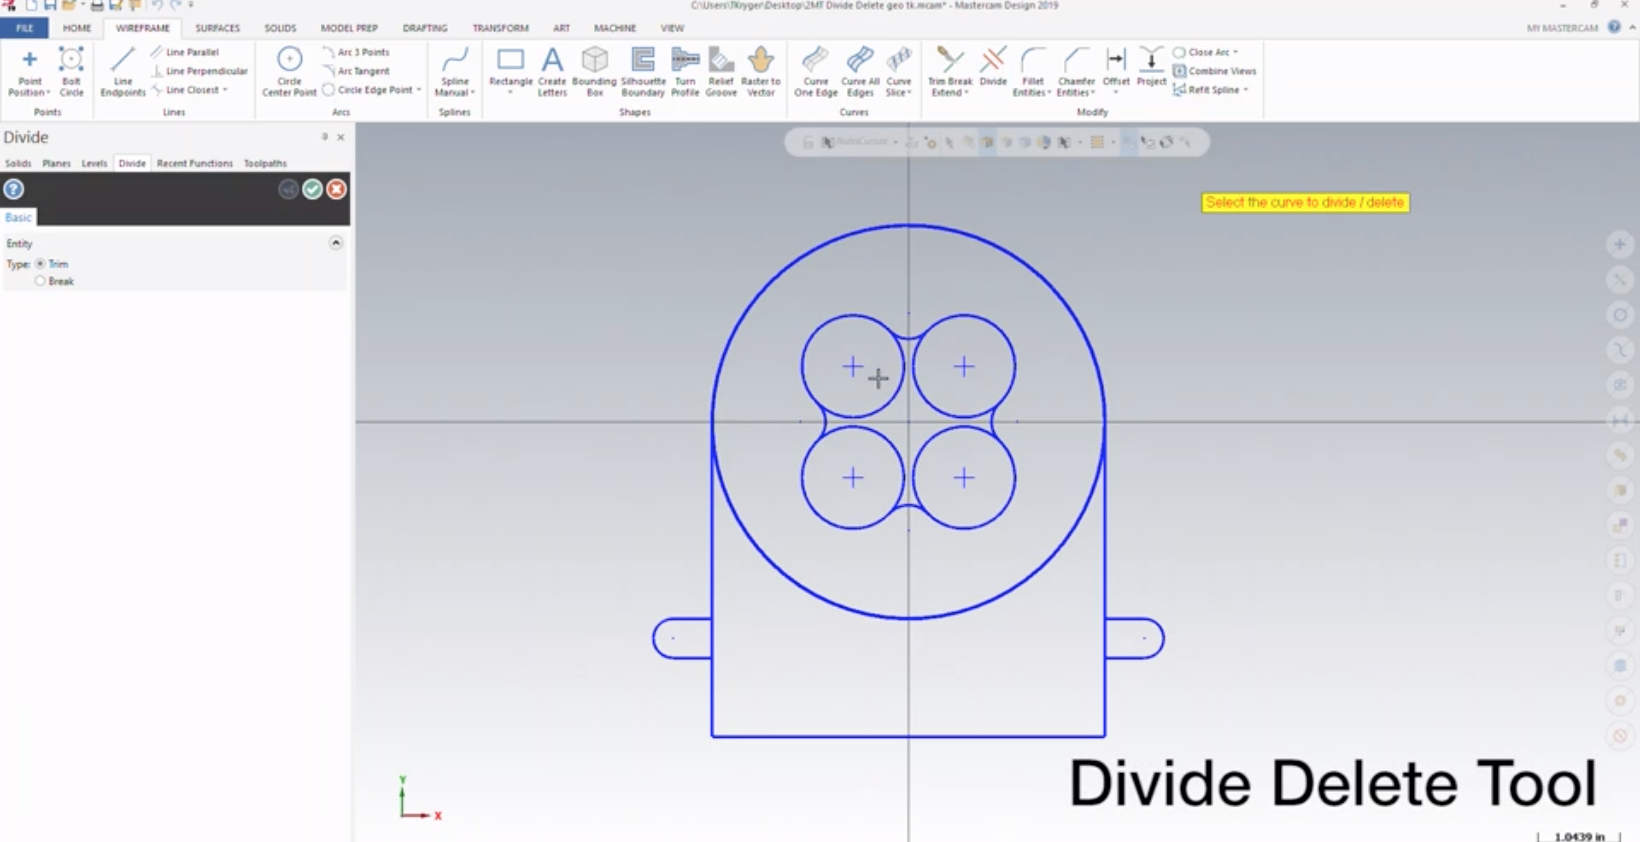
Today we’re going to cover a new enhancement to the Divide/Delete tool in Mastercam 2019. If you were to use the Divide/Delete tool in the past, you had to manually select the pieces of wireframe that you didn’t want to keep. While you can still individually select each piece of geometry that you want to delete with this feature, this can be a time-consuming and cumbersome process. Now, you can trim your geometry efficiently with the outline of our cursor.
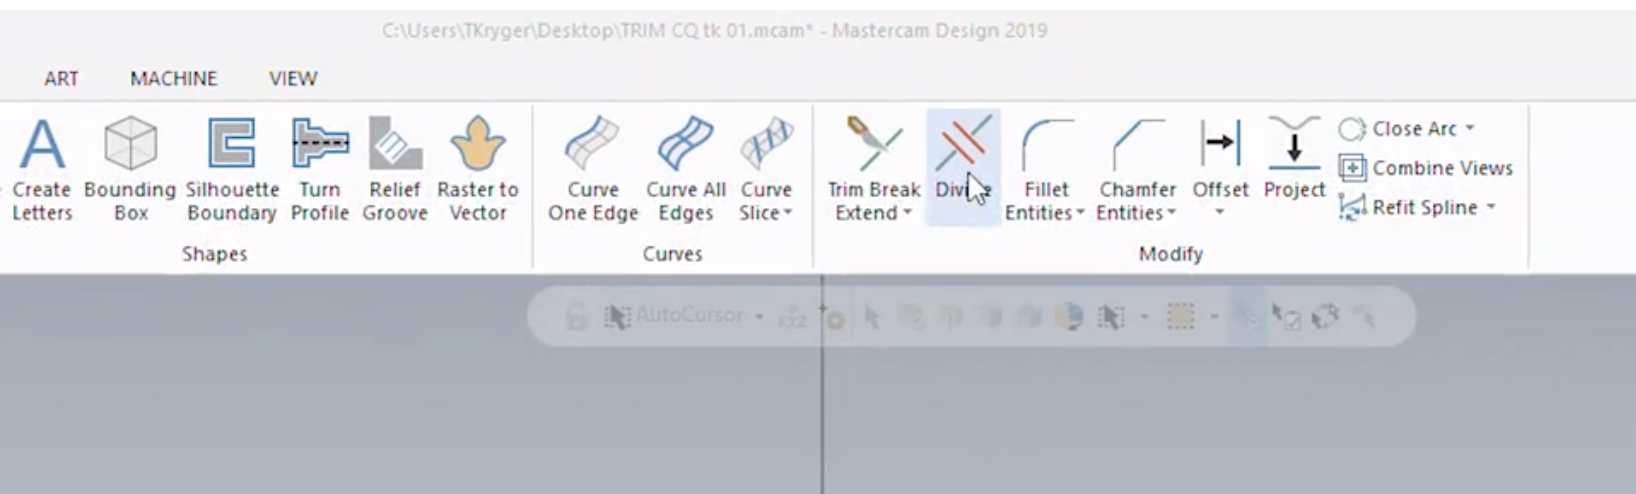
To do this, start by going to go to the Wireframe tab, on the right side of the Modify group, and select the Divide/Delete icon which is located right next to the standard Trim/Break/Extend icon.
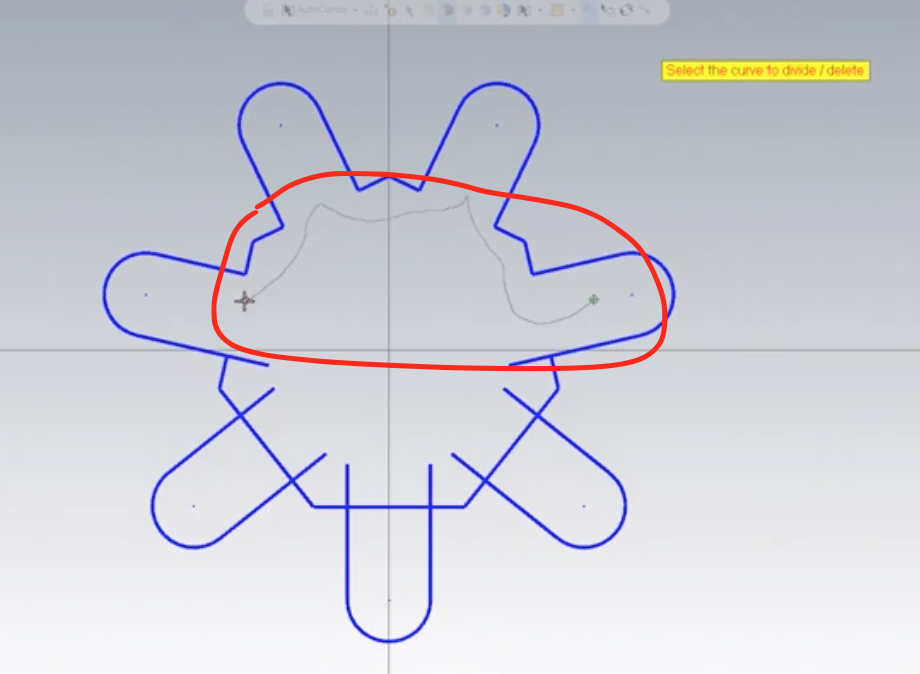
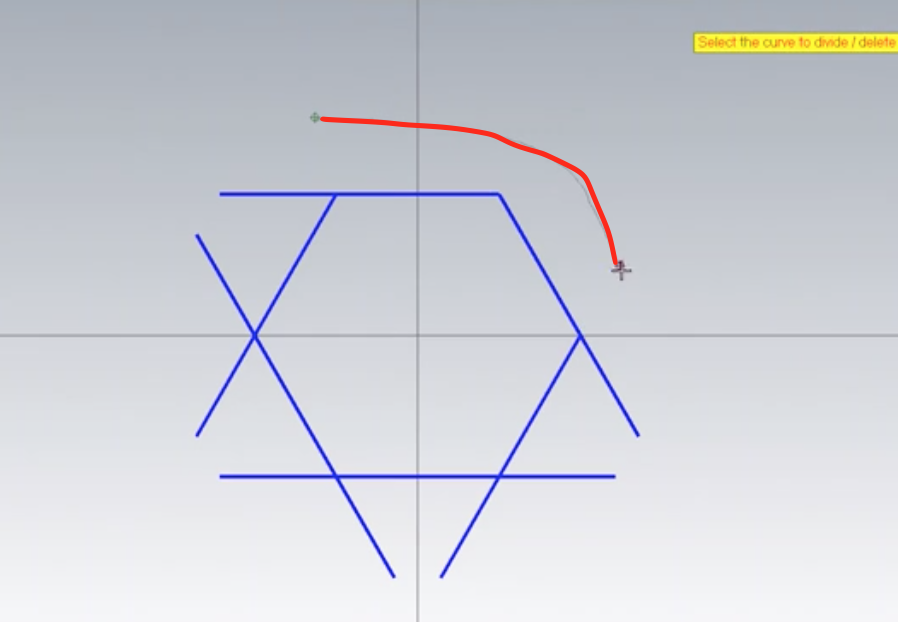
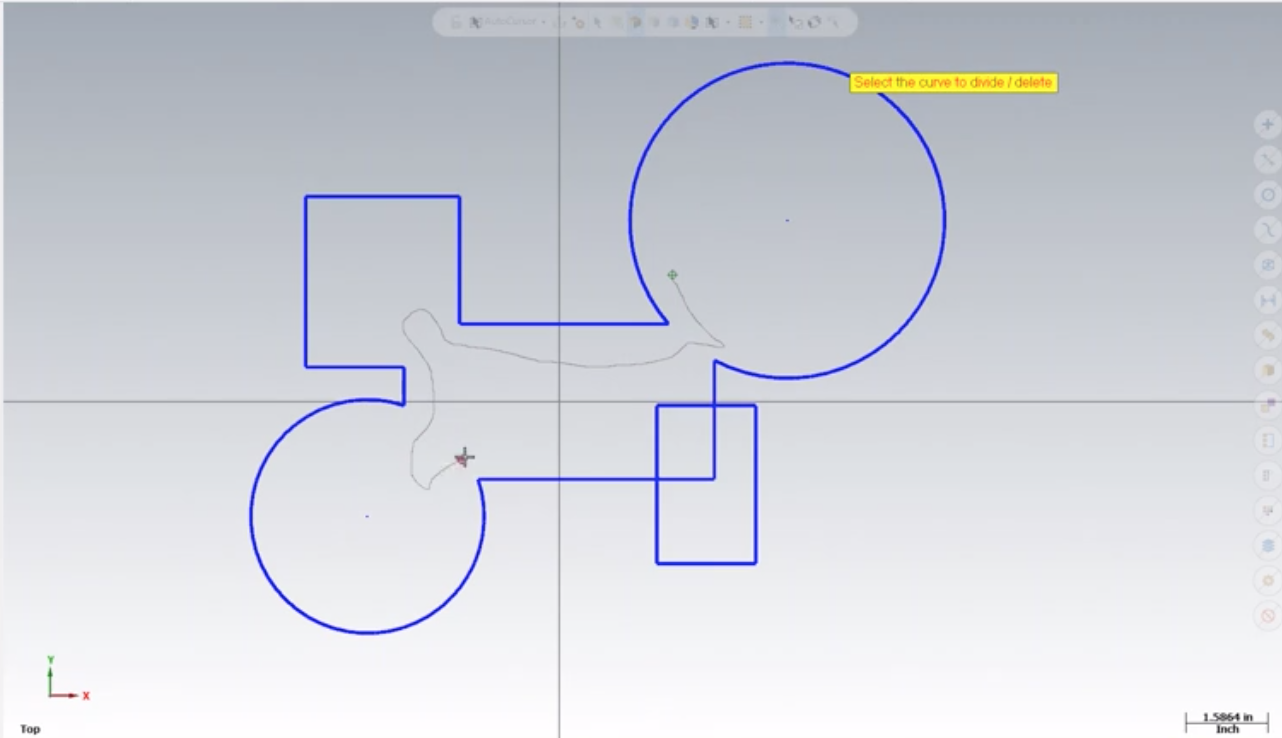
Like most of the popular CAD packages out there, with Mastercam 2019 you are now able to click and hold down the left mouse button and drag your cursor around. This will allow Mastercam to automatically delete any piece of geometry that comes in contact with your cursor.
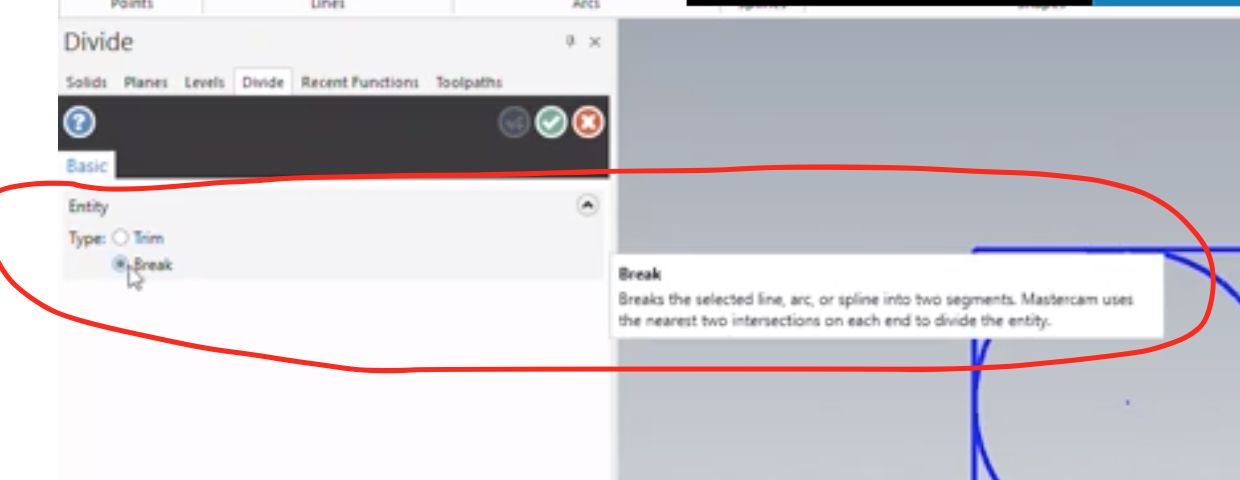
You also have access to a Break option in your Options manager. Break will not delete the entities but allow you to break entities into multiple pieces based on the path of our cursor.
As you can see, this new enhancement for Mastercam 2019 is a simpler way to accelerate your trimming process. With the drag of your cursor, you can easily develop the shape of your wireframe instead of individually selecting pieces.
Please be sure to sign up for our 2 Minute Tuesday video series to receive tips and tricks like this one in video form every week. More info at the button below.

Leave A Comment