Today we are going to cover how to install Mastercam 2019 and Mastercam for Solidworks 2019. We will be using the full install zip file found on Mastercam downloads page. The installation is something that can be very simple.
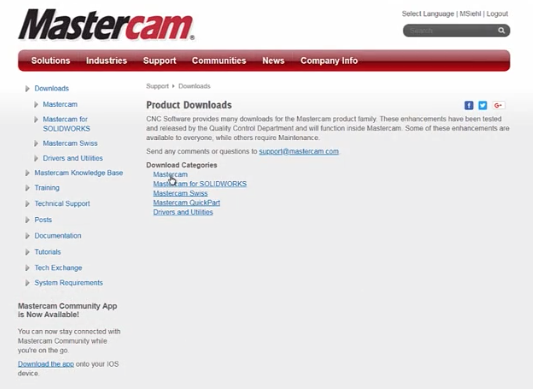
First, log in to Mastercam.com and download the install media.
After you extract the media, right-click on the setup.exe file and select Run as Administrator and soon the first dialog box opens up.
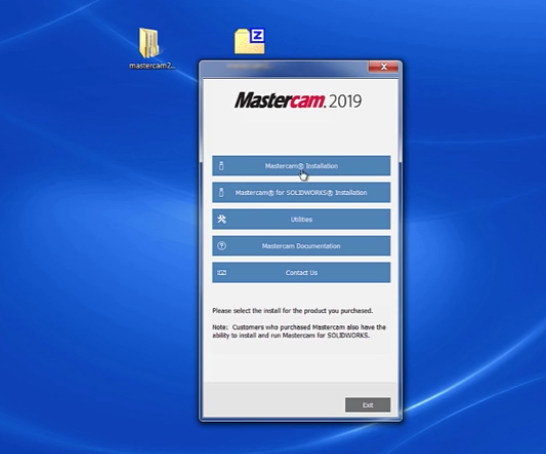
From here, select the corresponding software you want to install. This article will cover both installs side by side. Standalone Mastercam on the left and Mastercam for Solidworks on the right.
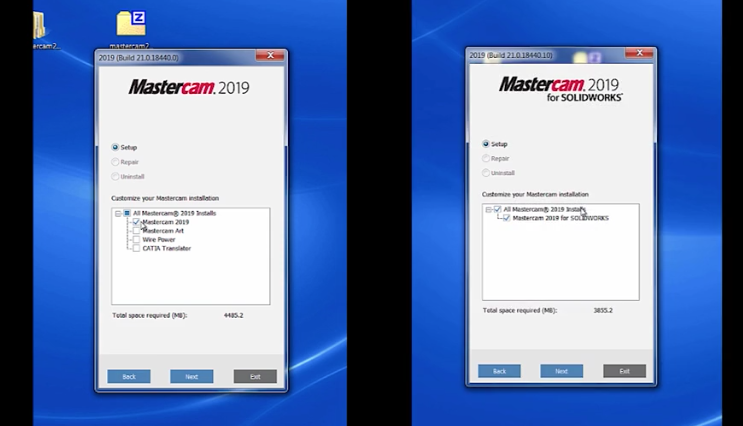
You will see a checkmark on the items you are installing like Art and Wire Power. Click Next when you are ready. On the 4th screen, you can press the Configure button and make sure all the information is correct.
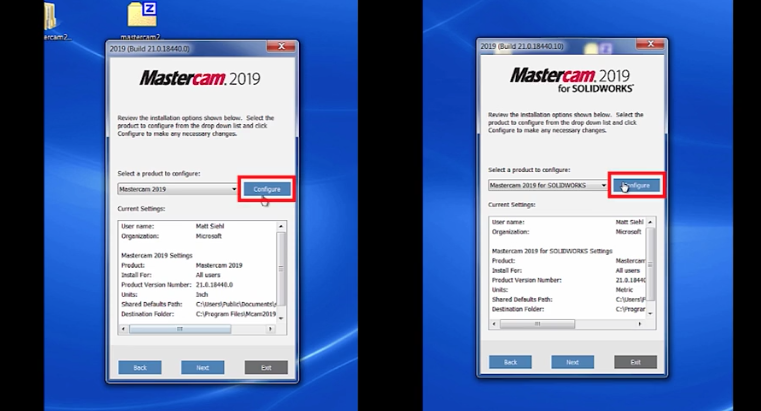
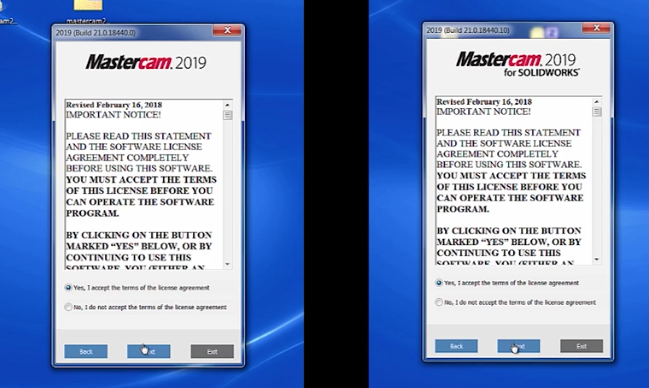
Click Done at the bottom of the screen when you are finished and press next on the return screen. Lastly, You need to select Yes on the license agreement page in order to start the install.
A series of progress reporting screens will be shown showing any prerequisites that are being installed, then on to the installation of the core product.
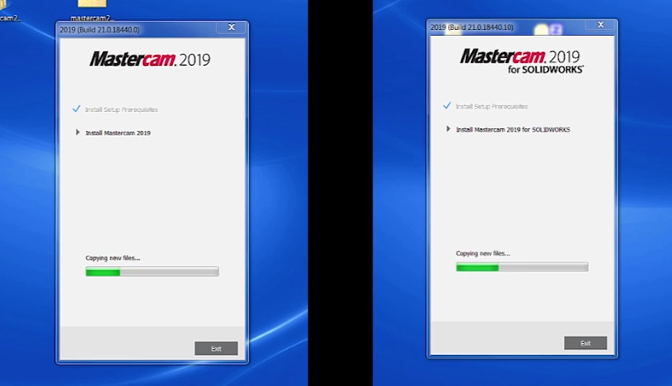
When it is done, Mastercam will prompt you to exit from the installation wizard.
As you can see installing your new Mastercam software is simple. There are lots of new features we will be showing you in the coming weeks so please stay tuned. And to receive tips and tricks like this one in video form every week, please be sure to sign up for our 2 Minute Tuesday video series. More info at the button below.
Leave A Comment