The Mastercam Launcher utility helps you set up desktop icons and give them special properties. If you work in a company using a Network license of Mastercam this will help ensure that you activate only the licenses you need while leaving others available on the system.
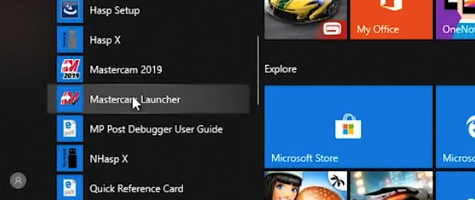
To access this utility, go to the Start menu/All Programs, and find the Mastercam Program Group. Inside here, look for the Mastercam Launcher icon. You may find the icon in a subfolder labeled Utilities in earlier versions of windows.
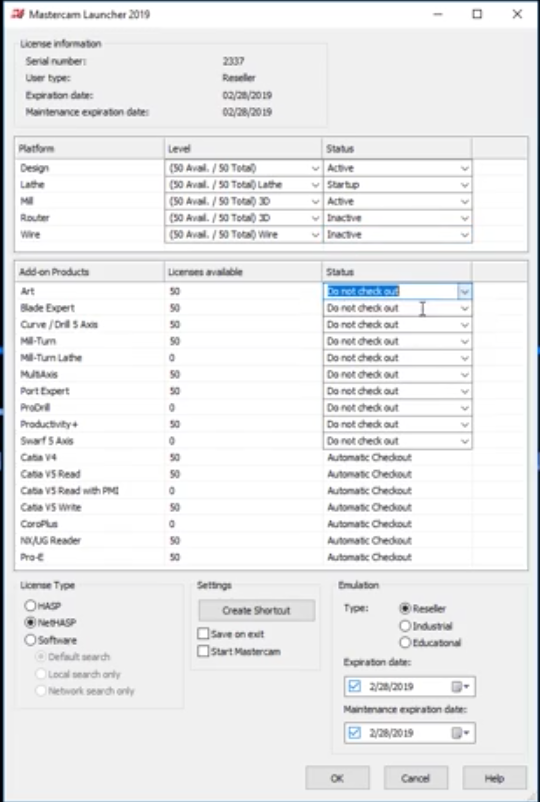
Note there are two primary areas of the launcher window: the upper portion designates what Platform (for example Lathe or Mill) is available for checkout.
This also will determine what product level, such as Mill 2D or Mill 3D is to be used, and if that item is to be suppressed, made available, or made active at startup.
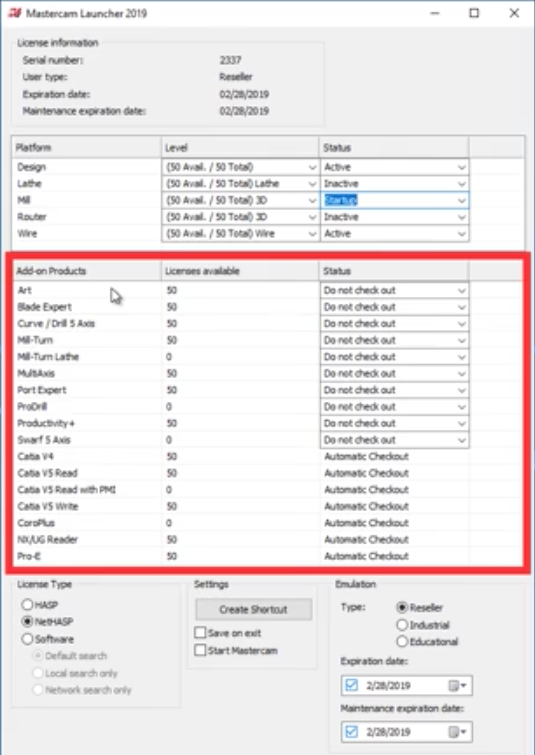
Once you have your products and levels selected, you can move on to the Add-on section and set what licenses you want to have checked out when you use this shortcut. Options like Art, Mill Turn, and Productivity + can be enabled in here. Then you go to the middle of the page and select the Create Shortcut option.
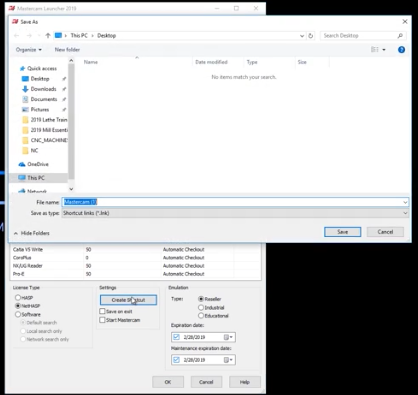
You can give this shortcut a unique name to differentiate this icon from the regular Mastercam icon.
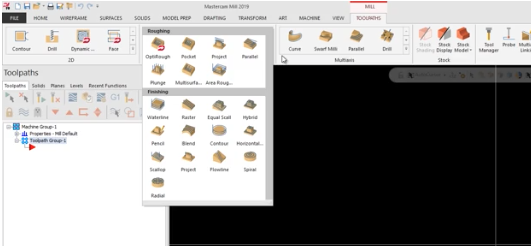
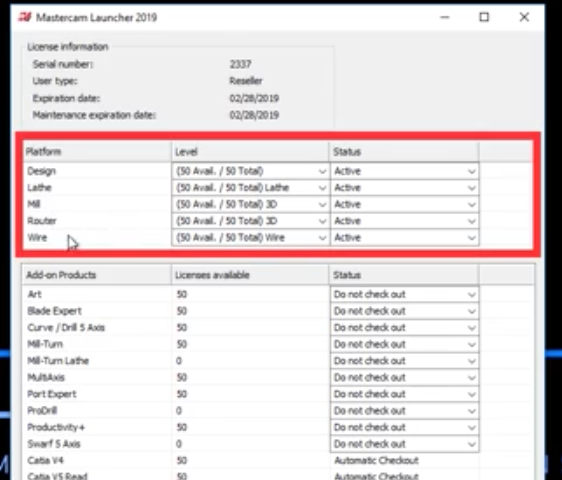
Finally, once you launch the proper shortcuts you will have the specific tabs and toolbars across the top of Mastercam indicating the correct licenses are in use.
As you can see, creating different shortcuts for particular Mastercam licenses is incredibly easy and fast using the Mastercam Launcher tool and their pull down menus. Please be sure to sign up for our 2 Minute Tuesday video series to receive tips and tricks like this one in video form every week. More info at the button below.


Leave A Comment