Manually Defining the Usable Portion of the Insert
In our last Mastercam post, we covered the first of three Mastercam 2024 b-Axis Contour Turning enhancements. You can find that post here. Today we are going to move on to the next one – Manually defining the usable portion of the insert.
Mastercam now lets you manually define the allowable portion of the insert. Do this when you would rather define the insert visually instead of entering a dimension, or when you wish to define a usable insert area that is irregular or non-symmetrical.
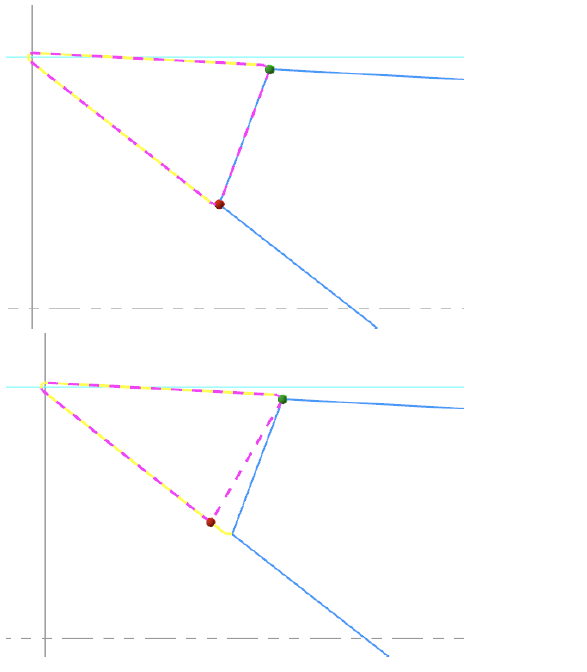
The new options are on the Advanced Motion Control page. Choose Manual, then the Edit depth button. Mastercam returns you to the graphics window where you can edit the boundaries of the usable portion. Use your mouse to drag each colored ball to the desired location on the insert boundary.
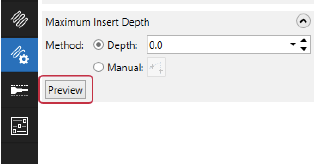
Also, a new Preview button has been added. Click it to see the updated insert boundaries in the graphics window. This can be used no matter which method you use to define the usable insert area.
- Mastercam displays the insert with the proper insert-up or insert-down colors.
- The display takes into account the Holder clearance value.
- For collision-checking purposes, the unused portion of the insert is treated like it is part of the holder.
Please stay tuned to the next Mastercam post when we will cover the Adjusting the Stock enhancement.
Leave A Comment